
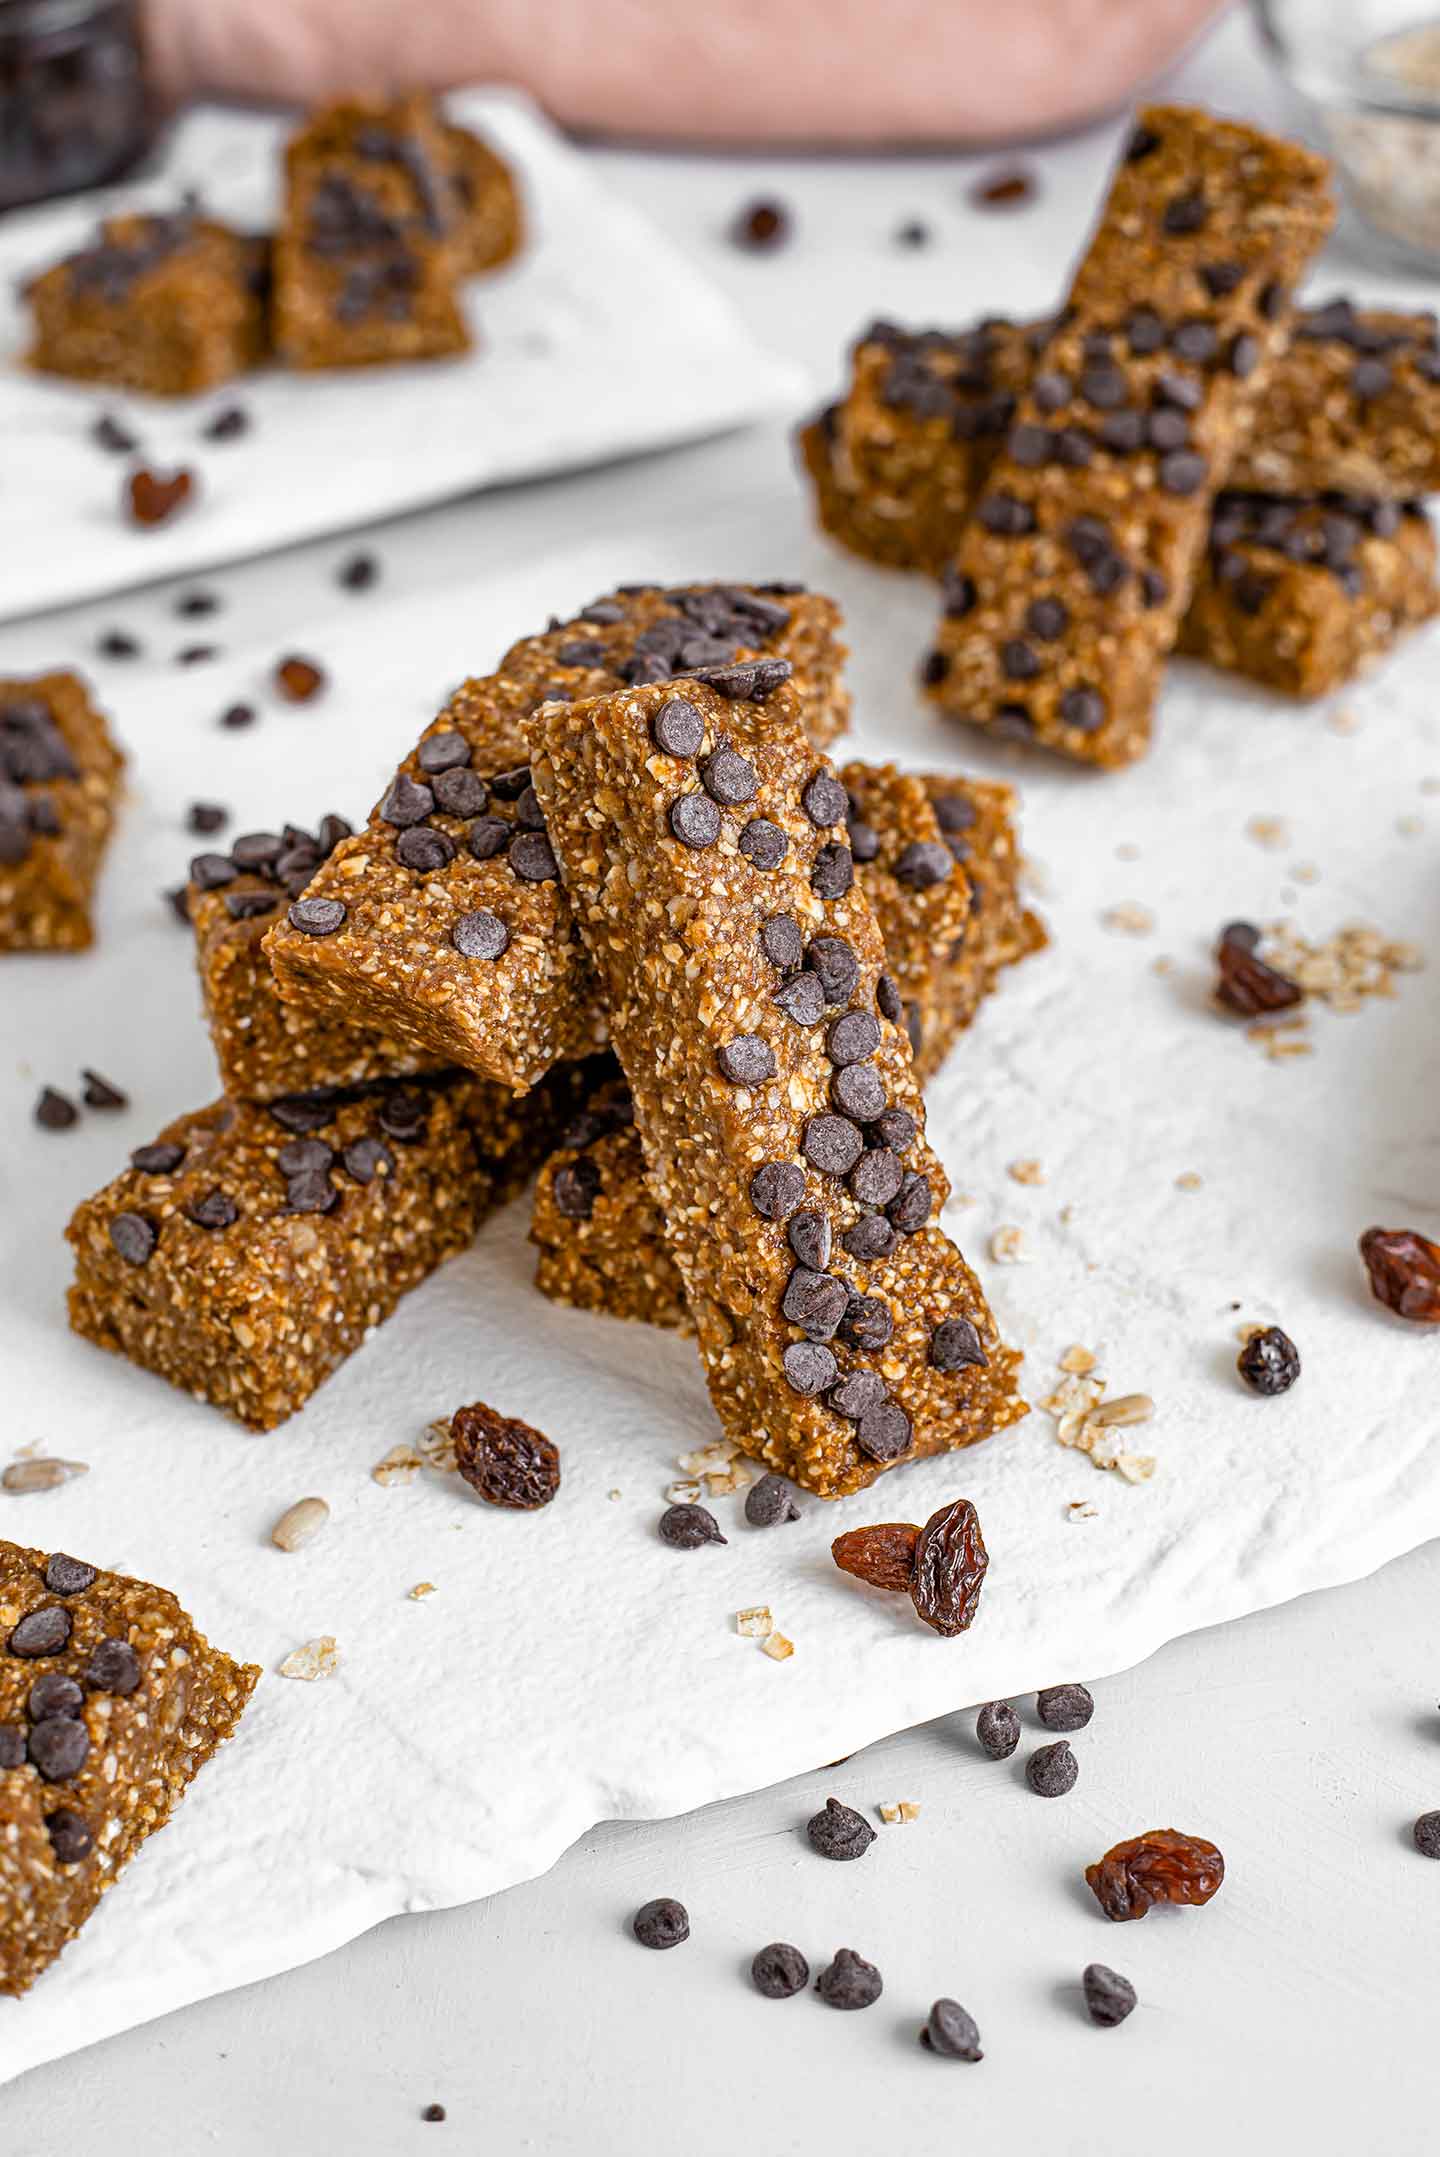
One thing I always need on hand? Granola bars. They're the perfect no-fuss snack. They travel well, they're easy to throw into lunches, they're fun to eat, and they pack a protein punch to keep you going until lunch. These easy chocolate chip granola bars are:
Ready In 10 Minutes
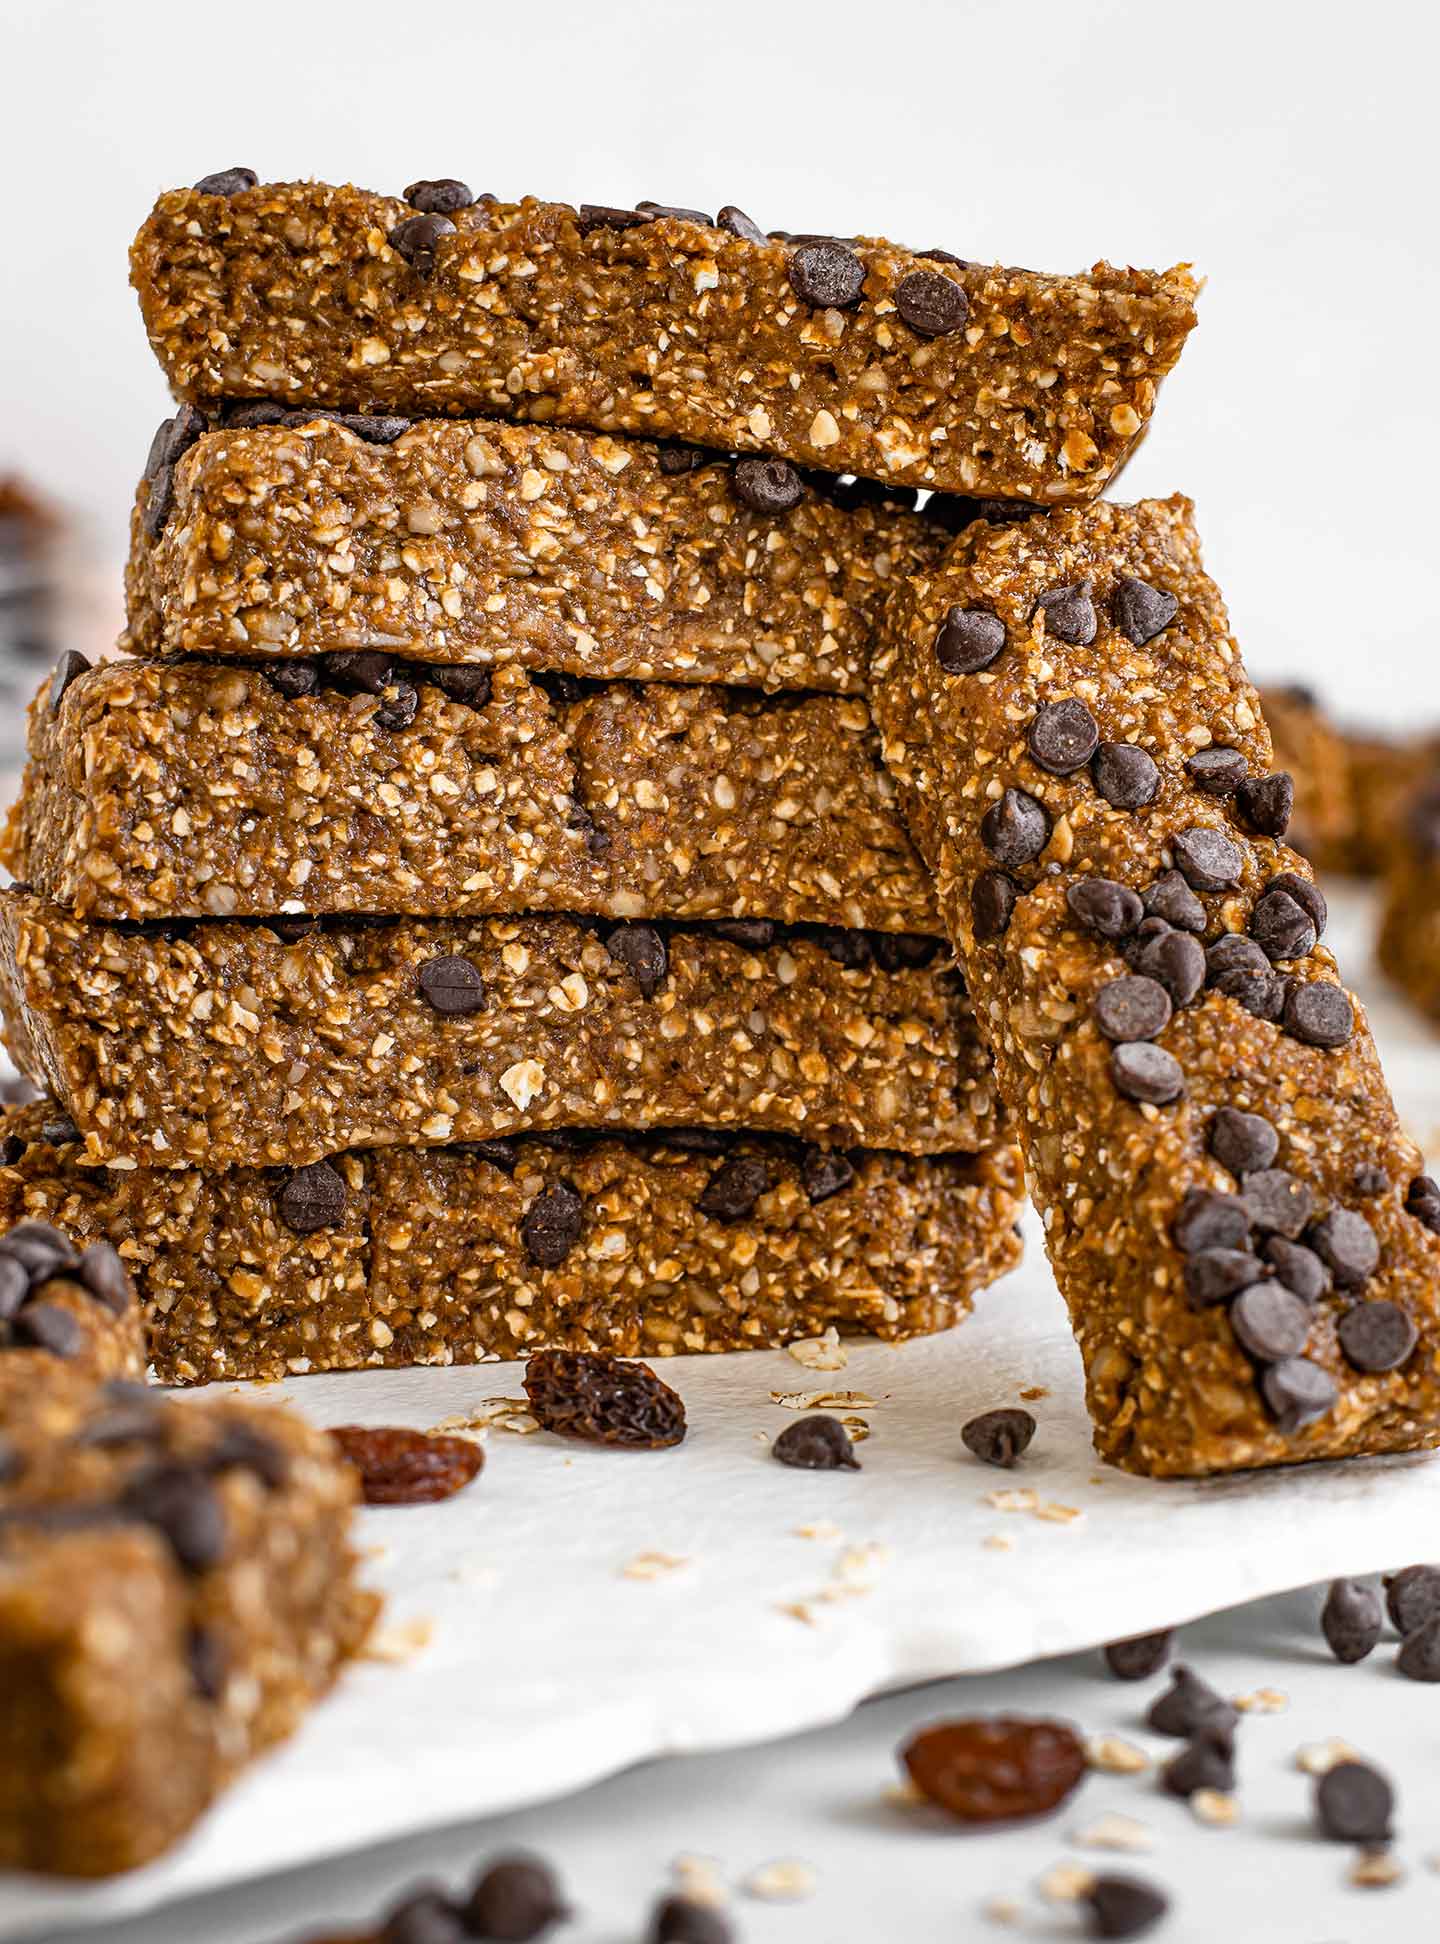
Chewy
Naturally Sweetened (minus the chocolate chips that is!)
Freezer Friendly
And Packed With Protein To Keep You Going
Until about a year ago, I've always bought granola bars. Having a quick, grab-and-go snack on hand is essential. The convenience of store-bought brands meant I was always throwing them in my shopping cart.
I also, always assumed that granola bars were much more expensive to make from scratch. And that's true of the granola bars in the lowest price range. But, if you're usually buying the middle range, or higher range (all-natural, good for you) bars... making your own will result in savings.
Making your own bars means:
You can customize them to your favourite ingredients
Control the sweetness
Cut them to your preferred size (for kids or adults)
Make them school-friendly
And save some money!
Ready In 10 Minutes
I really thought I'd never stick to making granola bars at home, even if they do only take 10 minutes. But once I got accustomed to always having nuts, seeds, oats, and fun add-ins; like chocolate chips or dried fruit in my pantry... the habit stuck!
If you're having to go to the store specifically to buy the ingredients to make granola bars that you can pick up in the next aisle... probably not going to happen right? BUT... if the ingredients you need to whip up bars like these become part of your everyday pantry... tossing everything in your food processor becomes much more likely.
- Combine the ingredients
- Blend until smooth
- Spread into a dish
- And freeze to set (or enjoy right away!)
Although I haven't tried it, I would think you can still make these if you don't have access to a food processor or blender.
- Heat the peanut butter with a few tablespoons of maple syrup in the microwave or over the stovetop. That should give you a sticky enough binding agent to stir into your oats, seeds, fruit and hold everything together!
Recipe Cost For Chocolate Chip Granola Bars
These chewy chocolate chip granola bars cost us approximately: CAD $3.75. That's $0.31 per serving for 12 four inch long bars. If you like a lighter snack, or are making these for children, you can cut them into mini 2" bars.
How Do They Compare To Store-Bought?
Ours = $0.31/serving vs.
- $0.16/serving for granola bars in the lower price range.
- $0.63/serving for bars in the middle price range. And...
- $1.00/serving for the "all natural, good for you" bars.
If you tend to buy the higher priced bars at a wholesale store, their price becomes roughly: $0.58/serving.
That means, making these from scratch actually isn't more expensive than most store-bought brands, as I had thought!
So take a look at our pantry page and the ingredients we find helpful to always have on hand. Whip up these chewy chocolate chip granola bars. And let us know in the comments below if you'll be making them a regular staple too!
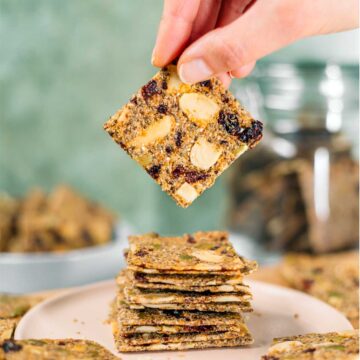
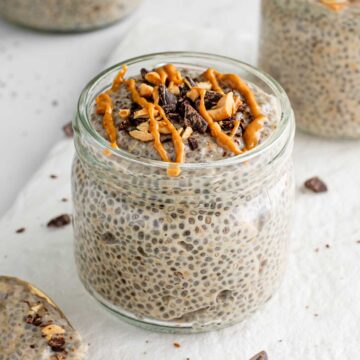
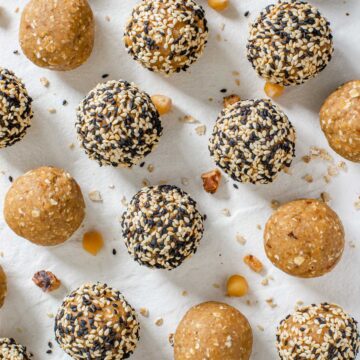
If you like these, try our No Bake Brownie Energy Balls and Puffed Rice Granola Bars!
Print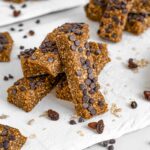
Easy 10 Minute Chocolate Chip Granola Bars
- Total Time: 10 min (plus 1 hour freezing preferred)
- Yield: 12 4" bars 1x
- Diet: Vegan
Description
Chewy chocolate chip granola bars made in 10 minutes with no baking required. Easily customizable, these No Bake Chip Bars are a go-to!
Ingredients
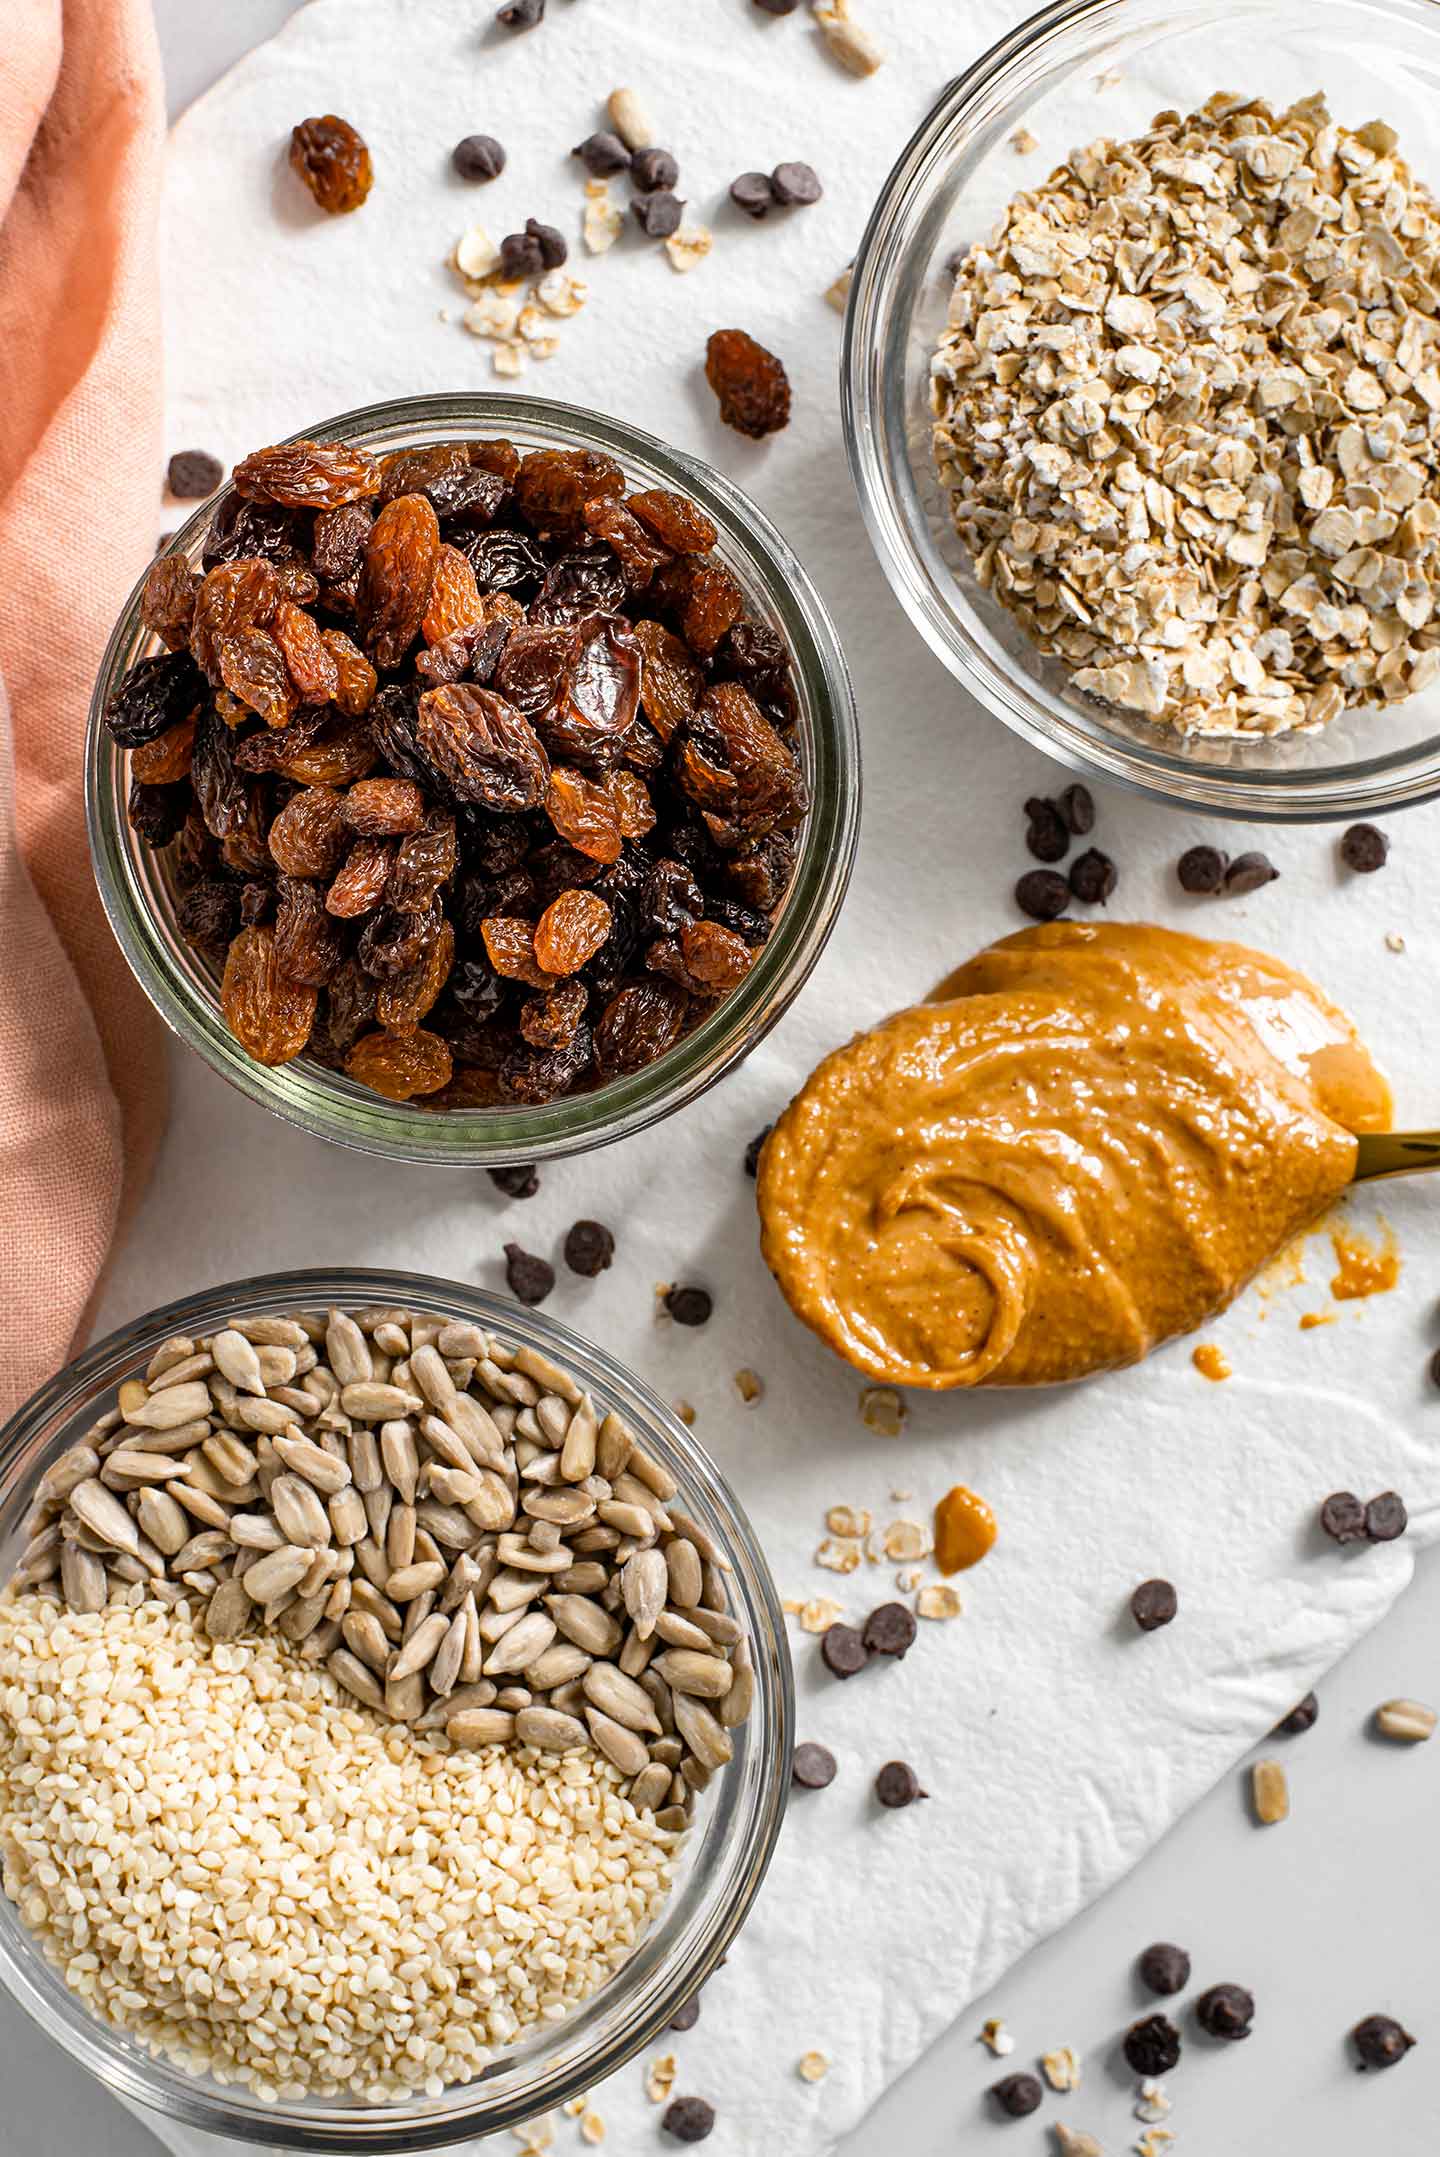
- 1 ½ cup raisins (soaked for a few minutes to soften)
- 1 ½ cup quick oats
- ½ cup raw sunflower seeds
- ¼ cup raw sesame seeds
- ½ cup peanut butter (or sub tahini/peanut free butter)
- ¼ cup chocolate chips, dairy-free
- ¼ - ½ cup water (reserve the water your raisins soaked in)
- optional: sub dried cranberries for the chocolate chips
- optional: 1-2 tablespoon maple syrup if you want them sweeter
*All the ingredients for this recipe are from our pantry and freezer tips!
Instructions
- Soak your raisins in warm water for 3-5 minutes to soften if they’re a little dry. Line an 8x8 baking pan with parchment paper. This makes lifting your finished bars out of the pan quick and easy.
- Drain the soaking liquid from the raisins (you can reserve the liquid and use it to moisten the mixture later if needed) . Add the raisins to a food processor and blend until broken down.
- Add the oats, seeds, and peanut butter. Blend to combine, stopping to scrape down the sides as needed. Blend until there’s an even consistency and the mixture sticks together easily between your fingers. Depending on the thickness of your peanut butter you may need to add water a little at a time to blend the mixture into a finer, stickier dough.
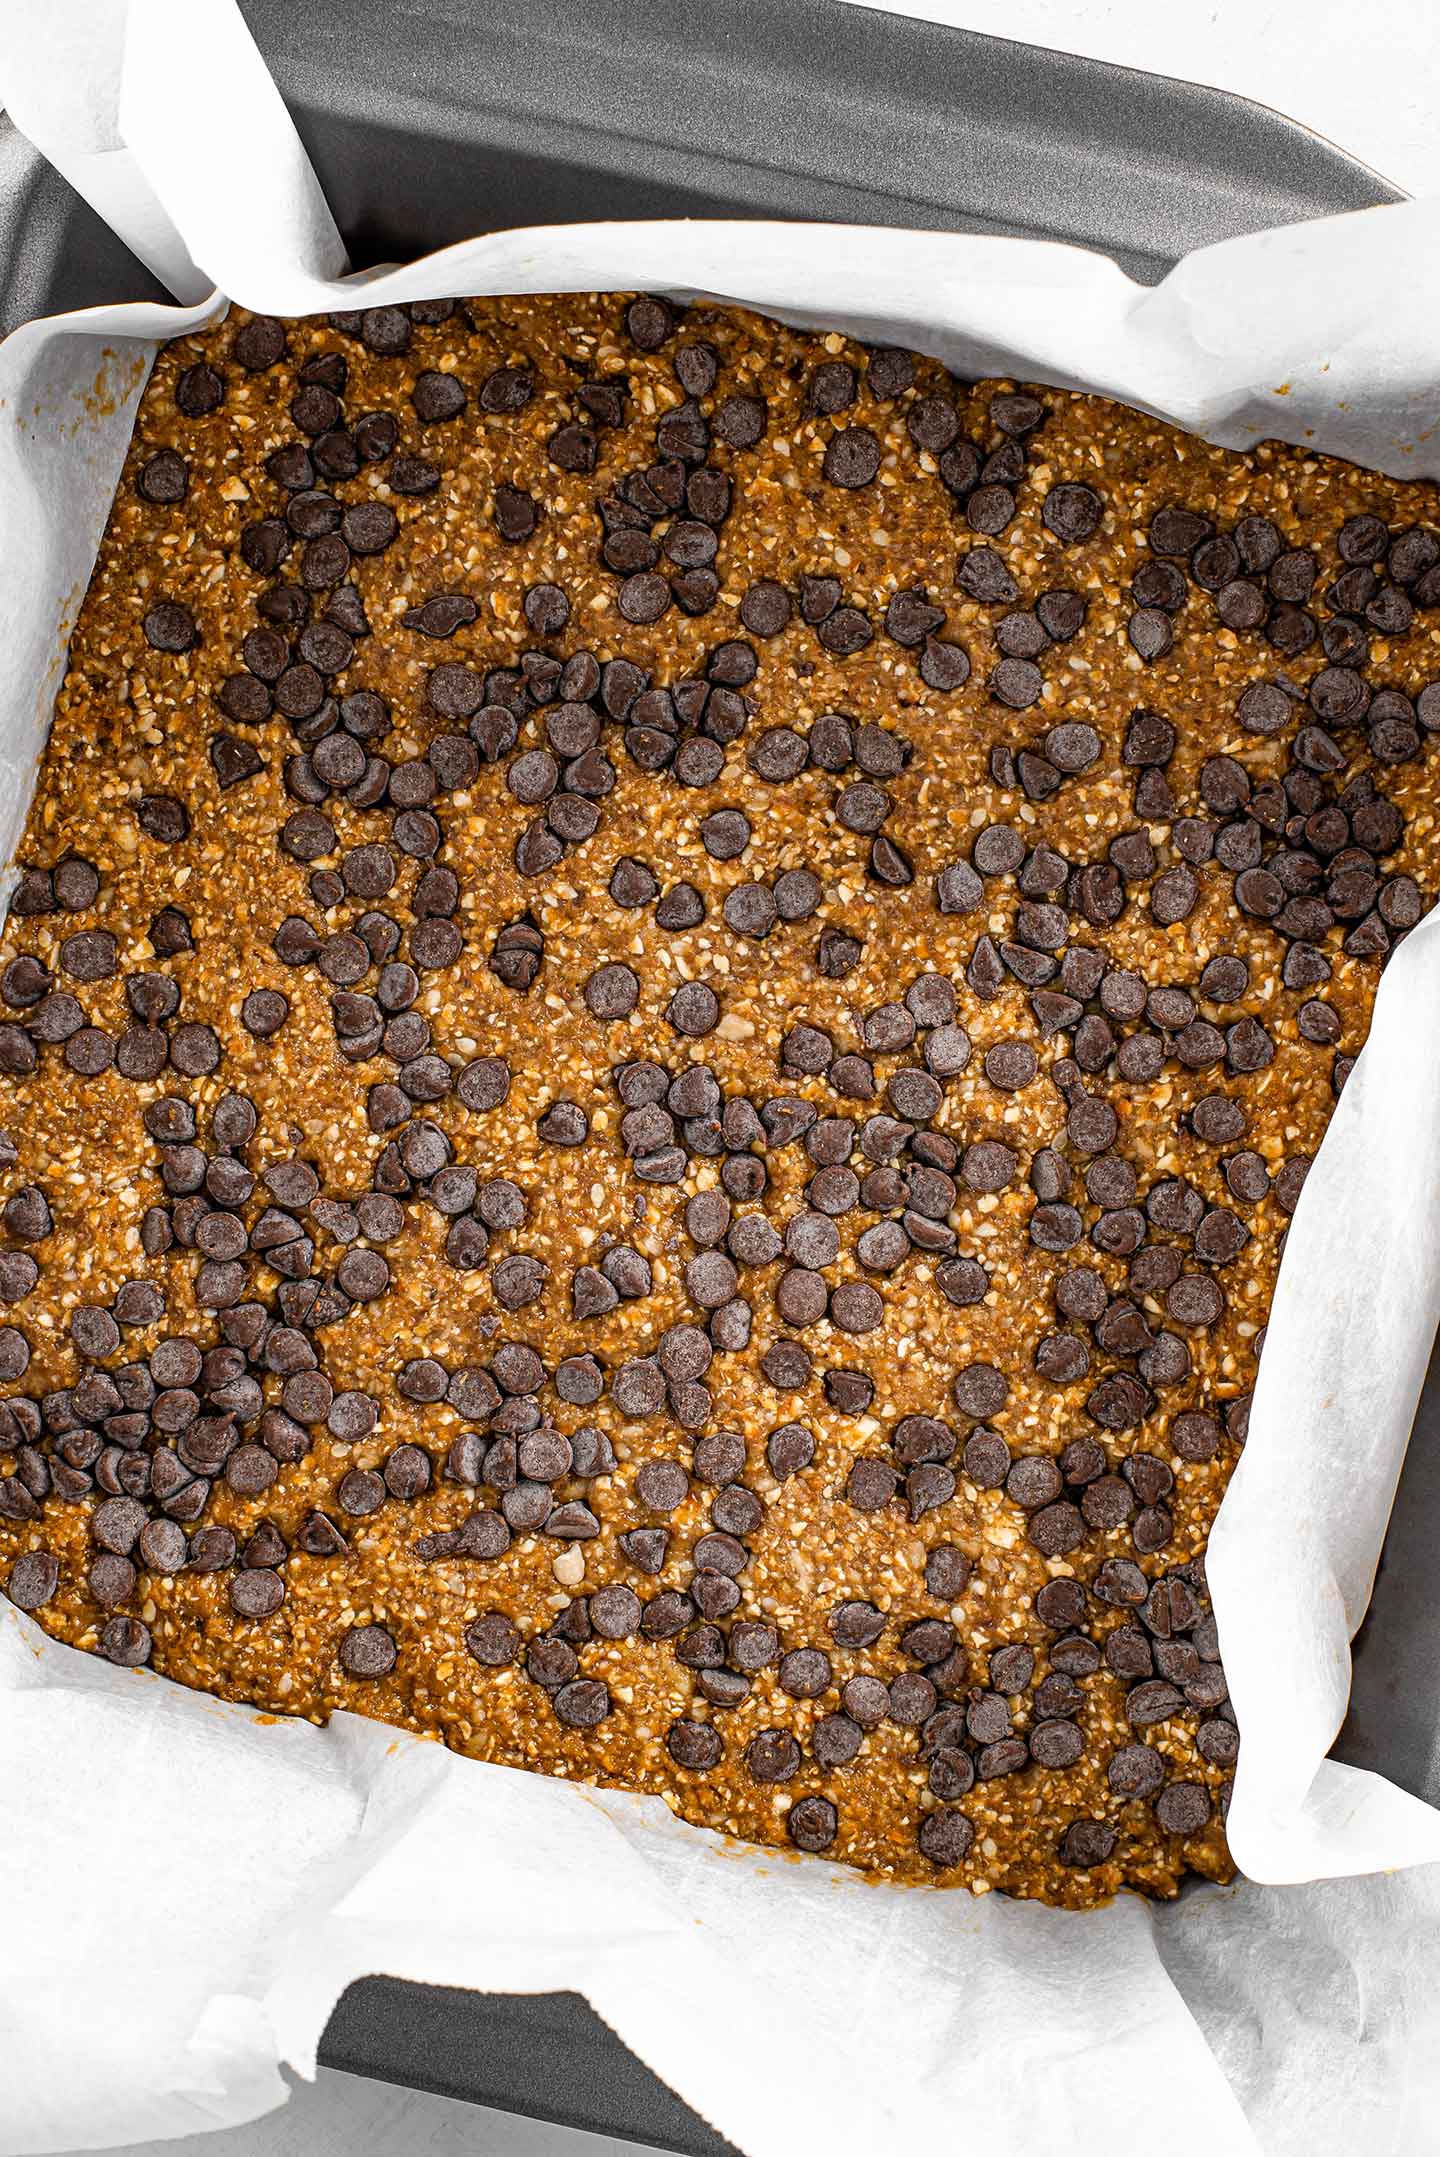
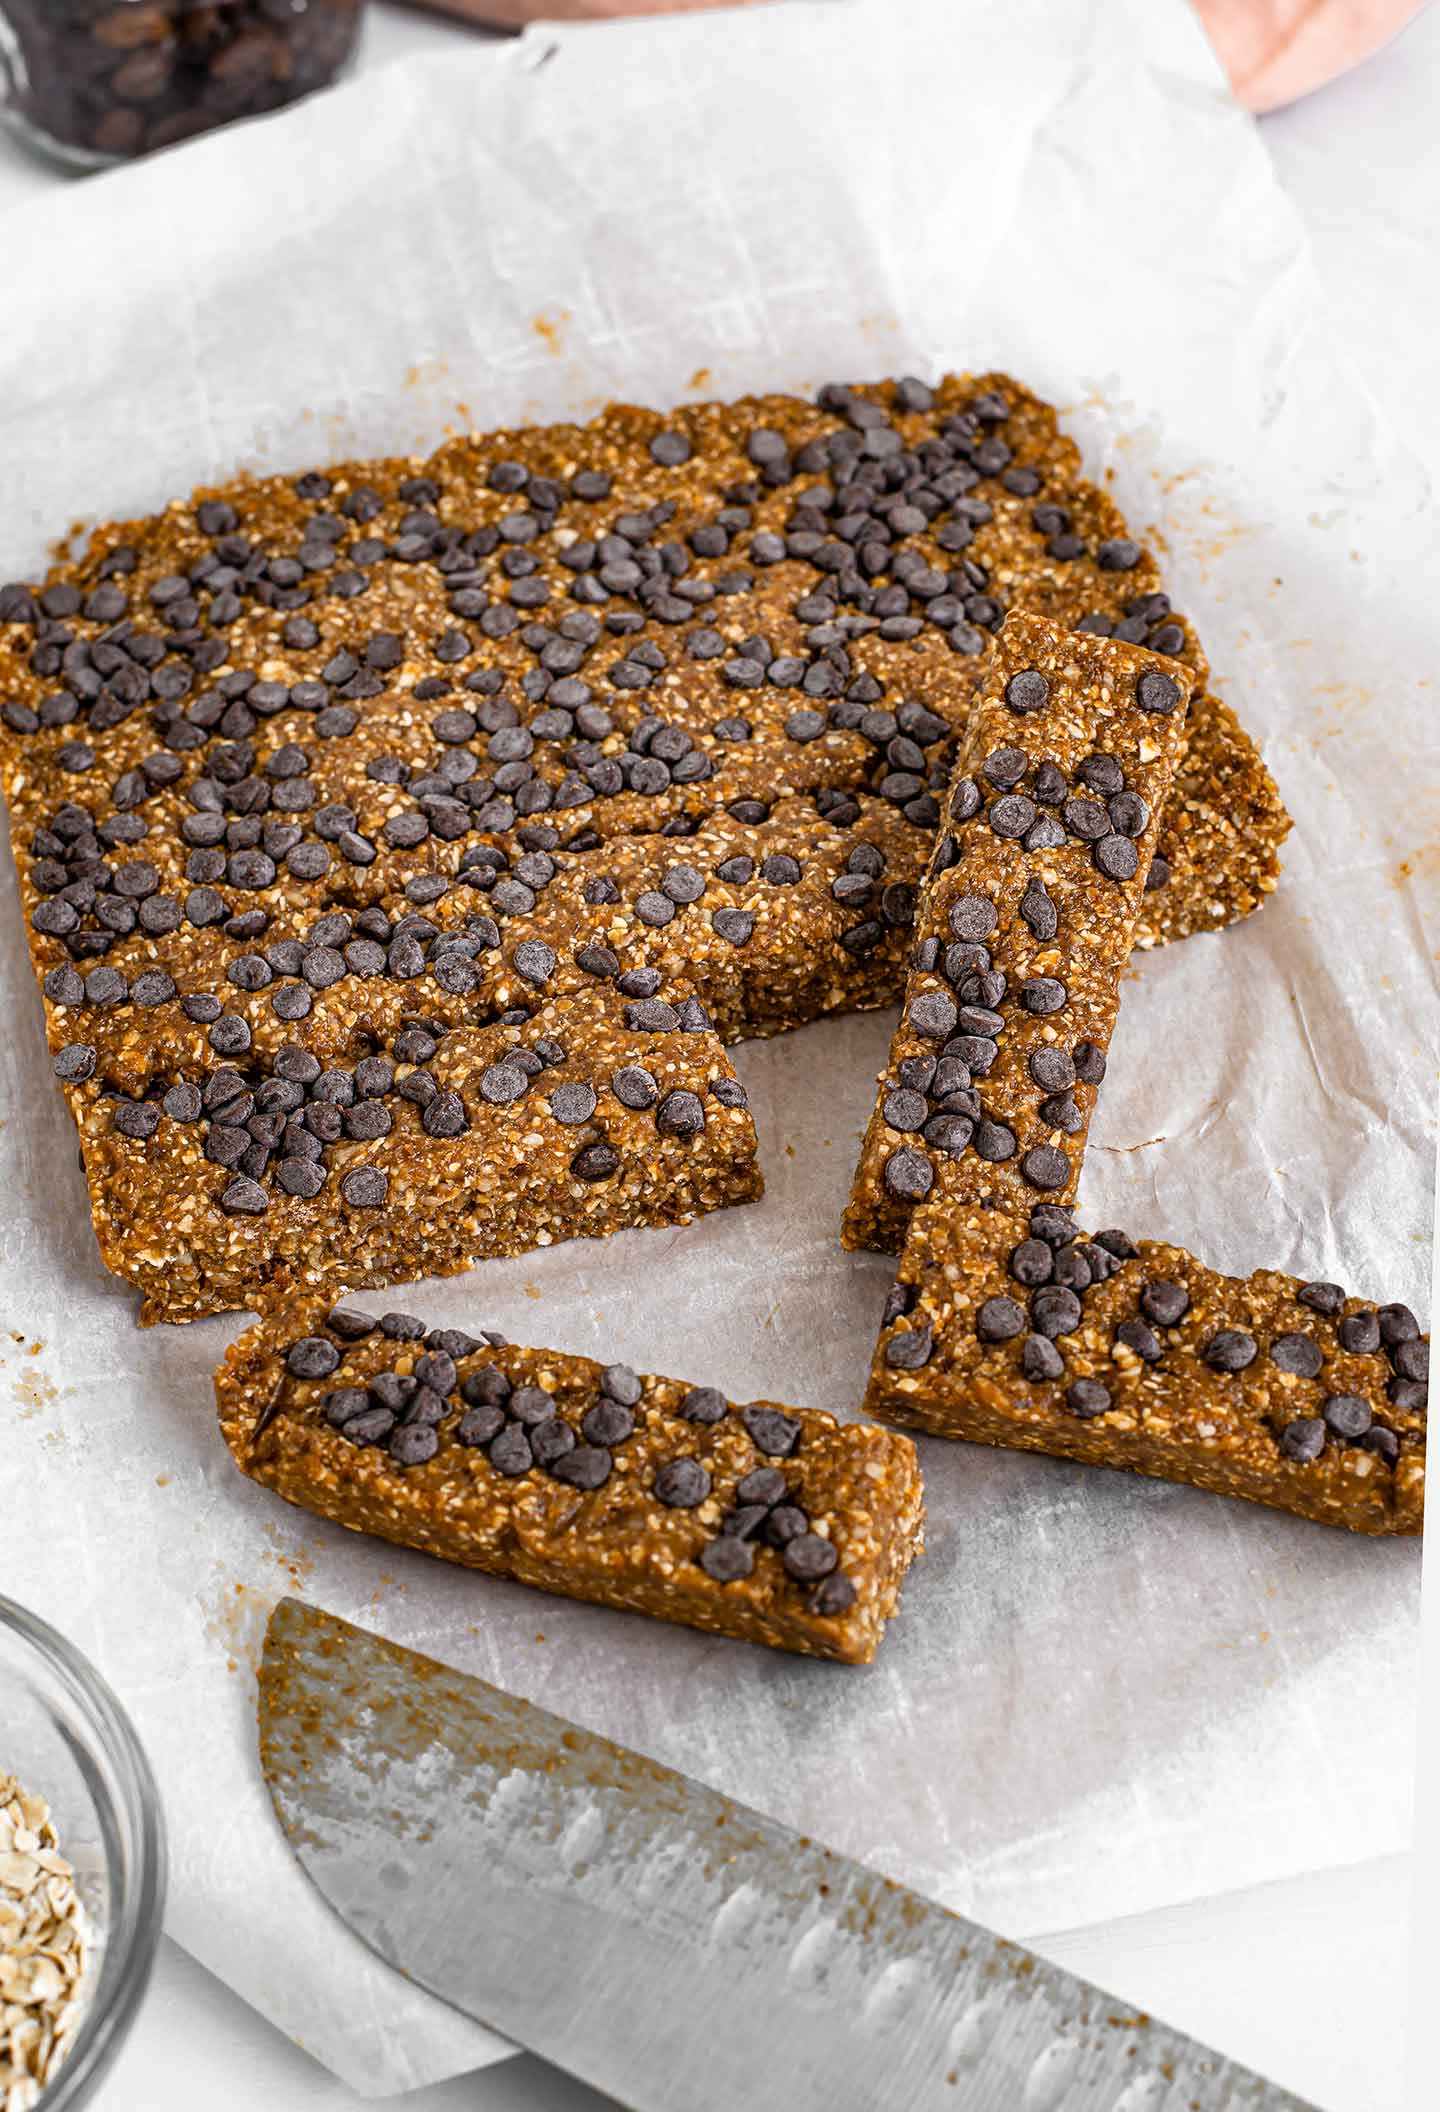
- Pour the mixture into your parchment lined baking dish and pack it down evenly, making sure to spread it into the corners. The mixture will be very sticky. Wetting your fingertips with warm water will help you spread the mixture. Alternatively, use the flat bottom of a glass to compress the mixture and make sure it’s even across your dish.
- Sprinkle chocolate chips on top and gently press them down into the mixture.
- You could enjoy these immediately, but placing the dish in the freezer for 1-2 hours will make them easier to cut into single portions.
- Remove, slice, and store in the freezer. You could store these in the fridge in an airtight container, but they stay nice and soft even when frozen. I keep them in the freezer and take them out whenever I want one, no need to wait for it to defrost! Keeps for 2 months in the freezer.
Notes
*Approximate Cost: CAD $3.75 ($.31/serving cut into 12 4" long bars; $.16/serving if cut into 24 2" mini bars).
*Cost Comparison: Ours at $.31/serving vs. $.16/serving for the lowest price range granola bar, $.63/serving for the middle range, and $1.00/ serving for the higher priced bars. Those higher priced bars bought at a wholesale store cost around: $.58/serving.
*Feel free to substitute any of the seeds for more oats or seeds of your choice. The peanut butter can be half peanut butter, half tahini; or all tahini. Alternatively, sub any nut/seed butter of your choice.
*Subbing the raisins for pitted dates will work nicely! The dates will add about $0.25 to the final cost.
- Category: Snacks
- Method: Blender, Food Processor
- Cuisine: American
Leave A Review