
Learning how to grow sprouts at home is the easiest way to give your meals a restaurant worthy look and a huge nutritional boost while saving you money! It's simple, you don't need much to get started and I'll walk you through the process from seed to sprout!
Grow sprouts indoors all year long
All you need is a jar, a screen, and water!
Just a few minutes of time over a few days
And you will have delicious & nutritious sprouts to enjoy!
Watch my in depth video tutorial for growing sprouts below!
How To Buy Sprouting Seeds
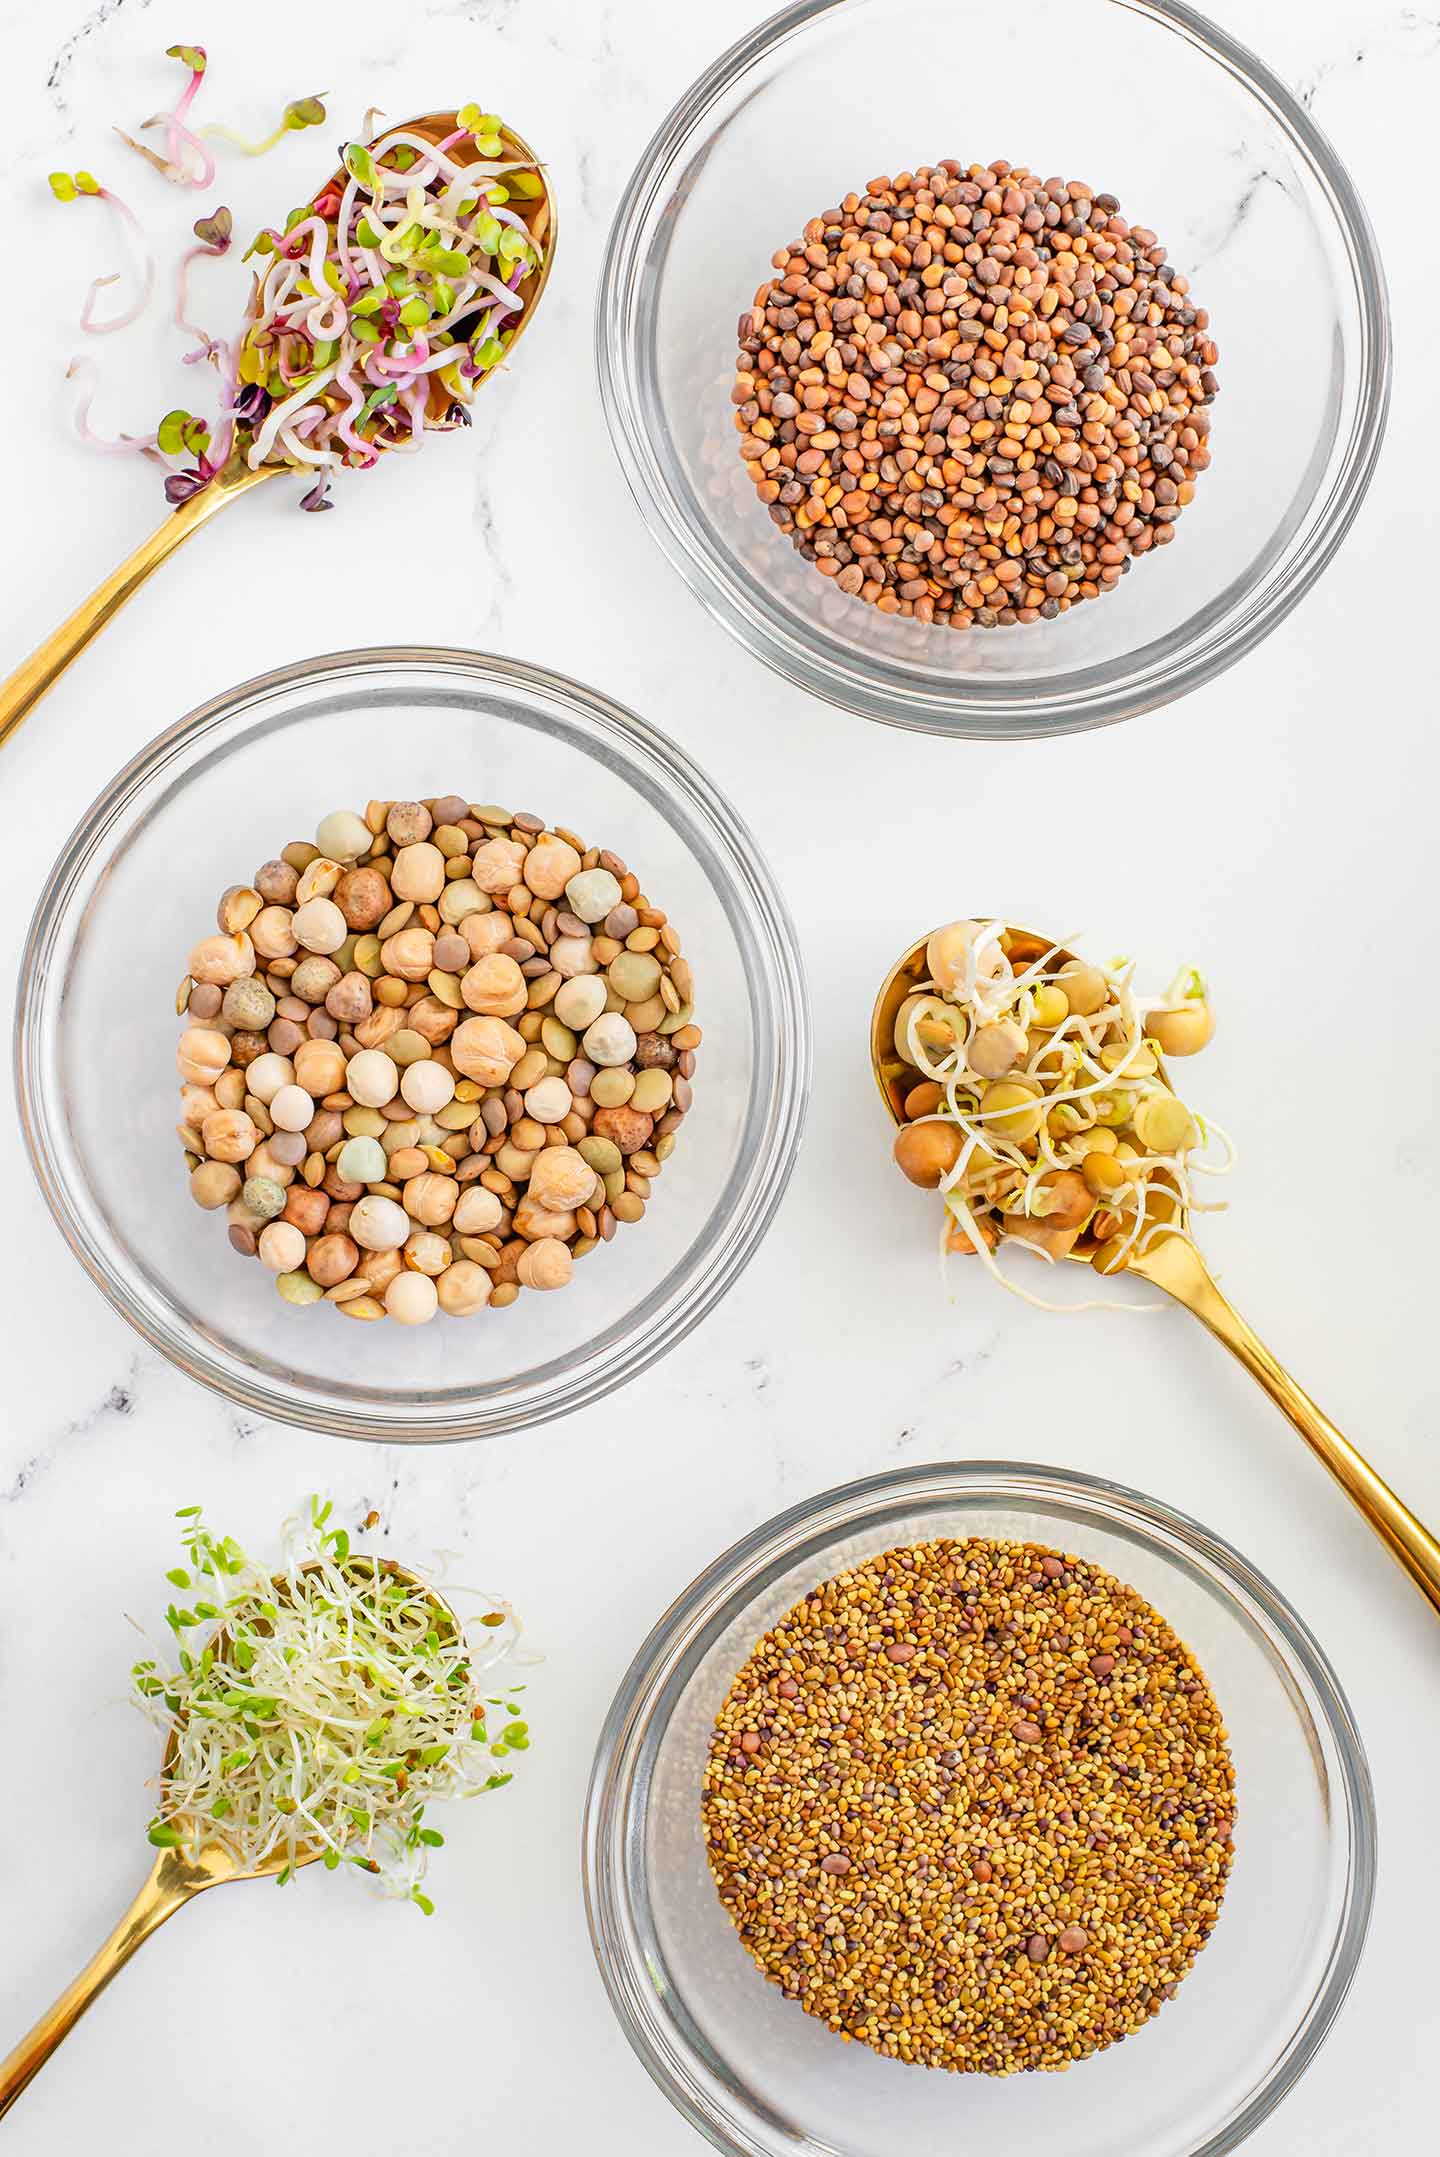
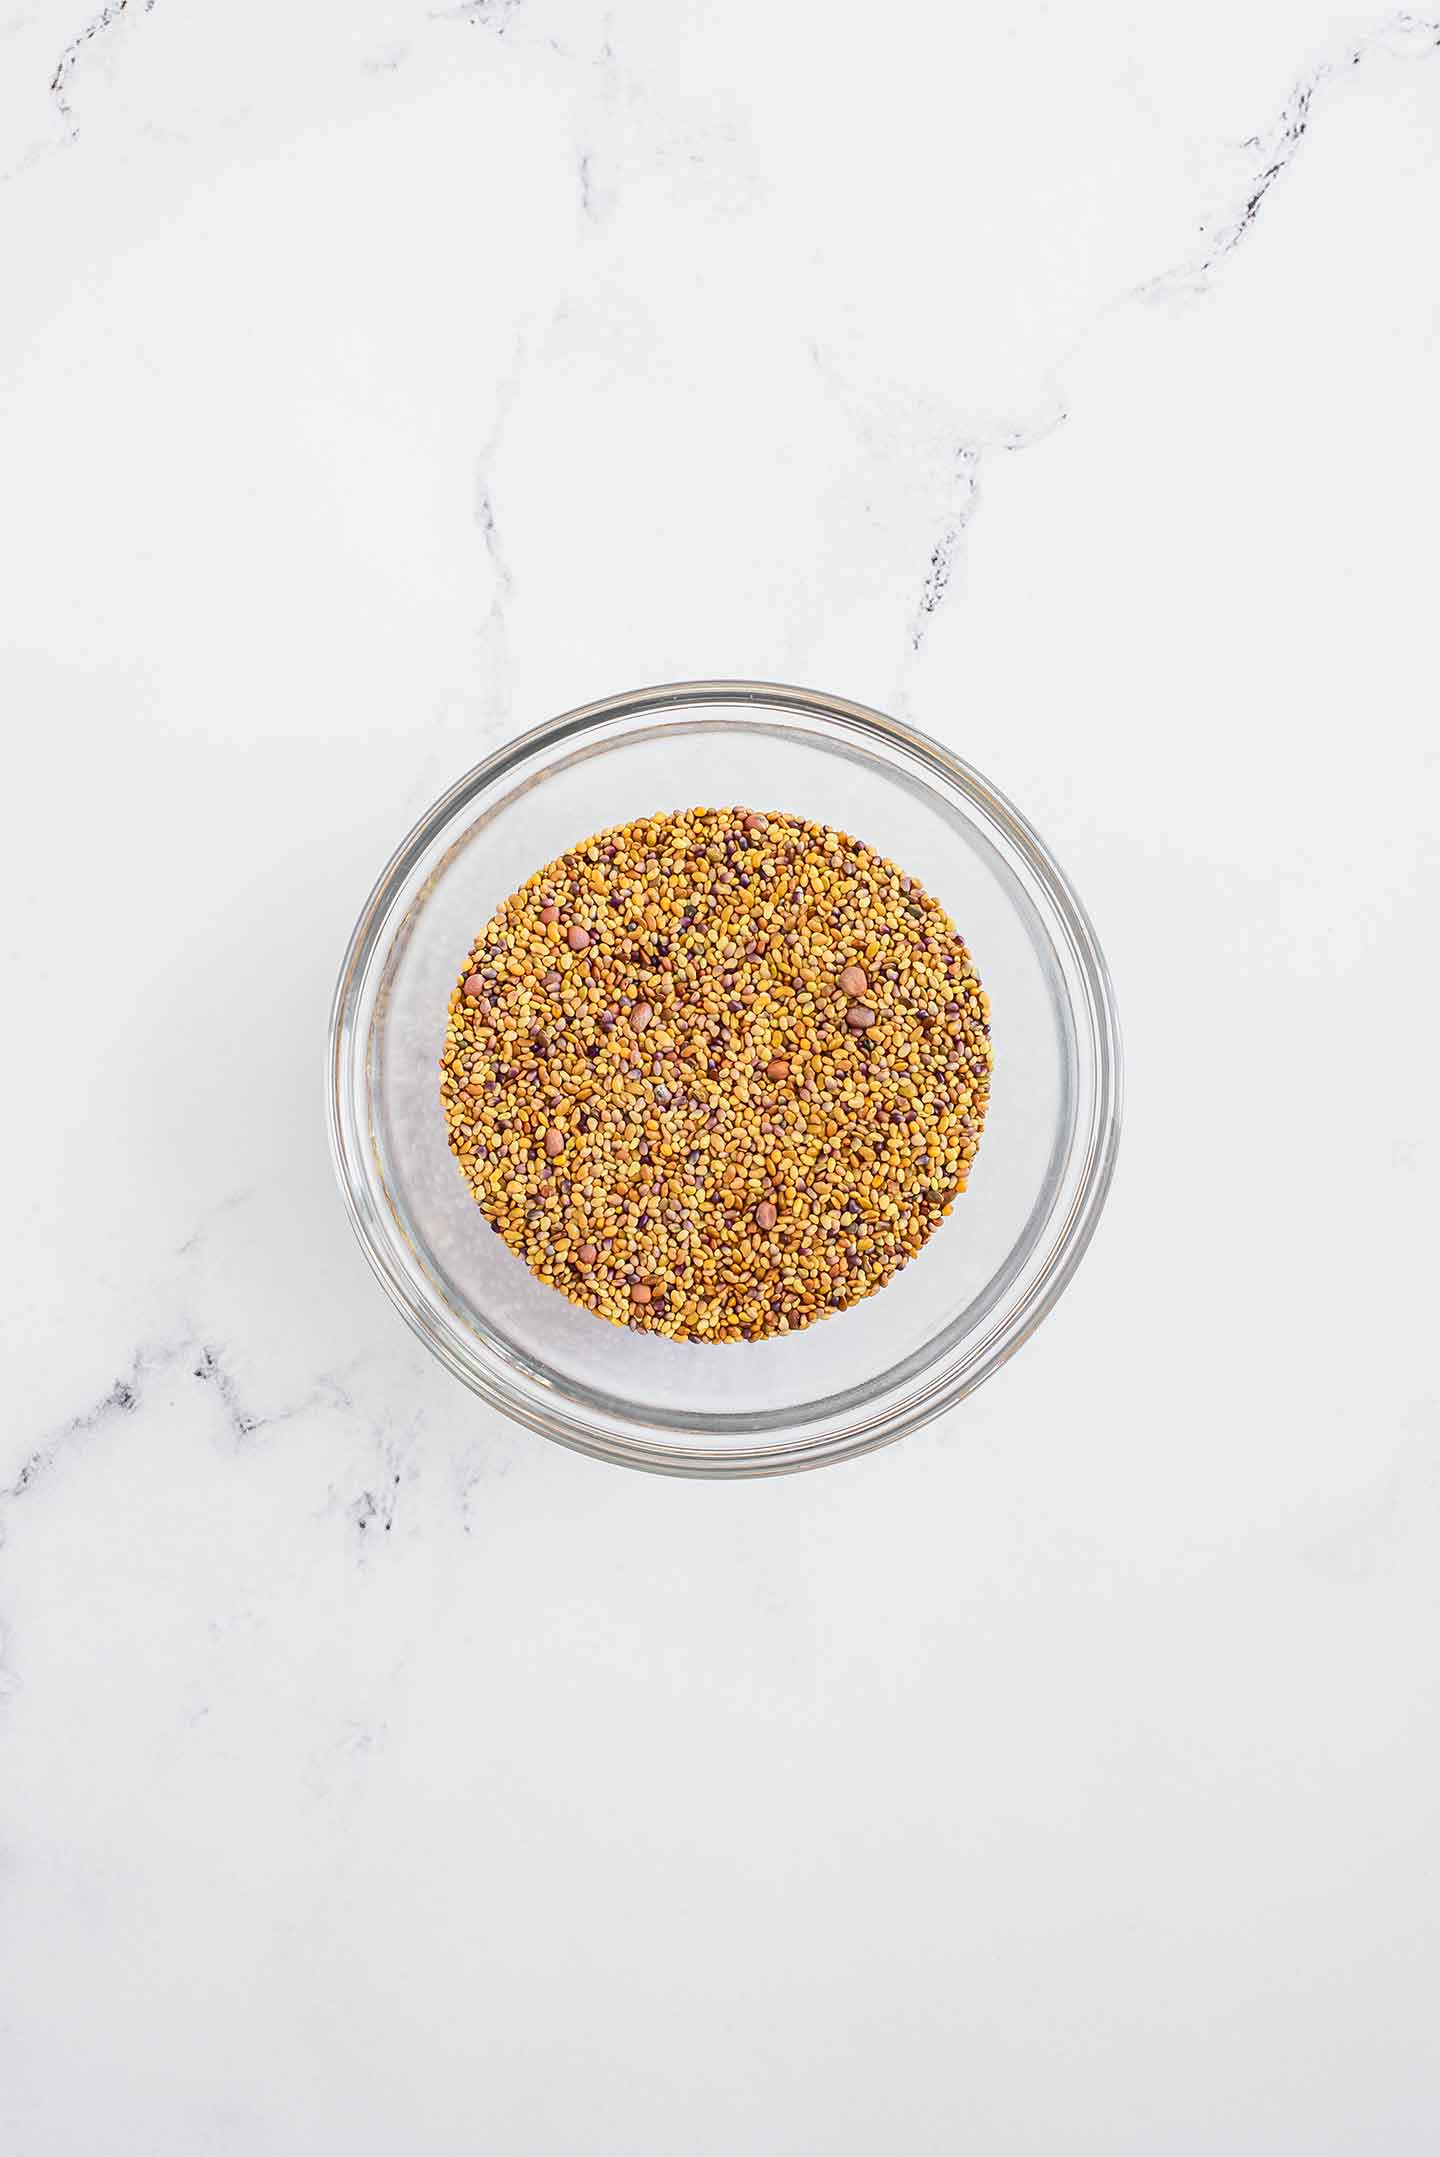
The first thing you need in order to grow sprouts at home is sprouting seeds. I have always bought my sprouting seeds from a Canadian company called Mumm's Sprouting Seeds. These are organic seeds grown specifically for sprouting so you can make sure you get the best and healthiest yield of sprouts.
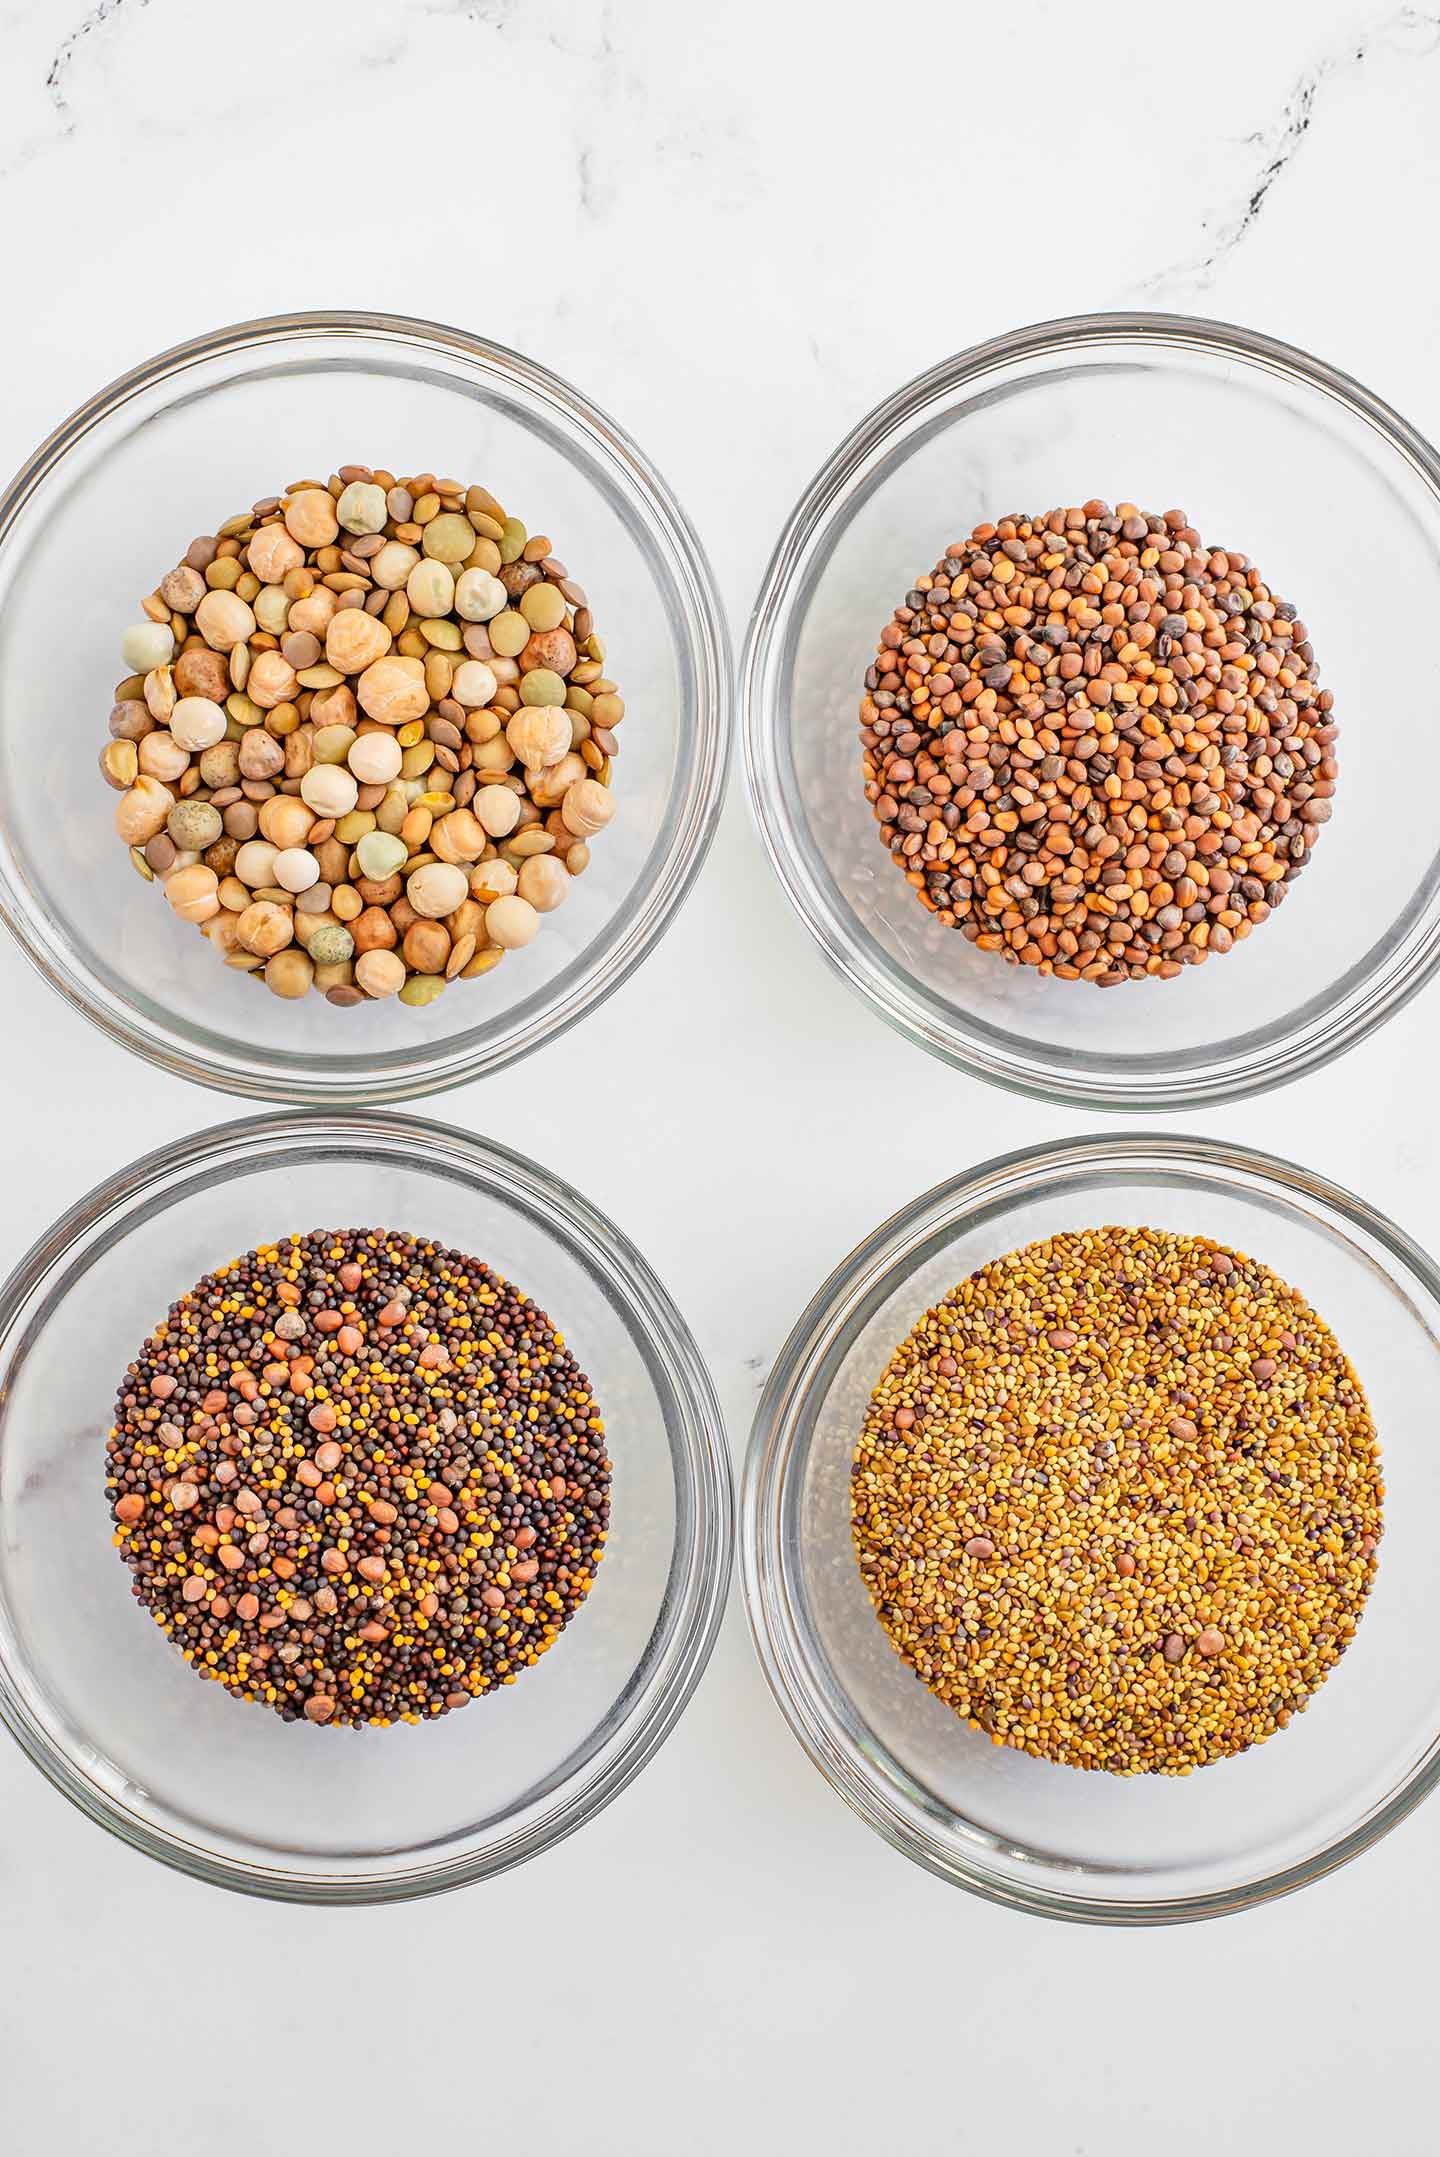
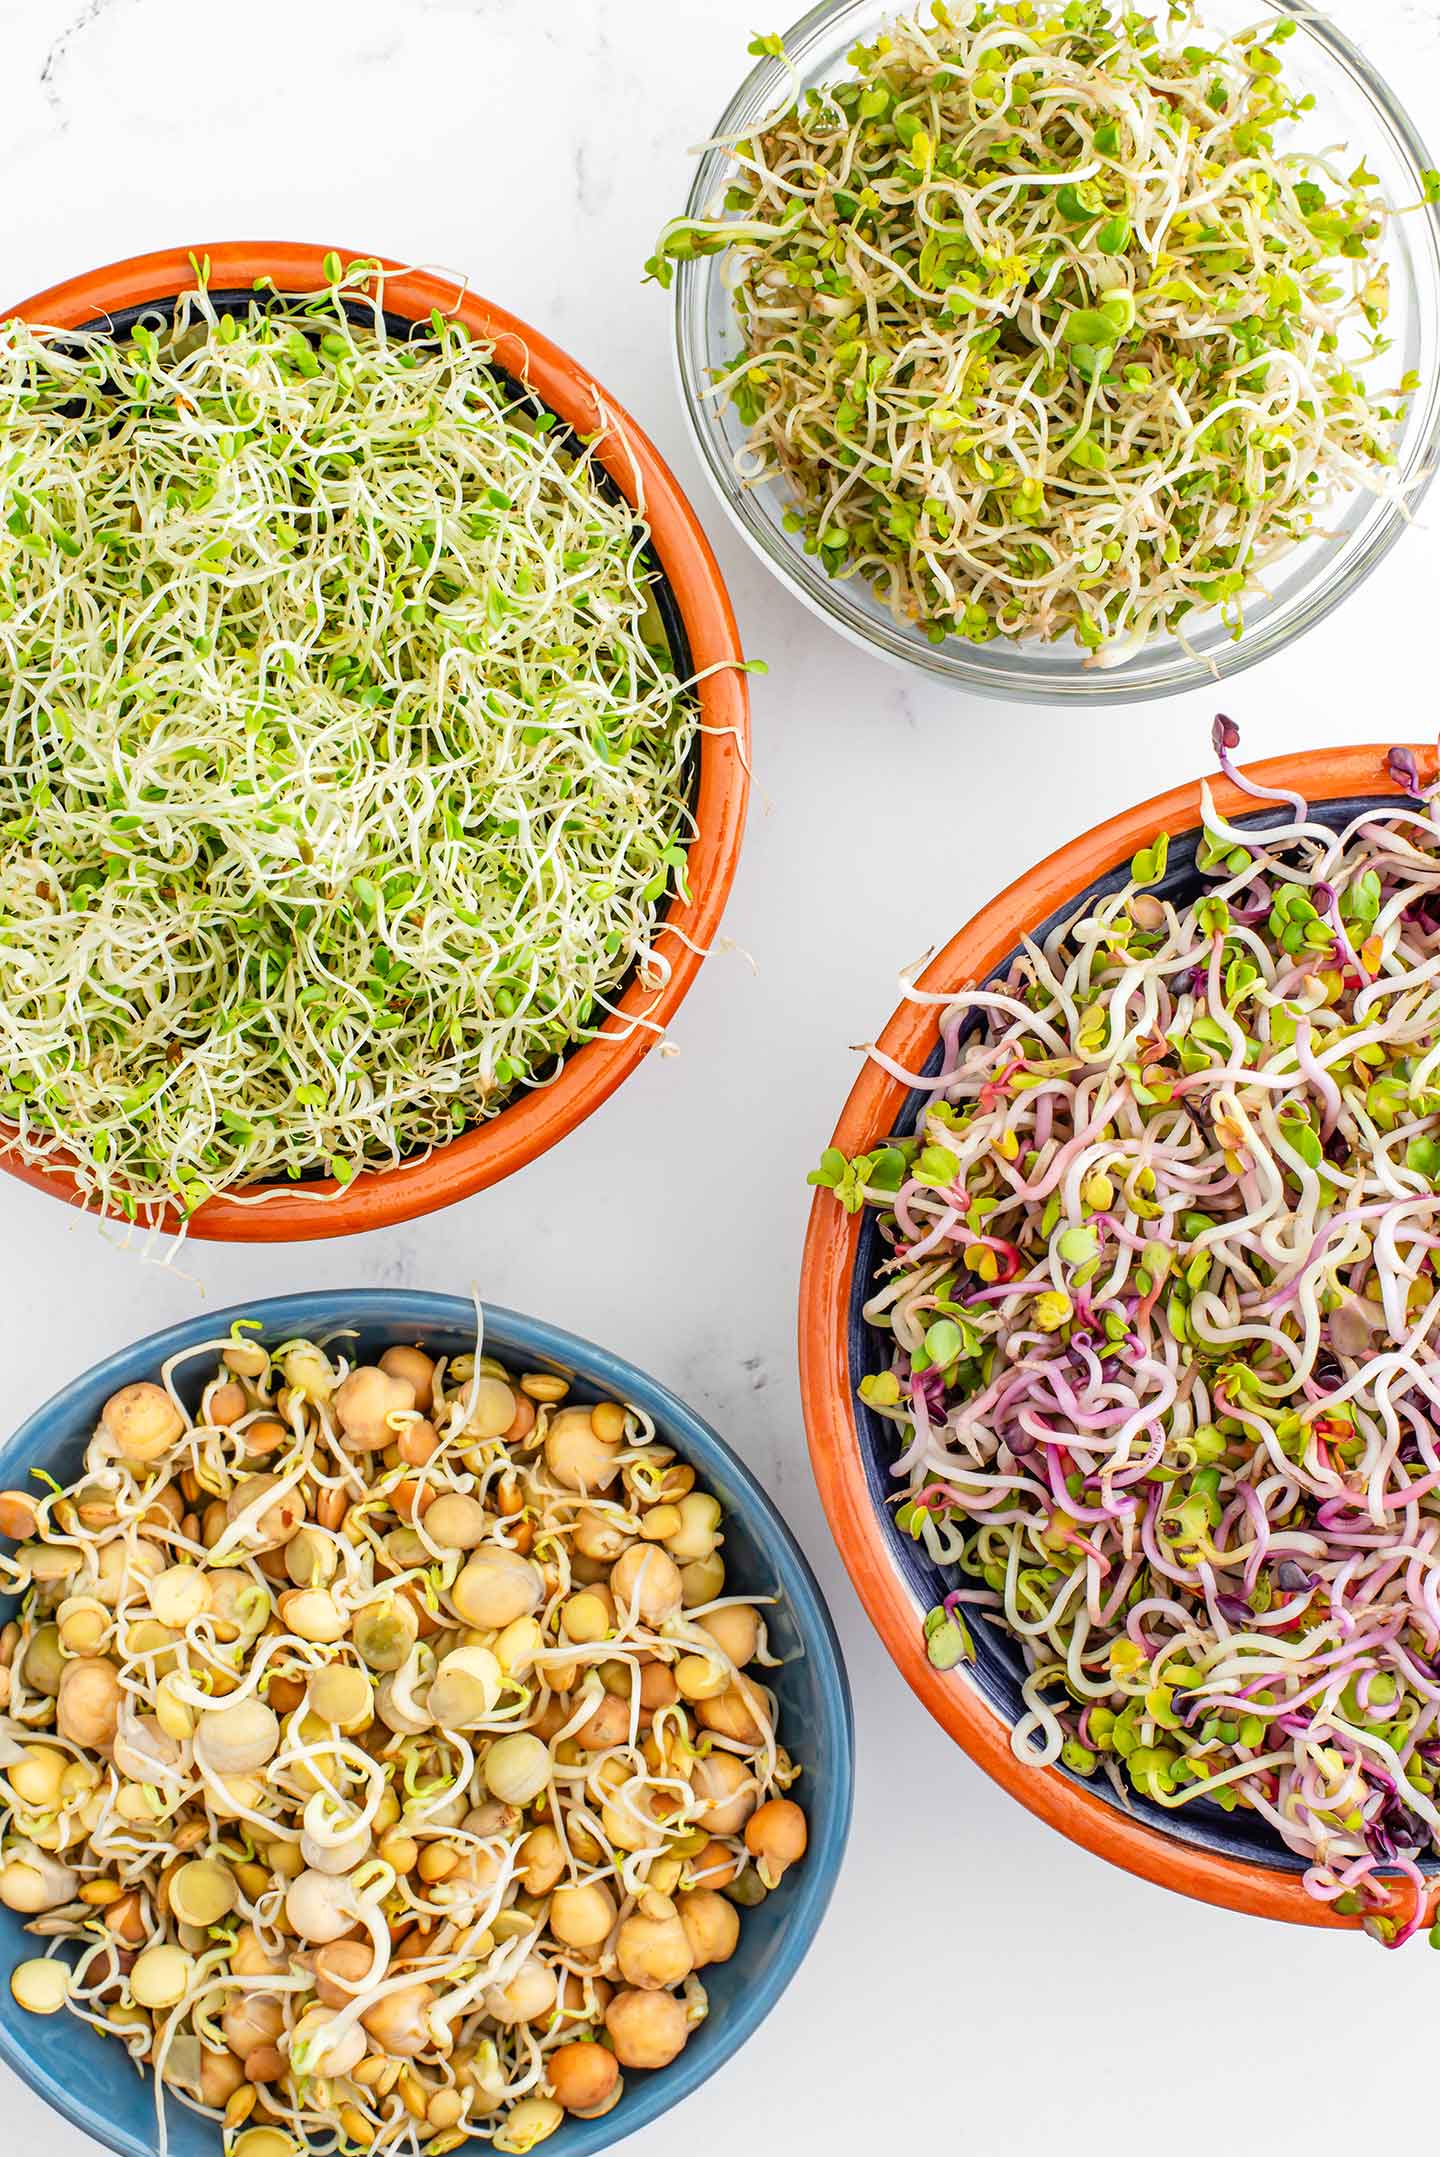
*Did you know you can sprout grains and pulses as well? When you peruse your sprouting options you will notice a plethora of beans, lentils, and grains too!
Although any seed could sprout, organic seeds grown specifically for sprouting are subject to stricter health standards. This means they are not treated with chemicals and specifically grown to be eaten during the germination phase. Take a look at Mumm's FAQ page for lots of great answers to questions you may have about sprouting and their organic seeds.
Sprouting seeds may be hard to find in your local grocery store so I would suggest doing a bit of research about the options available to ship to your area.
Equipment Needed For Sprouting At Home
The equipment needed for sprouting at home is pretty simple and should be easy to access for most! All you really need is a jar, a screen of some sort, and water.
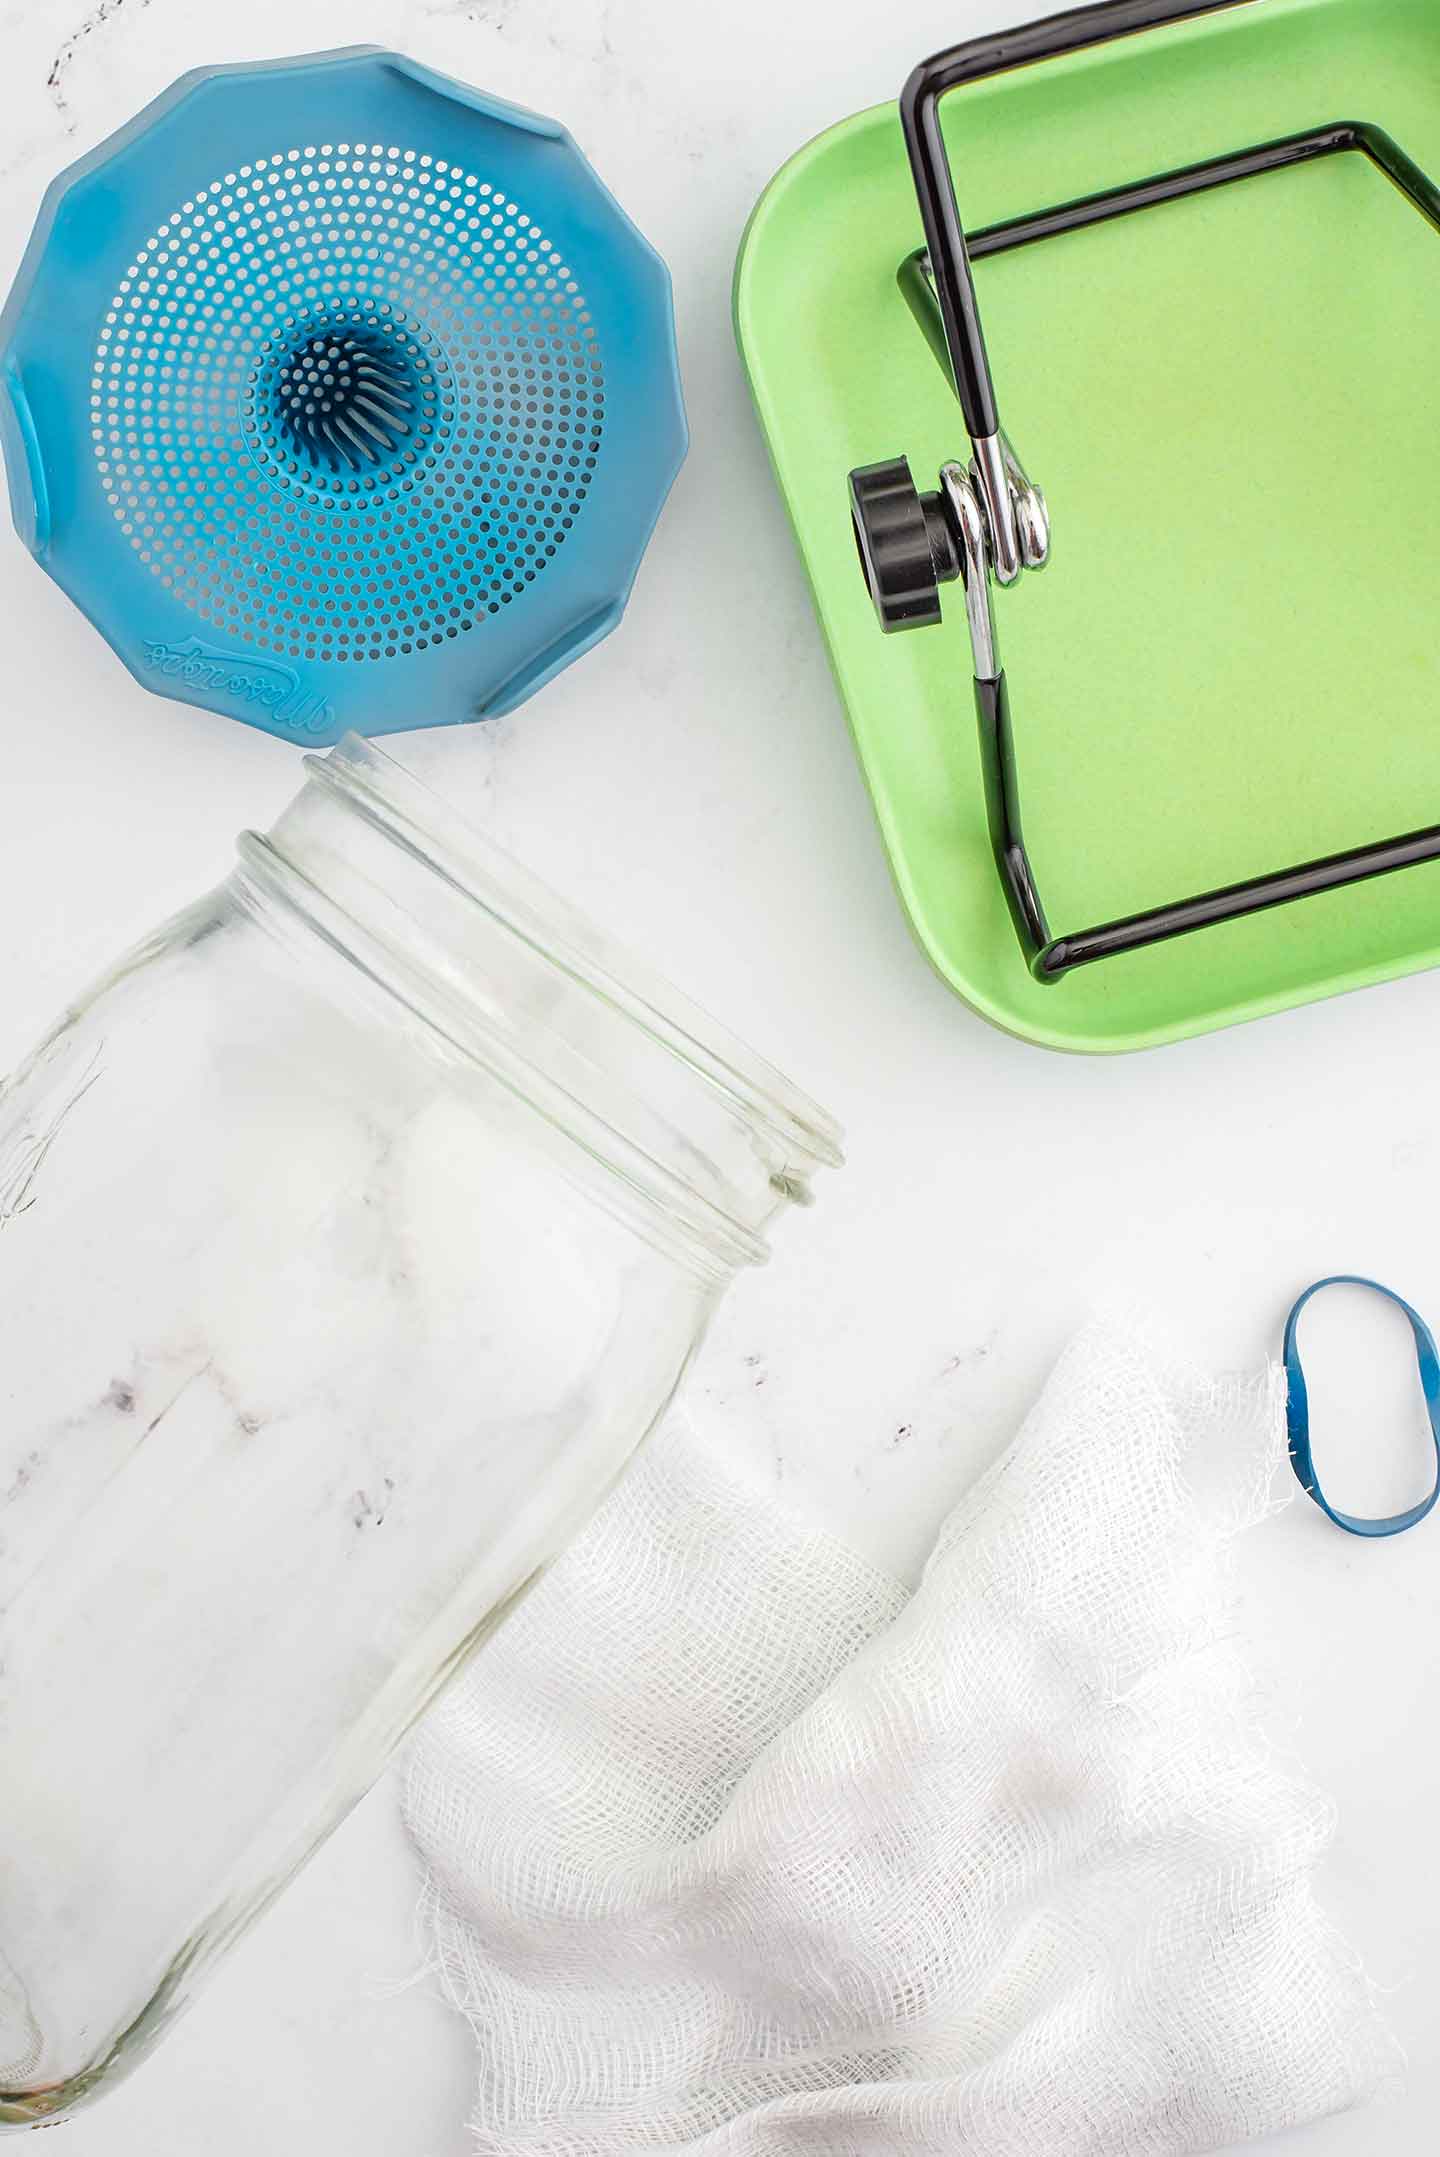
Your sprouts will be grown in a jar. I use 32oz wide mouth glass canning jars. Glass jars sanitize more reliably between yields of sprouts than plastic. Also, wide mouth jars make removing your sprouts a lot easier.
A lid with a screen that water can pass through will need to be affixed to the top of your jar. A screen with holes small enough that only water and not small seeds can pass through is what you will be looking for.
- I opted for the convenience of plastic sprouting lids (available on Mumm's site).
- Metal mesh sprouting screens are also available.
- Or, you can simply use a double or triple layered fine cheesecloth as a screen and affix it to the top of your jar using a rubber band.
If your tap water is safe for drinking then tap water will be safe for rinsing your sprouts. It is best to use cool water that is neither too cold nor too warm.
Finally, you will need to invert your jar between rinses of your sprouts so that excess water can drain from the jar. Although you could just prop your jar up against the wall and hope it doesn't topple, one final piece of equipment would be a bowl within which to rest your jar. After I realized that I was committed to sprouting I invested in drainage trays also available on Mumm's website but a small soup bowl works just as well.
How To Grow Sprouts
Growing sprouts is really just a two step process. First you need to soak your seeds. Then you rinse your seeds twice a day, allowing them to dry between rinses.
- Add the seeds to your jar. The instructions on the package of seeds will tell you how much to use (typically one to four tablespoons depending on the size of the seeds).
- Cover the seeds with a good amount of cool water and allow them to soak. The instructions on your package of seeds will tell you how long those seeds need to soak (generally between 2 to 12 hours).
- When the soaking time is done, drain the water through the screen in the lid, invert the jar in a sprouting tray or bowl and allow the seeds to dry.
- Next, rinse the seeds twice a day (typically morning and night) with cool water. Fill the jar with water to cover the seeds. Give the seeds a good swirl and shake. Dump out the rinse water through the screen in the lid. Make sure as much water is drained as possible. Then invert the jar in the sprouting tray or bowl and allow excess water to drain until the next rinse.
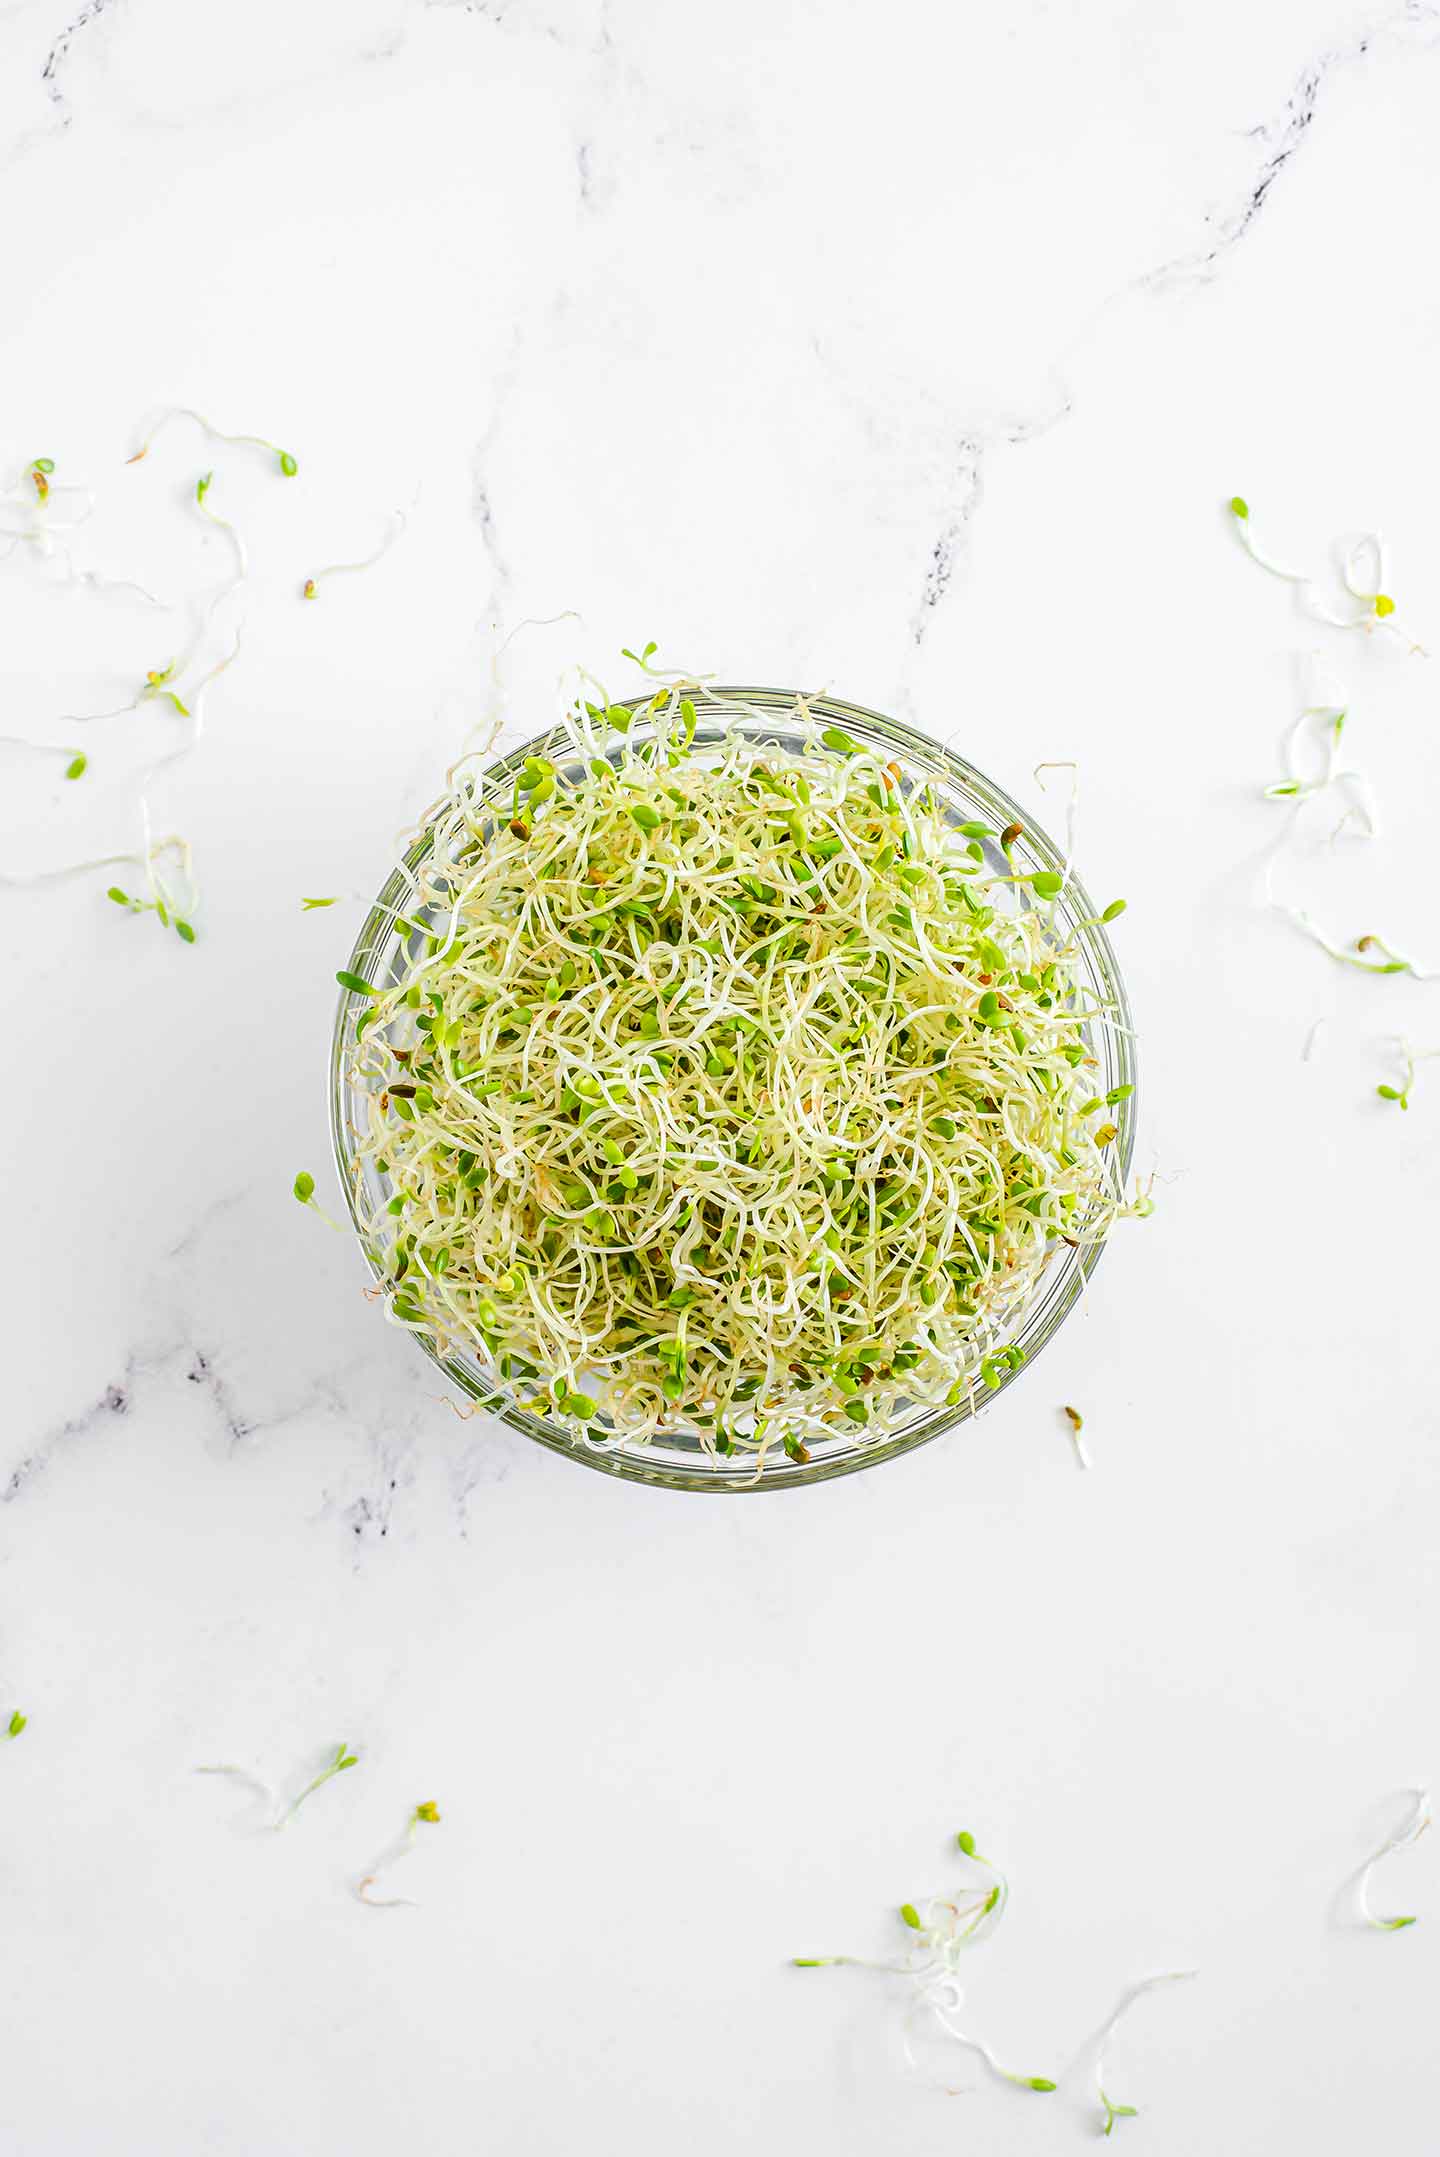
- Continue with your twice daily rinses for however long your package instructs. Larger seeds tend to be fully sprouted and ready to eat in just two days. Smaller leafy sprouts will be ready in 5 days.
- Allow your sprouts to fully dry after their last rinse then transfer to an airtight container and refrigerate for up to 10 days.
Removing Hulls From Sprouts
You will notice that mixed in with your beautiful leafy sprouts are lots of unappealing looking brownish hulls. These hulls are a casing that come off the seed in order for the seed to sprout.
Hulls are perfectly safe to eat but they don't make your home grown sprouts look quite as beautiful as store bought sprouts so you can remove them. I find that the easiest way to remove them is by enlisting the help of a salad spinner.
When your leafy sprouts are fully mature and ready to eat, give them one last rinse where you remove as many hulls as you can.
- Dump the sprouts into a salad spinner and fill the spinner with cool water.
- As the water rises the hulls tend to float to the top and the heavier sprouts will sink lower.
- Use your hands to push the sprouts down and force as many hulls up over the basket and into the larger bowl of the salad spinner.
- Pull the basket up so that the water full of hulls remains and discard the water.
- Repeat this process until you have removed as many hulls as you can.
- Feel free to spin the sprouts dry and then return them to the jar, invert, and allow them to fully dry one more time before storing them in your fridge.
Mold Or Root Hairs?
Another common question that arises from sprouting is whether mold is growing on the sprouts. Sprouts from the brassica family of plants like broccoli and radish often develop fuzzy white root hairs that could be mistaken for mold.
One of the key indicators to look for is where this white fuzzy stuff is growing. If the white fuzz is only on the root hairs of the sprout and everything else looks normal then it's safe to assume that they are root hairs and perfectly normal!
I have never had any issues with actual mold growing on sprouts but some things to keep in mind in order to prevent mold are:
- Make sure your jars, lids etc are super super clean before using them for sprouting! Sanitize them in boiling water or with a sanitize cycle in your dishwasher if you can.
- Keep your sprouts shady. Place your jars in a shady corner of your countertop and not in direct sunlight.
- Give your sprouts air. Although your sprouts like shade, don't put them in a cupboard! Make sure they are out in the open with air circulating so that they can fully dry between rinses.
- Invert the jars and make sure they fully dry between rinses.
Should Everyone Grow Sprouts?
Sprouts are super packed with nutrition, easily digested, beautiful and delicious. Although most people will certainly benefit from including them in their diet there are a few exceptions.
Like any fresh produce, raw sprouts can carry the risk of illness. It is generally advised that pregnant women do not consume raw sprouts.
Anyone with a lowered immune system including children and elderly may also want to avoid consuming raw sprouts.
Check with your doctor, do some further research and make sure that sprouts are safe for you.
Is It Thrifty To Grow Sprouts At Home?
Indeed it is!
If I buy sprouts from my grocery store I am usually buying 60 - 100 grams of sprouts in a plastic container and it will cost me about $3.50 - $4.50 Canadian.
A 250 g bag of my favourite Sandwich Booster Blend seeds from Mumm's Sprouting Seeds costs me $11.50 CAD. If I sprout 1 tablespoon of seeds at a time I end up with a 90 to 100g yield of sprouts. I counted 20 tablespoon of seeds in the 250 g bag.
That means that my cost is about 57 cents per 100 grams of sprouts grown at home vs. $3.50 - $4.50 from the store!
If I were to buy store-bought sprouts 20 times I would be spending $70 vs. $11.50 for a bag of seeds from Mumm's. I have priced out all of the seeds I have purchased from Mumm's and they all offer similar savings. I think it would be safe to assume that seeds from any company will result in much greater savings than buying sprouts from a store.
With just a few minutes of work over a few days you can grow sprouts at home for a fraction of the cost!
How To Use Sprouts

I love topping salads, soups, and sandwiches with sprouts. There are so many ways you can incorporate them into your meals but here are a few ideas to get you started:
- Try my Chickpea Smash Sandwich topped with Mumm's Sandwich Booster Blend of alfalfa, clover, radish, and mustard seed sprouts.
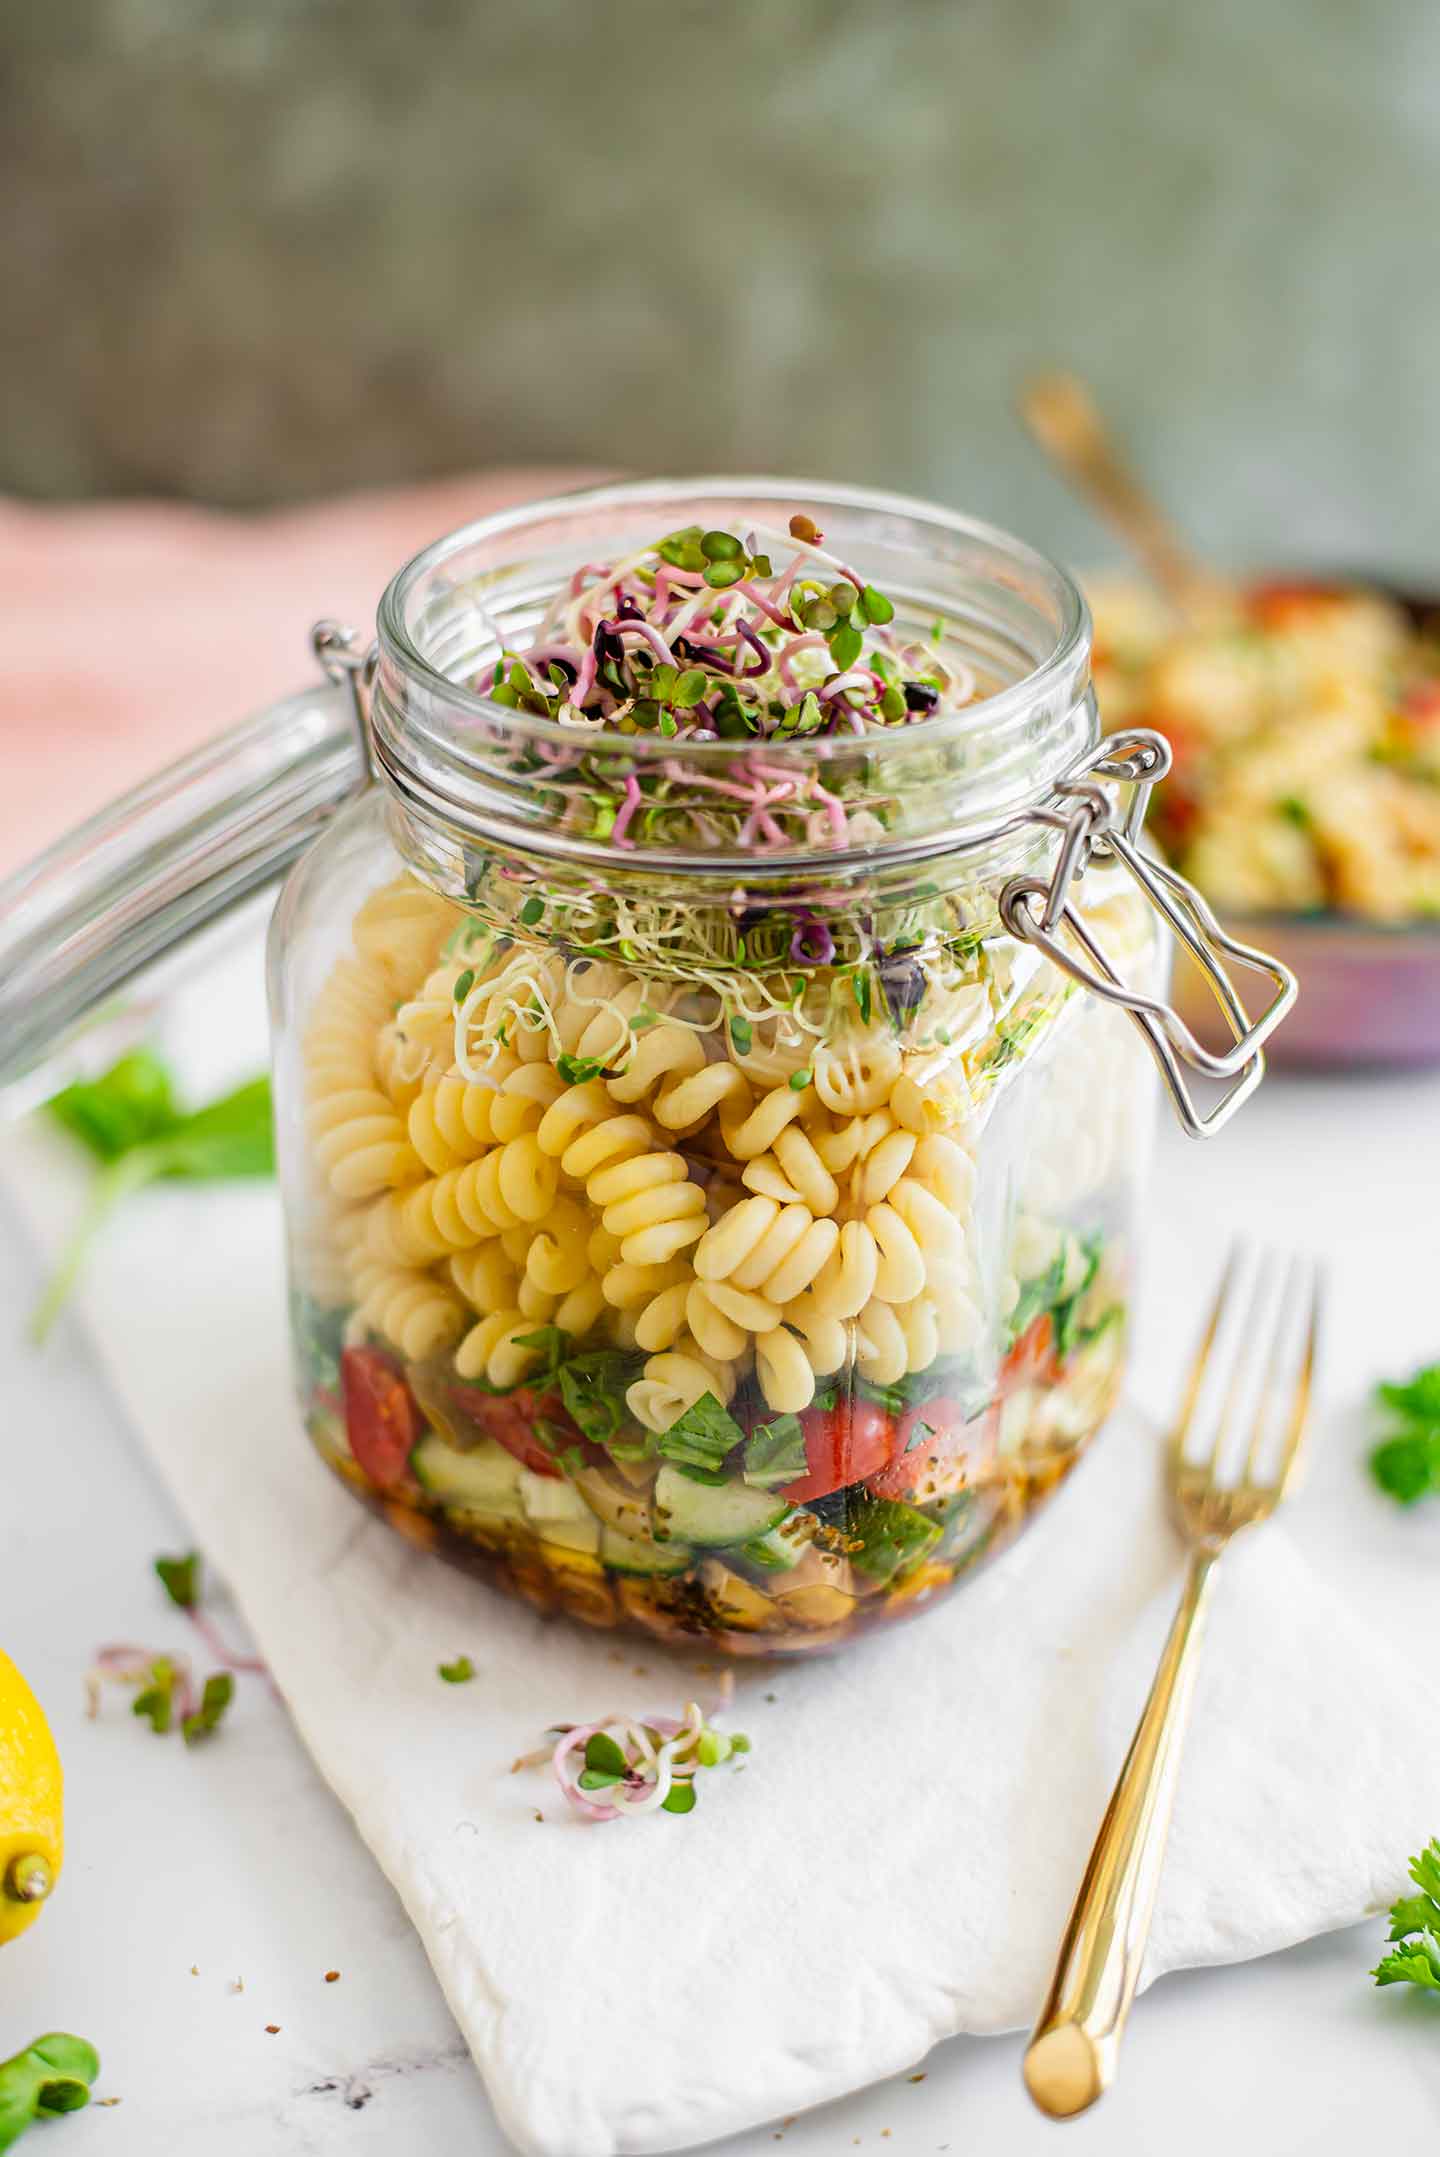
- Another favourite is to top my Pasta Salad In A Jar with sprouts. Pictured is Mumm's Rainbow Radish Blend which pack a surprising kick of spicy radish flavour!
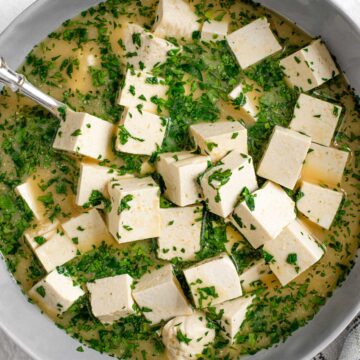
- I often top my soups and chilli's with sprouts for a bit of a refreshing garnish and boost of greens. Try them on my Chipotle Two Bean Chilli!
Let me know in the comments below if you have loved learning how to grow sprouts on your countertop. There are certainly other methods you can use to grow sprouts (sprouting bags etc.) so leave me comments with your questions, curiosities, and suggestions!
I'm itching to try growing microgreens too so let me know if you want to see a post and video tutorial for microgreens next!

Sophie
This is SUPER helpful! Thank you for the detailed post and video! You're adorable AND informative! Thanks, Kathryn!
Kathryn Alexandre
Thank you Sophie. I'm so glad you liked the video and found the post helpful as well. Happy sprouting!