
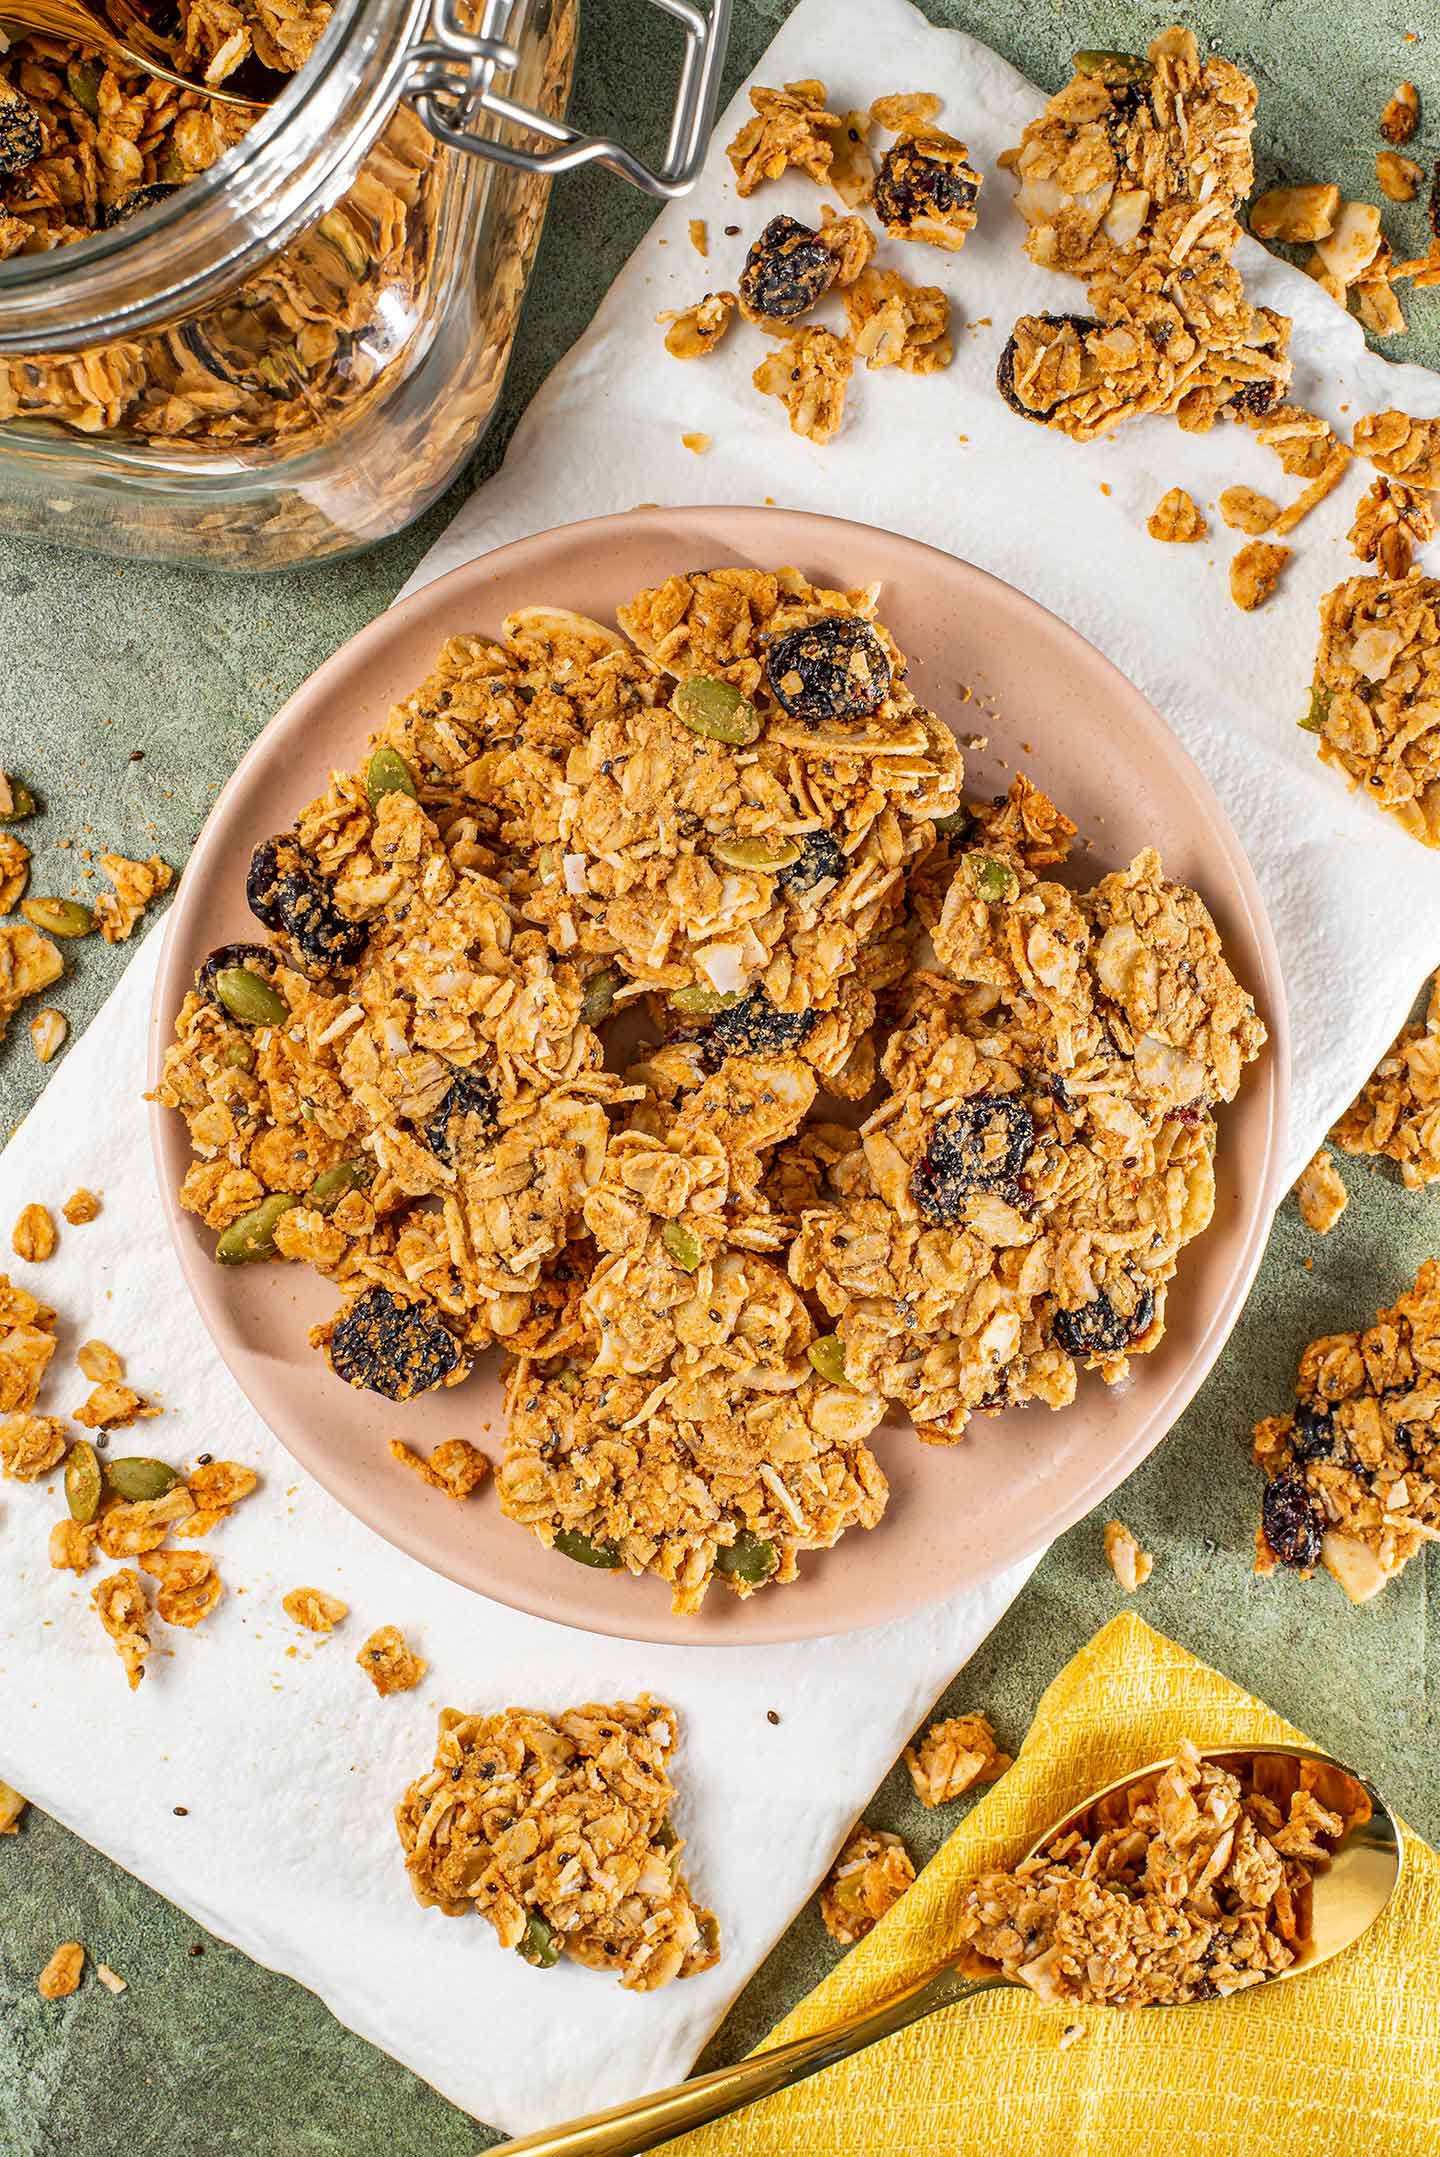
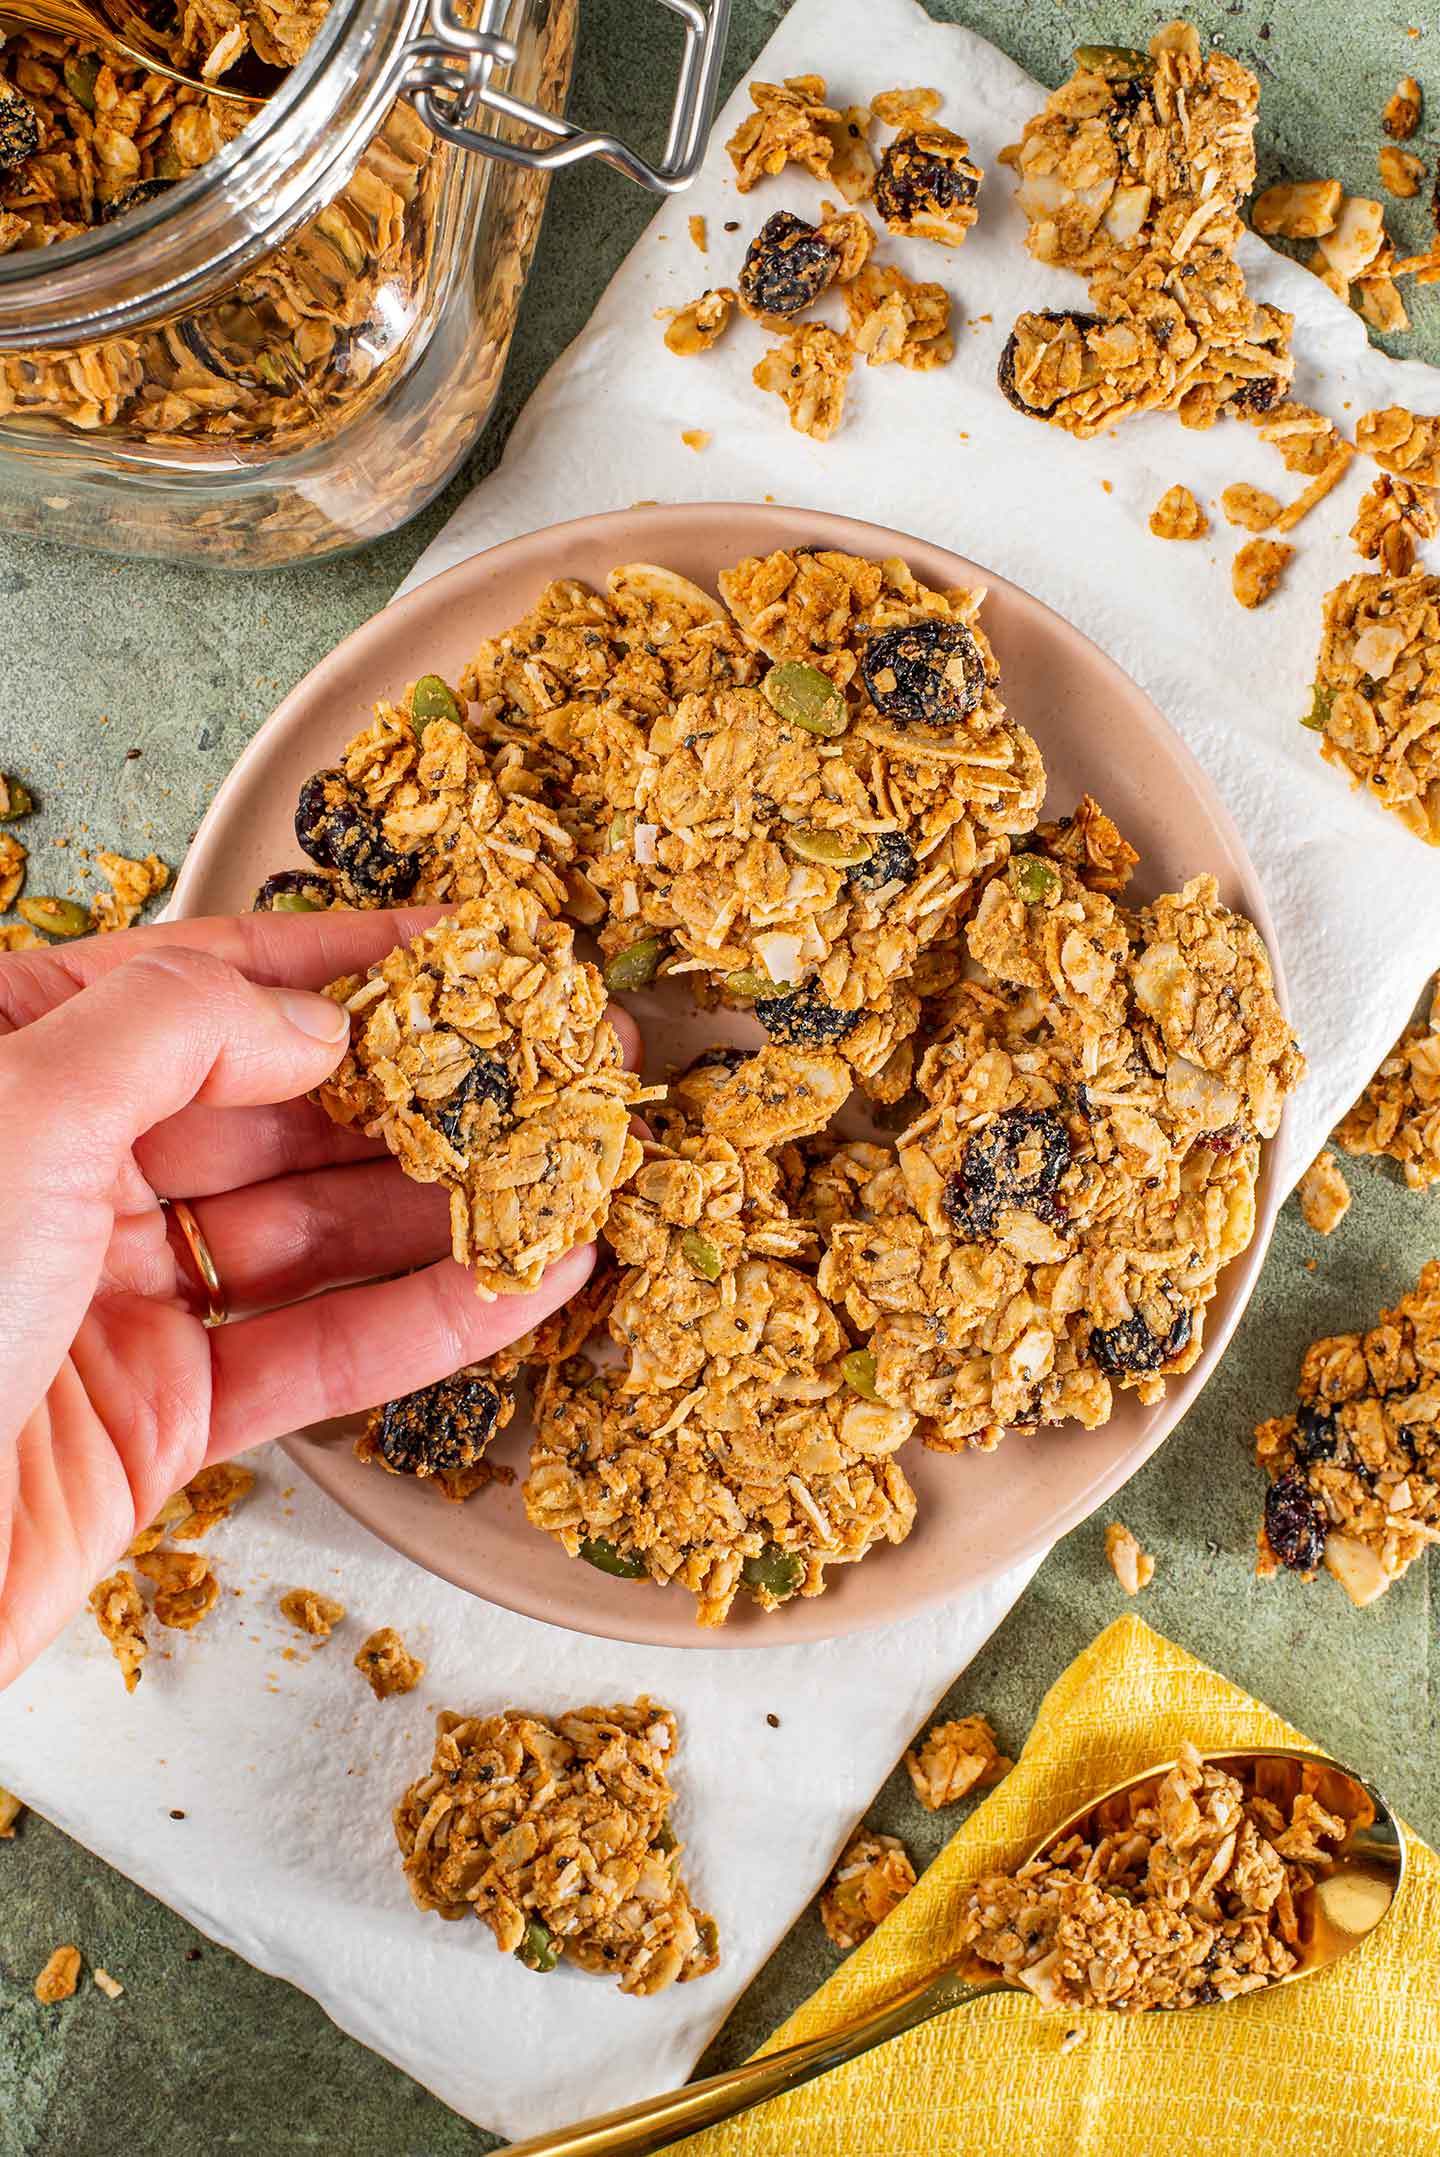
If you are a lover of crunchy granola clusters then this chunky peanut butter granola is for you! It's loaded with flavour and satisfying crunch!
Oil-free
Ready in 30 minutes
And half the price of store-bought granola
Ingredients
Most granola recipes suggest using only large flake rolled oats but I actually prefer a combination of rolled oats and quick cooking oats for this granola. That said, this recipe will work just as well using all rolled oats OR all quick cooking oats!
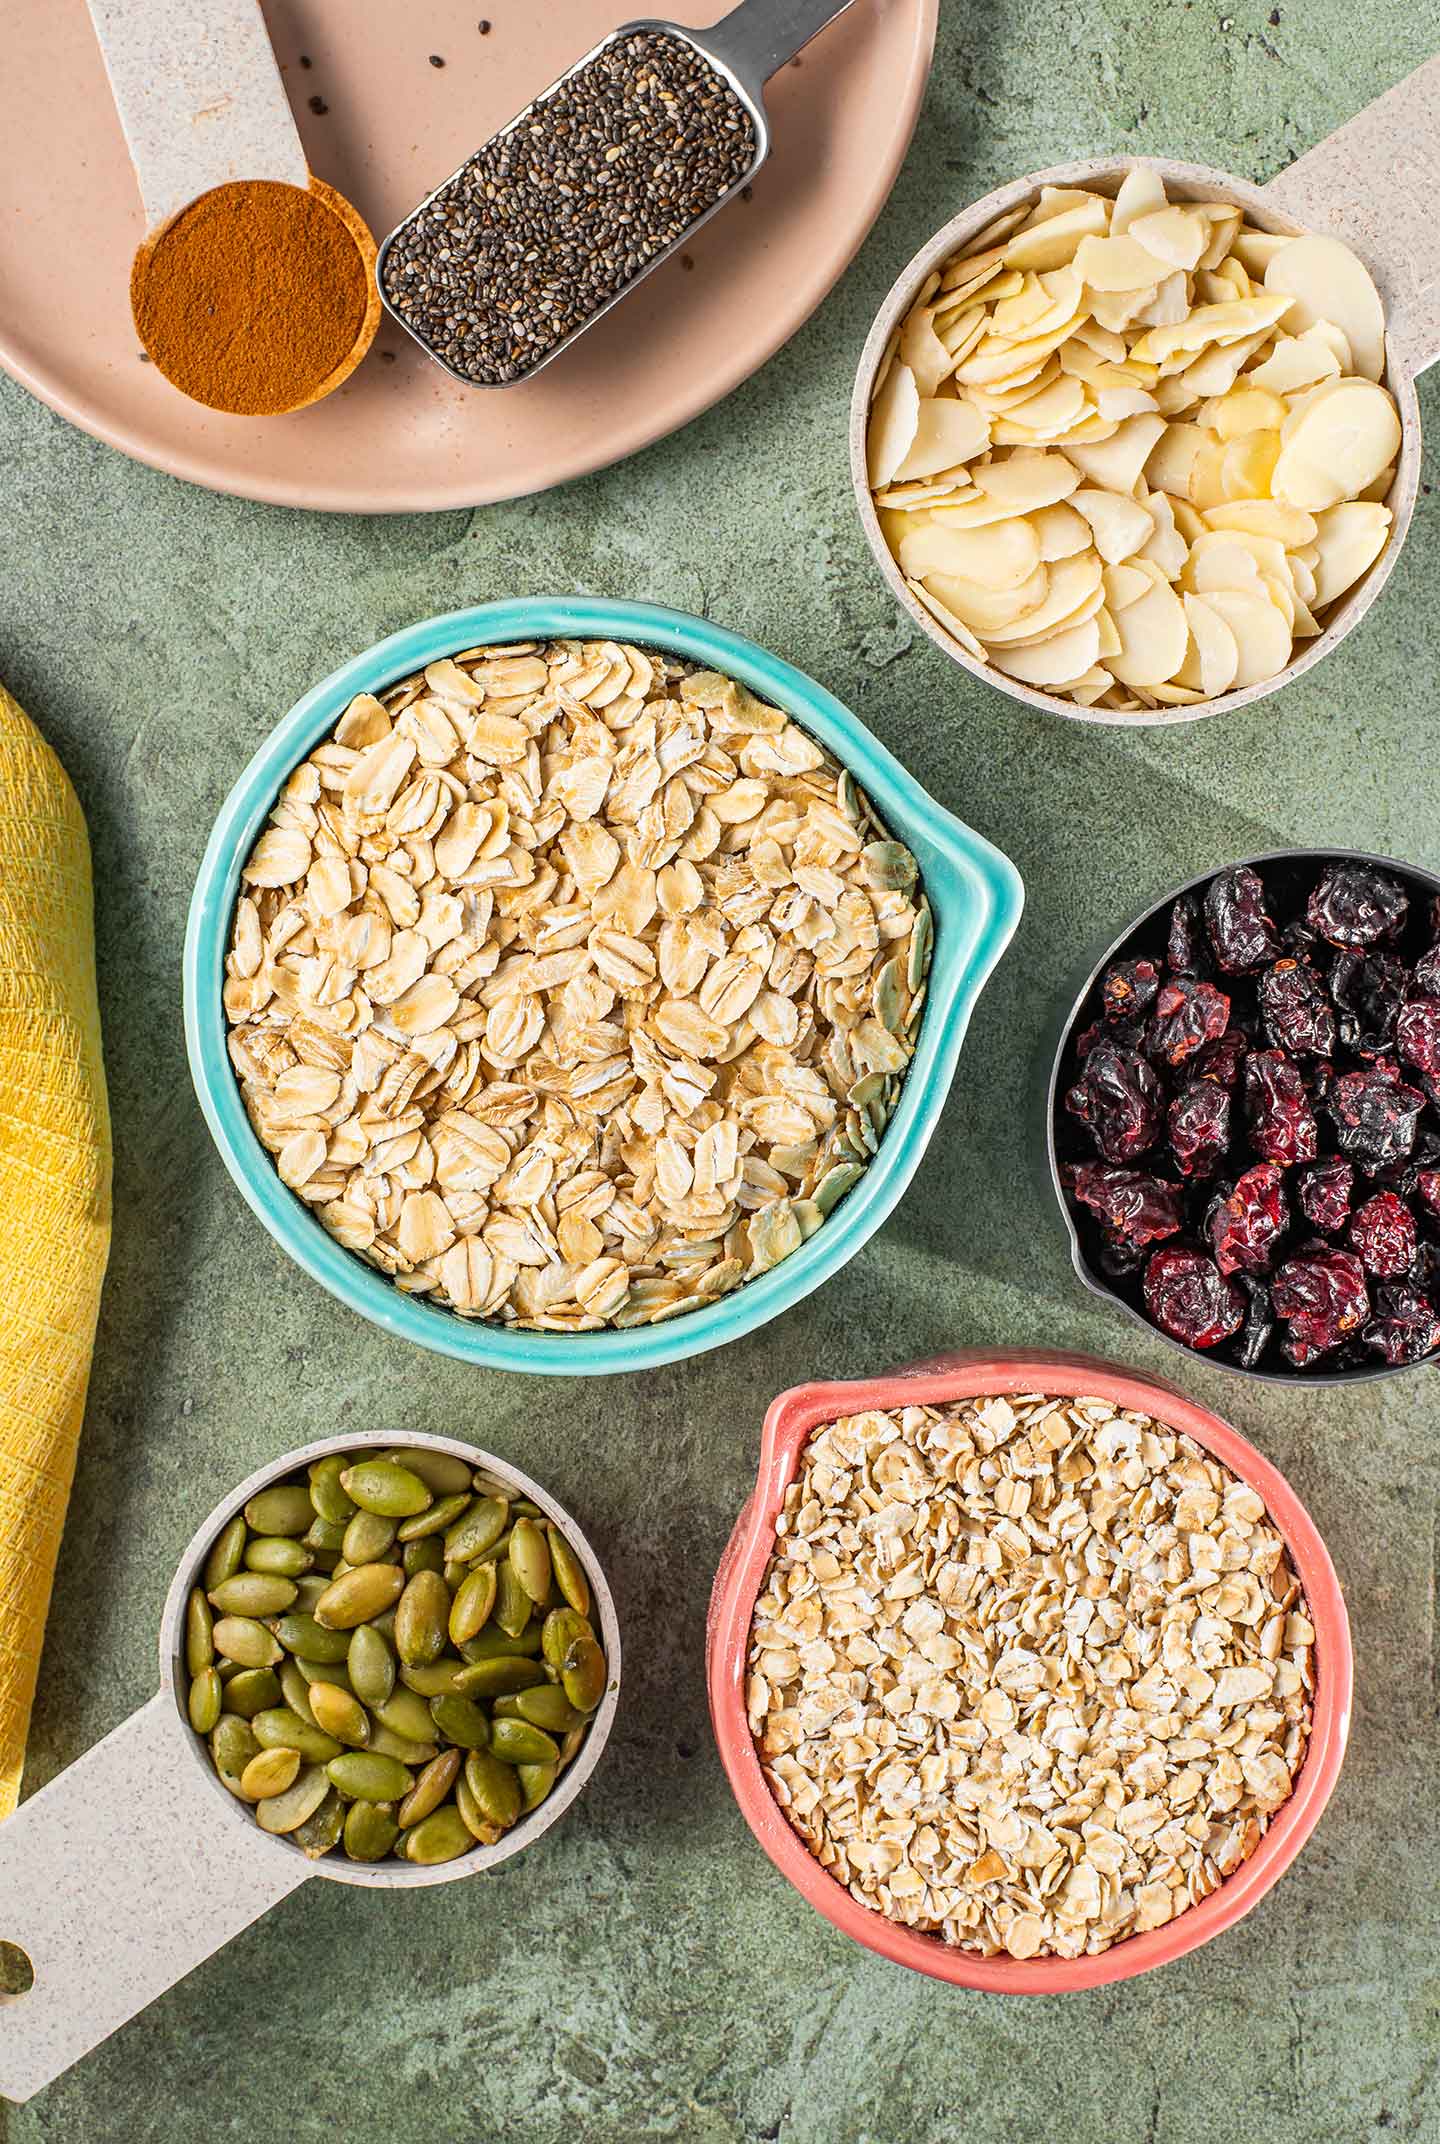
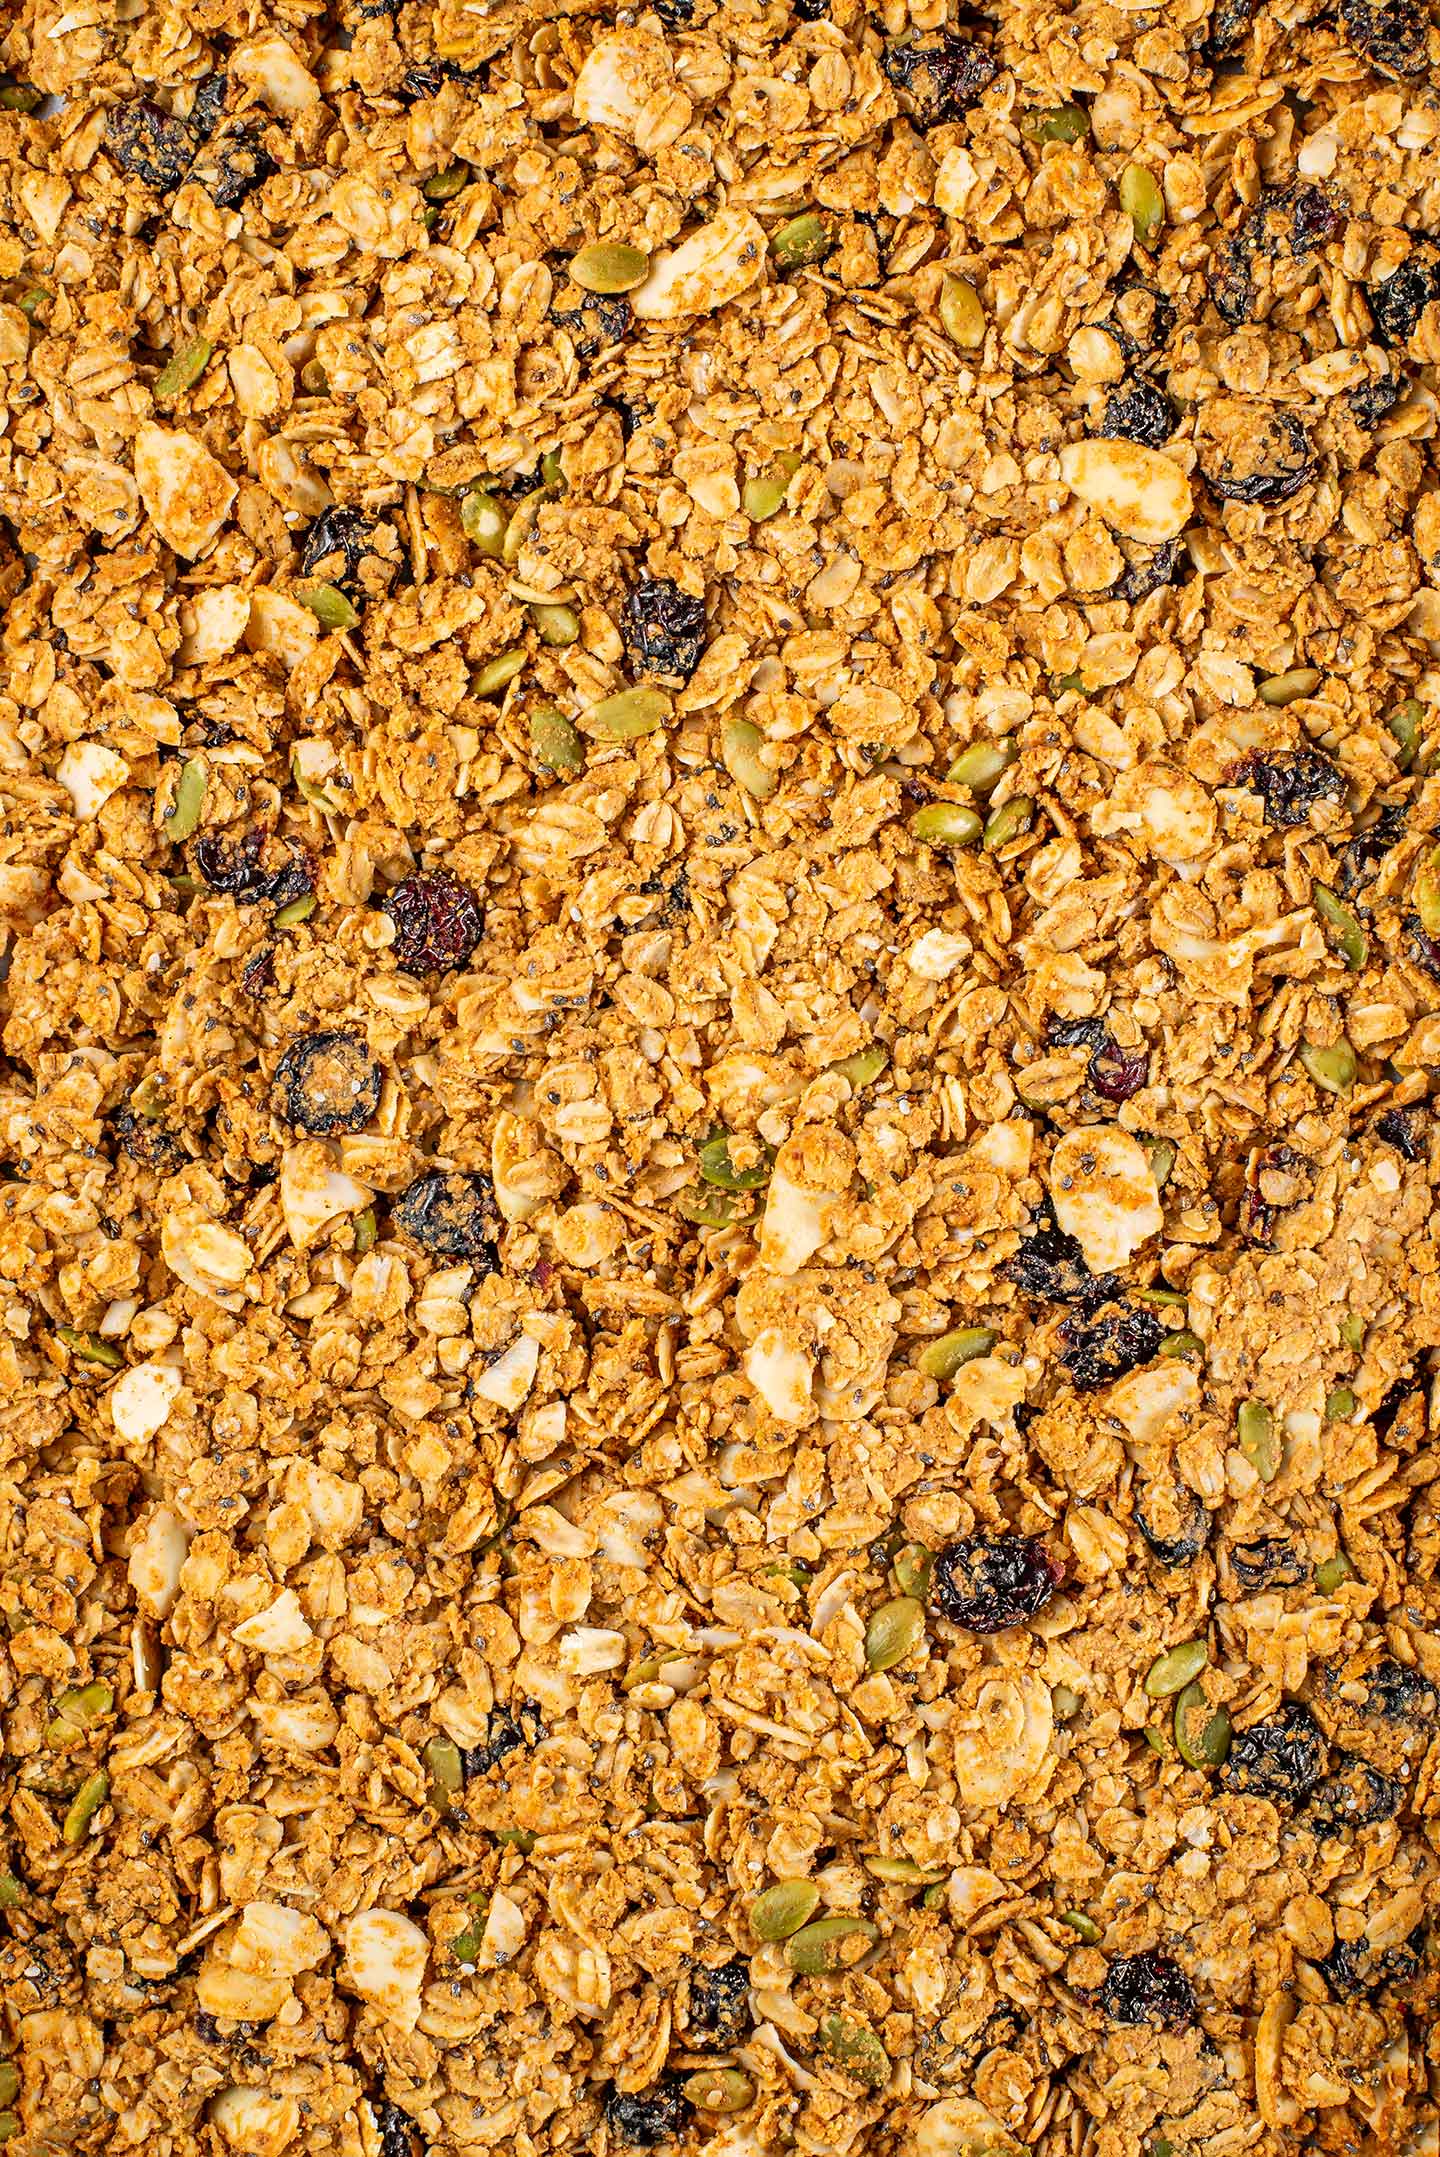
Besides the oats, I like to pack this granola with flavour:
- Shredded coconut
- Sliced almonds
- Dried Cranberries
- Pumpkin Seeds
- Chia Seeds
- And ground cinnamon
The almonds and seeds add a little boost of protein to this snack and the different flavours and textures make every bite interesting.
If you are new to making homemade snacks, take a look at my Pantry Tips page. I find it so helpful to keep these pantry staples on hand for snacks like this chunky peanut butter granola. It's tempting to buy store-bought snacks for the convenience but if you want to save money at the grocery store, this is a great way to do so!
Wet Ingredients
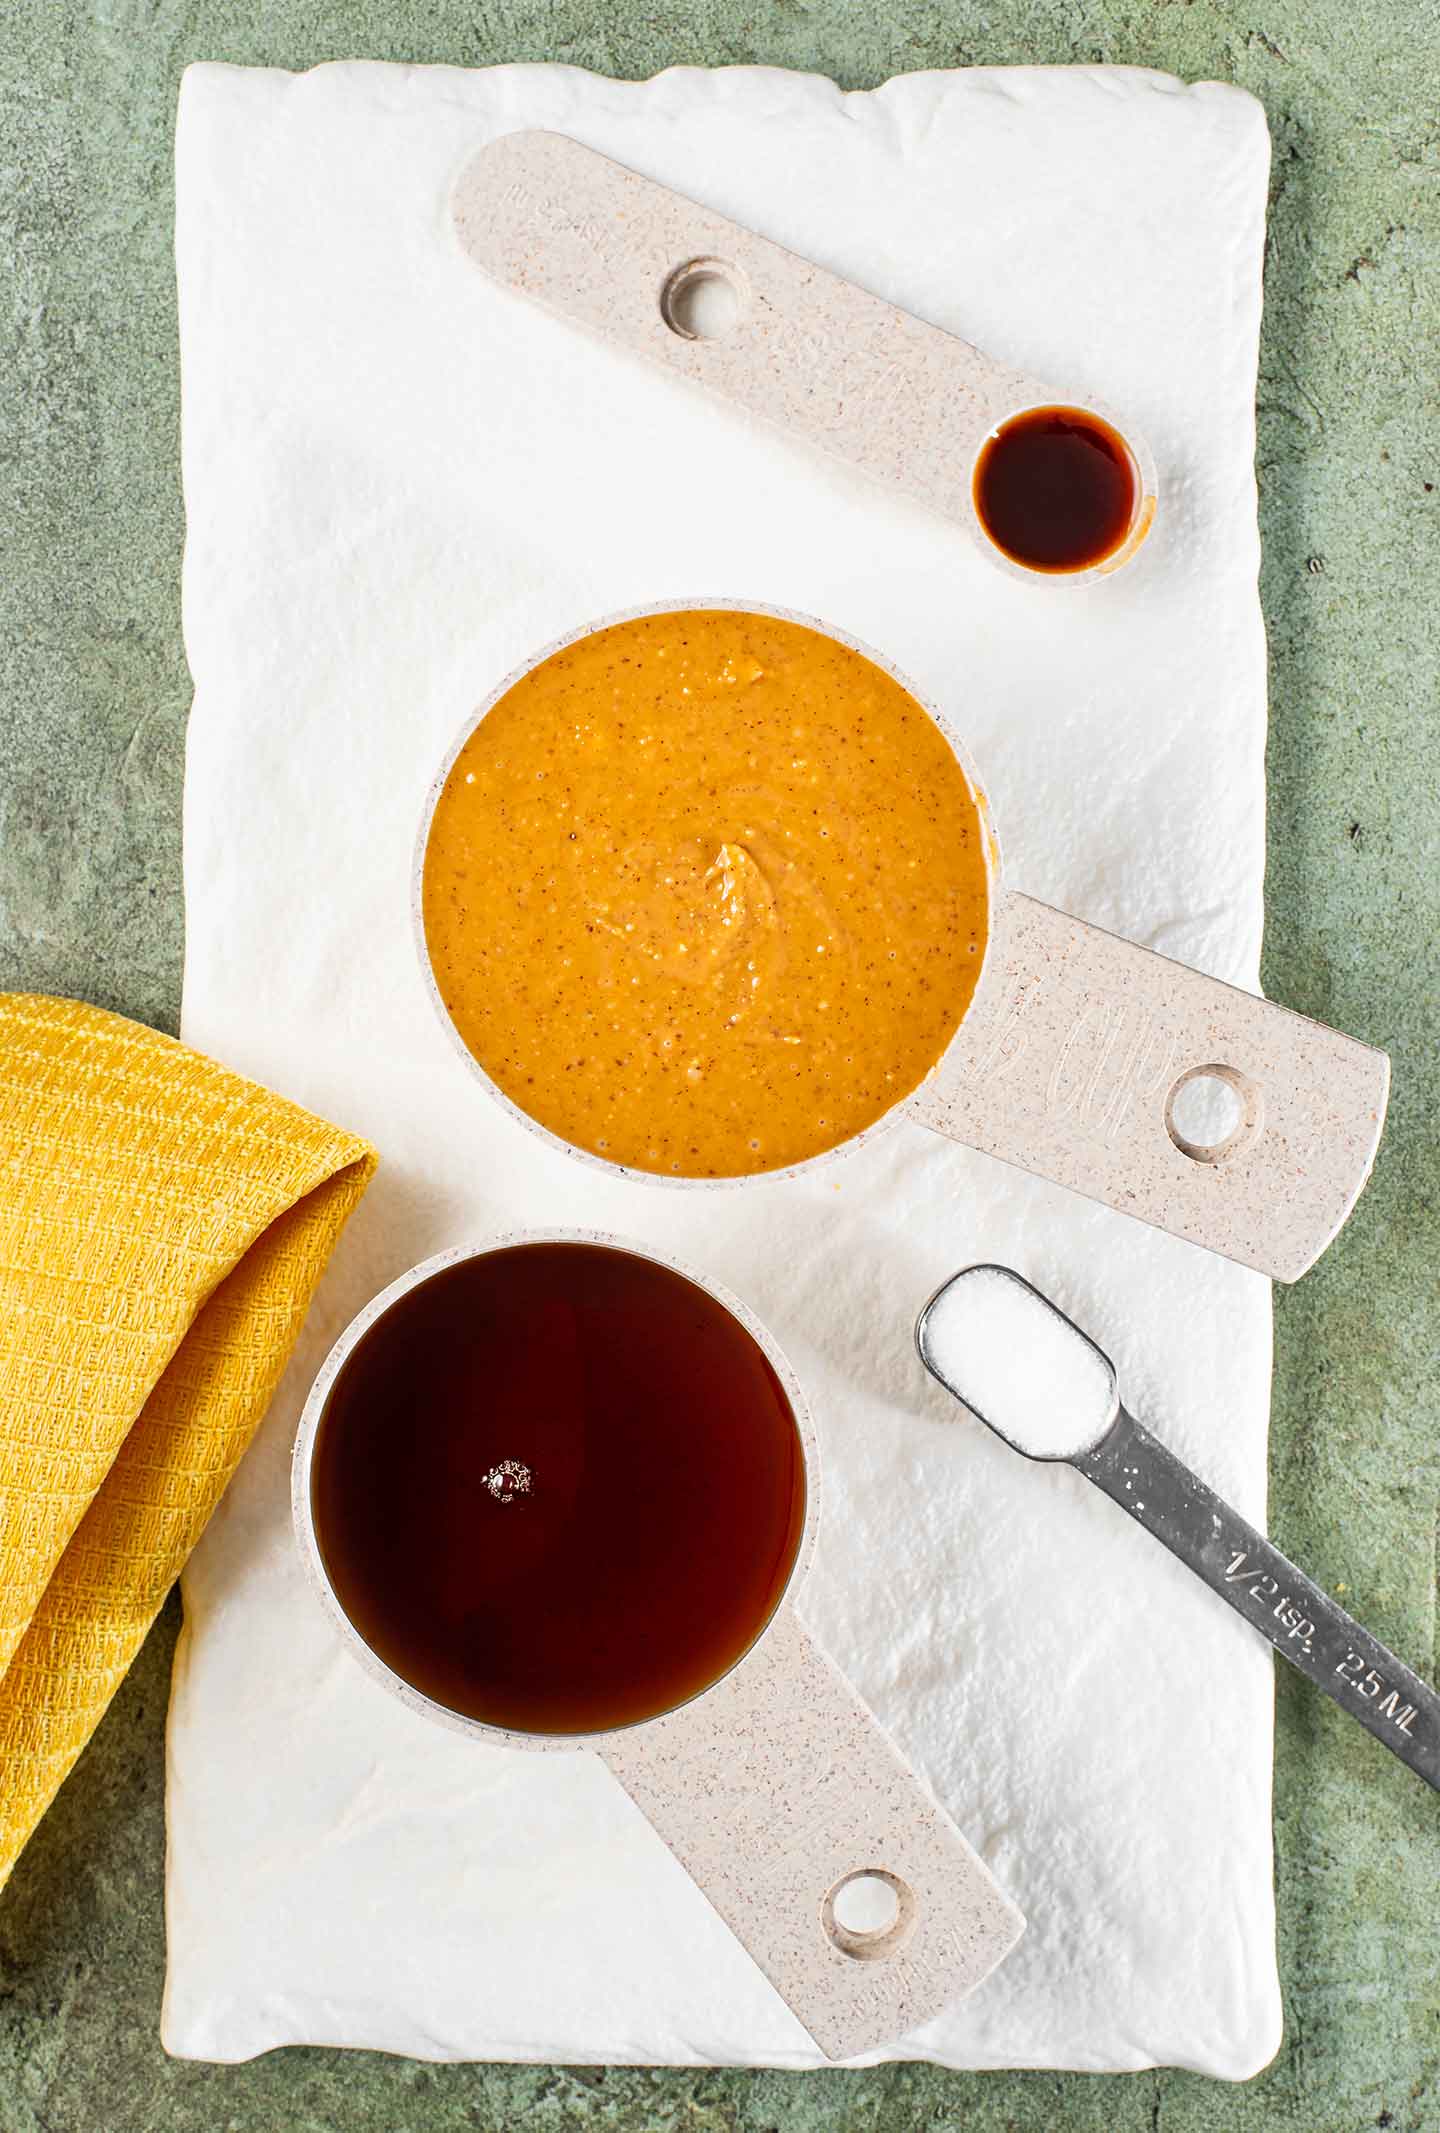
To keep this recipe oil-free, I use the following ingredients to bind this granola into crunchy clusters!
- Peanut butter
- And maple syrup
Feel free to substitute another nut butter for the peanut butter or use another liquid sweetener.
If having a clustery granola is not your goal then feel free to reduce the amount of nut butter and maple syrup I use. If you do want those big clusters though, using any less then the amounts I have listed won't provide quite as much binding power.
Take a look at the notes in my recipe card for some more options if you're looking for alternatives to these two binders.
Baking The Chunky Peanut Butter Granola
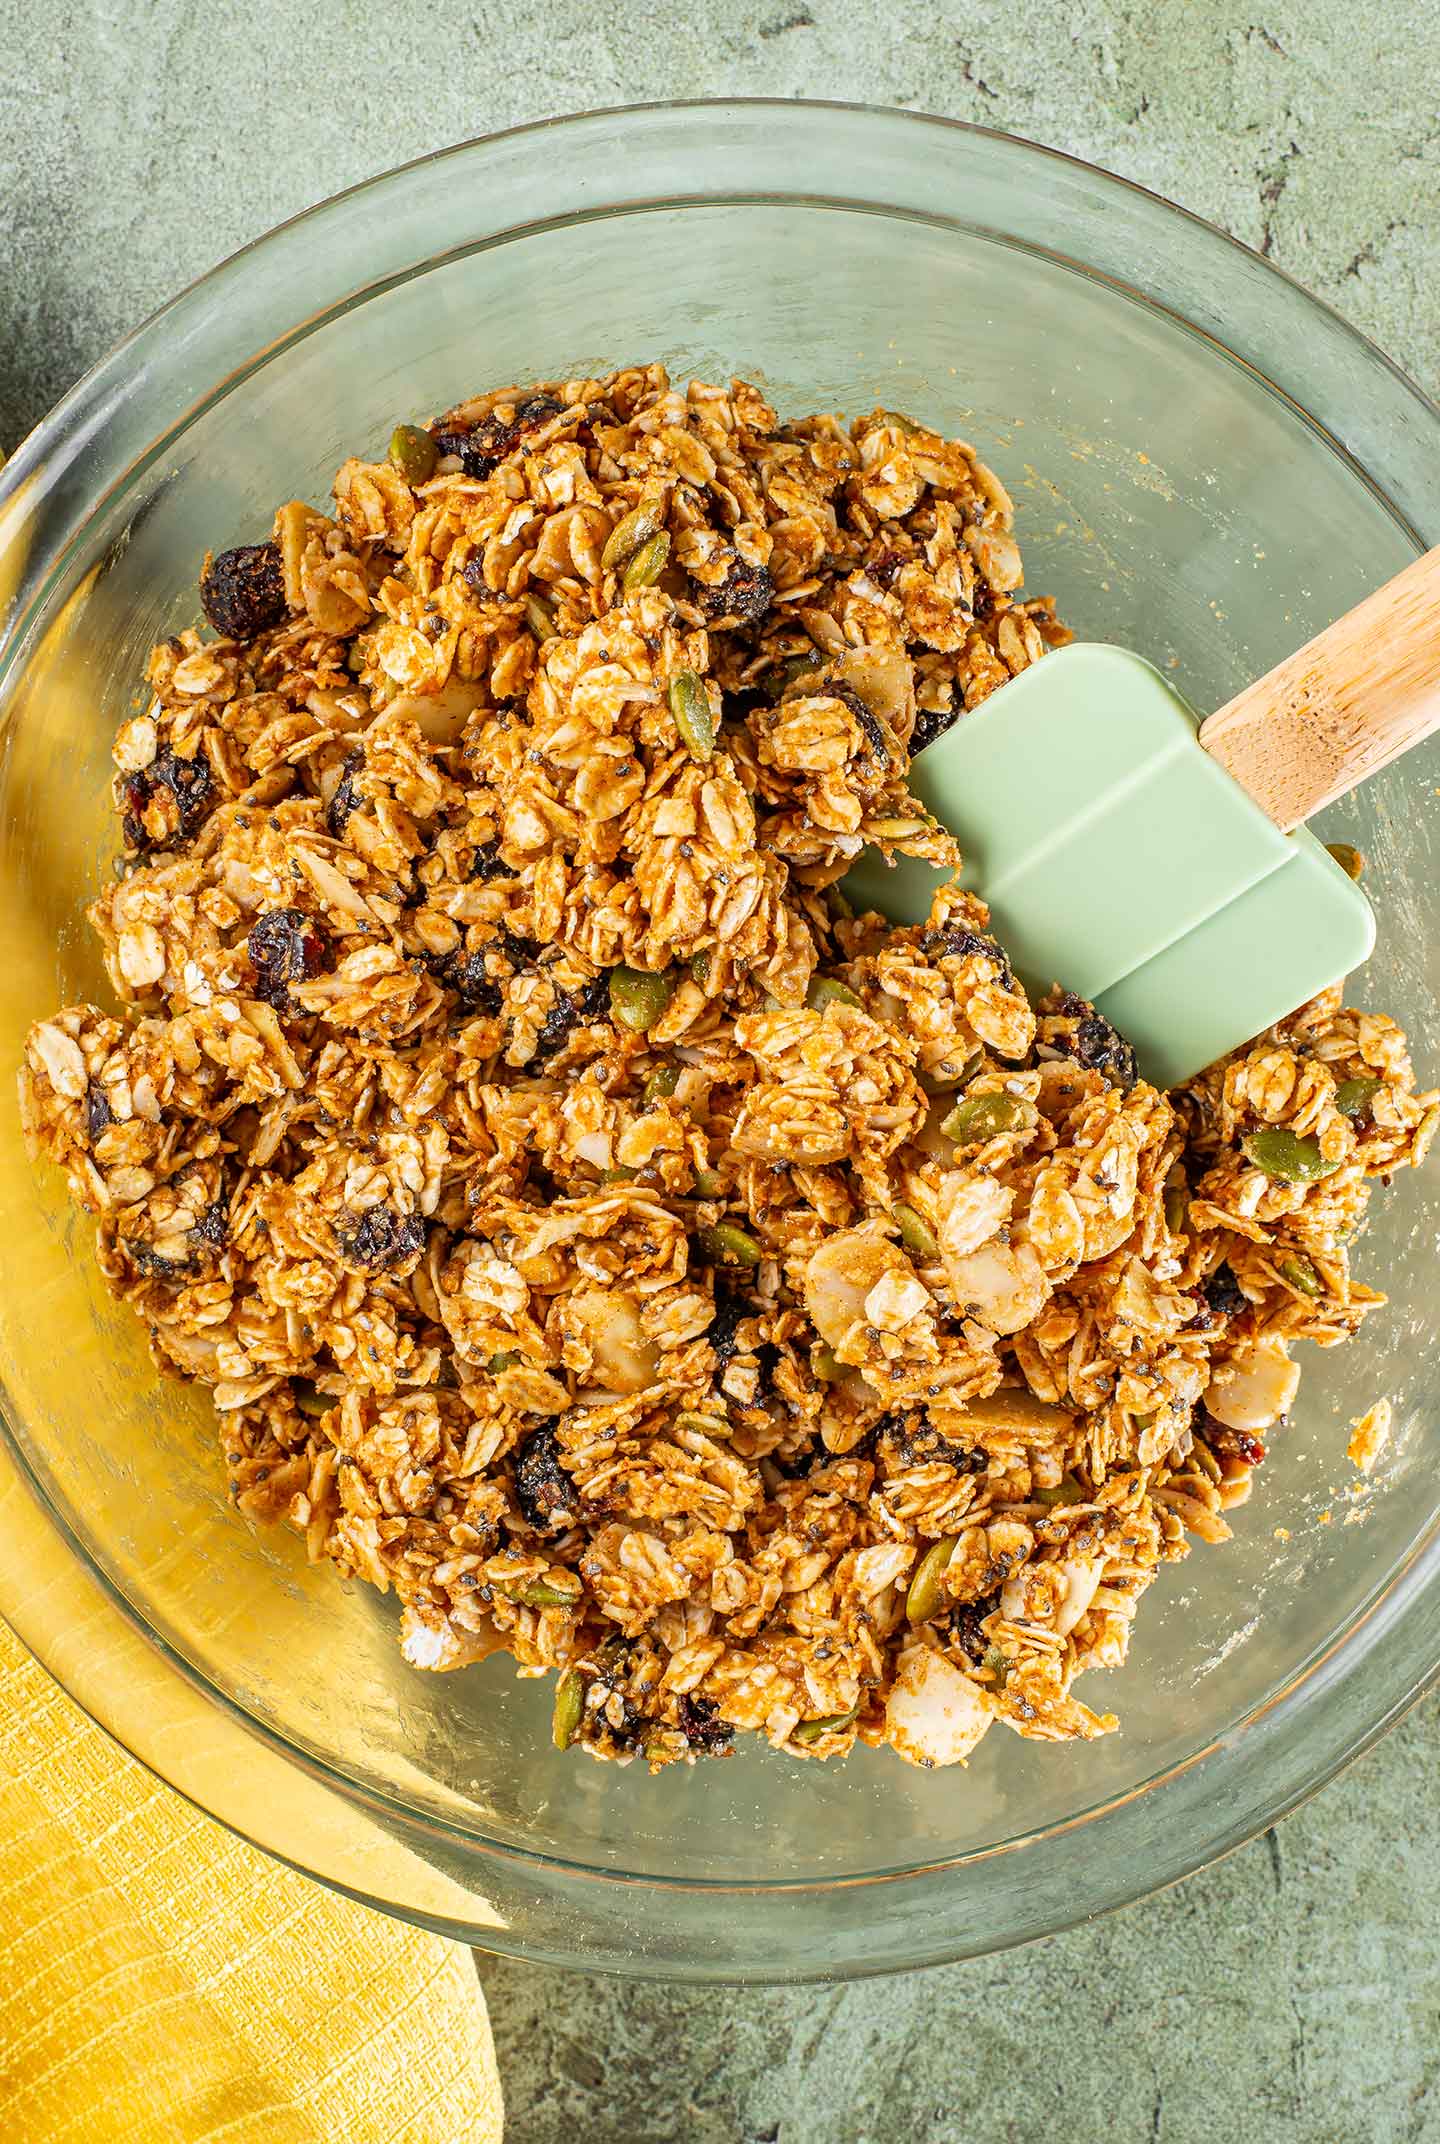
Preparing this chunky peanut butter granola is as easy as mixing the dry ingredients with the wet ingredients.
All that's left is to bake it. And for that:
- Spread the granola on a lined baking sheet and pat it down as much as you can, making sure all the granola is touching.
- Keeping the granola in a solid mass will ensure that it clumps together as it bakes.
- Bake at 350 F for 10 minutes.
- Give it a stir so all the granola will brown evenly, and pat it back down into a thin rectangle with all the pieces touching.
- Bake for an additional 10 minutes until fragrant and golden.
- Remove from the oven and DON'T STIR the granola! Let it cool completely on the baking sheet. This is the key to getting clustery granola! Once the granola is completely cooled, you can break it apart and store it!
Recipe Cost
This chunky peanut butter granola recipe makes 550 grams and costs me under $4.50 CAD.
At roughly $0.80/100g this homemade granola is about half the cost of the store-bought granola options available to me which average $1.60/100g.
Before I started making my own homemade snacks, I never would have thought I would be saving as much as I do. It always seemed like buying all the individual ingredients would add up to more in the end. But once I started keeping track of my recipe costs and comparing them with the store-bought options, I saw the true extent of the savings.
And having all of these pantry ingredients on hand has meant that I can be creative and make something new whenever I feel like it!
Make sure to let me know in the comments below how you like this oil-free peanut butter granola!
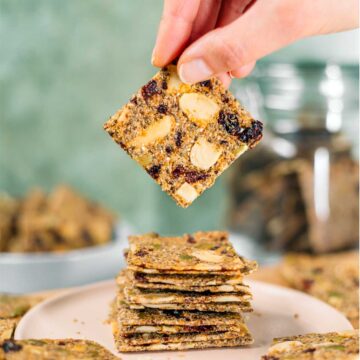
These Puffed Rice Granola Bars use many of the same ingredients and so do these Banana Oat Breakfast Cookies!
Print
The Best Chunky Peanut Butter Granola (Oil-Free)
- Total Time: 30 minutes
- Yield: 550g 1x
- Diet: Vegan
Description
Chunky peanut butter granola clusters in just 30 minutes! Super crunchy, full of flavour and it's oil-free!
Ingredients
- 1 cup large flake rolled oats
- ½ cup quick oats (can use all rolled or quick oats)
- ½ cup shredded coconut
- ½ cup sliced almonds
- ½ cup dried cranberries
- ¼ cup pumpkin seeds
- 1 tbsp chia seeds
- 1 tsp ground cinnamon
- ⅓ cup maple syrup (see notes for alternatives)
- ½ cup peanut butter
- ½ tsp salt
- ½ tsp pure vanilla extract
*All the ingredients for this recipe are from our pantry and freezer tips!
Instructions
- Preheat the oven to 350 degrees F and line a baking sheet with parchment paper or a silicone mat.
- Add the oats to a large bowl (I prefer the texture of a mixture of rolled and quick oats but this recipe works just as well with all rolled oats or all quick oats).
- Stir in the coconut, almonds, cranberries, pumpkin seeds, chia seeds and cinnamon (or any similar substitutes you wish to use).
- Gently heat up the maple syrup and peanut butter with the salt and vanilla in the microwave or in a saucepan to make it easier to mix with the dry ingredients.
- Mix the warmed peanut butter mixture into the dry ingredients and stir to fully coat.
- Spread the granola mixture onto the prepared baking sheet and pat it down as much as you can making sure that all the granola is touching. You should end up with a compact layer of granola about ½ inch thick.
- Bake at 350 F for 10 minutes. After 10 minutes remove the granola from the oven and give it a stir. Break up the clumps and flip the granola over as much as possible to make sure everything cooks evenly. Then pat the granola back together into a ½ inch compact layer making sure everything is touching.
- Return to the oven for another 10 minutes then remove from the oven and allow to cool completely on the baking sheet. Don’t stir the granola or break it up at all until it is completely cooled and this will ensure you get the best clusters.
- Once the granola is entirely cooled. Break it up as much as you would like and store in an airtight container on the counter for 1-2 weeks or in the fridge for longer storage.
Notes
Approximate Cost: $4.47 CAD. At roughly $0.80/100g this homemade recipe is about half the cost of store-bought granola at roughly $1.60/100g.
Since this recipe does not use oil, a liquid sweetener is the best choice for ensuring the granola clumps together. If you wish to use a granulated sugar and still want the granola to cluster, I recommend adding at least ¼ cup of an additional liquid (more peanut butter, an oil of your choice, or whipped aquafaba could all work). A couple flax eggs could potentially work and applesauce may reduce how crunchy the granola is and make it more chewy but will also act as a binder.
You can reduce the amounts of peanut butter and maple syrup but the granola will not stick together as well. If you prefer a looser granola then you can certainly reduce the amounts but if you do want the big granola clusters then the ratios in the recipe will be best.
- Prep Time: 10 minutes
- Cook Time: 20 minutes
- Category: Snacks
- Method: Baked
- Cuisine: American, Canadian
Kerry
Took this with us camping last weekend and it was great to have on hand. Had it both dry and cold!
Kathryn Alexandre
Awesome! It's such a great camping snack. Thank you so much for trying it and leaving a star review. I'm glad to hear you loved having it on hand!
Debbie
I seen your video on YouTube and am making this today. Use by seeing ingredients and results you had I know it will be just what I was looking for. Thank you for the post!
Kathryn Alexandre
Wonderful! I'm so glad you found this recipe and our video. Thank you for letting me know you're trying it and I really hope you enjoy it Debbie!
Mary Caudle
Very delicious. Texture is very good not hard.
Kathryn Alexandre
I'm so glad you like it. Thank you for letting me know and for the lovely star rating!
Cindy
Sooo good!! Thank You!! I hope I don’t eat it all today!🫣
Kathryn Alexandre
haha I know! The tough part is the portion control 😄 it's just so snackable! Thanks so much for letting me know you love it. ENJOY!