
This easy thin crust pizza dough recipe uses half whole wheat flour and half white flour for two 12" rustic thin crust pizzas! It's:
5 Easy Ingredients
Can Be Kneaded By Hand Or A Stand Mixer
Freezes Well
And It's Thrifty, Tasty, And As Far As Bread Goes... Pretty Timely!
Ingredients For This Thin Crust Pizza Dough
I've been experimenting with homemade pizza dough for awhile now and this combination of ingredients is my favourite.
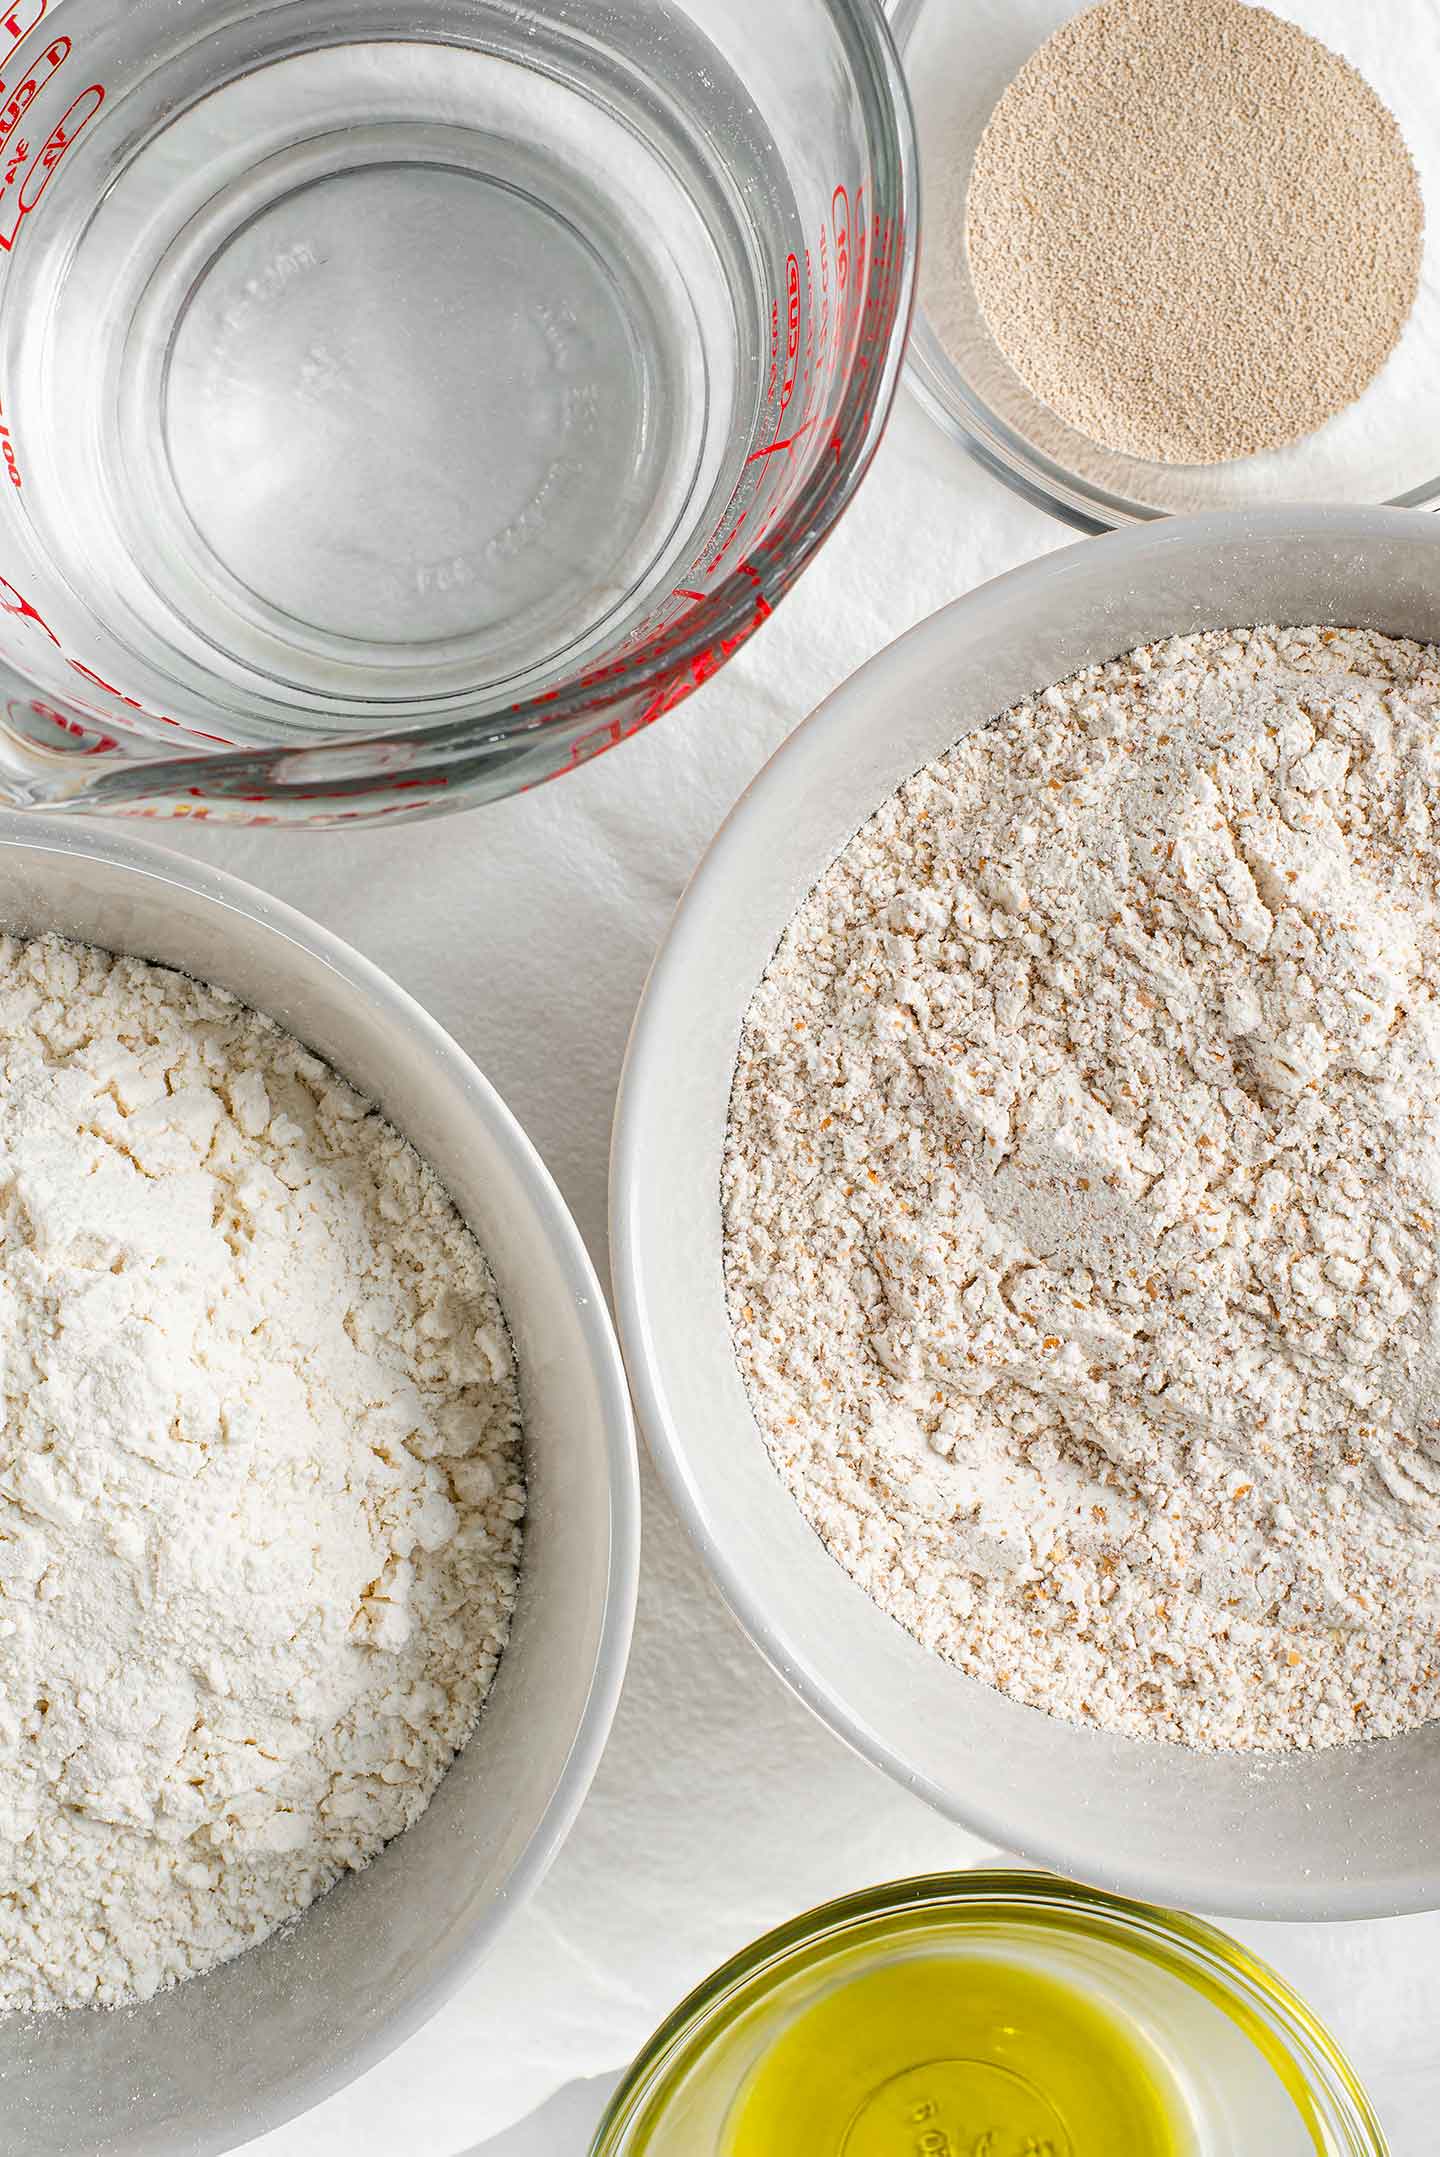
I try to incorporate whole wheat flour vs. white flour wherever I can for the bit of extra nutrition. So for this pizza dough recipe I use:
- Half whole wheat flour
- Half white flour
- Active dry yeast
- Touch of sugar to help activate the yeast
- A bit of salt for flavour
- And an optional touch of olive oil for ease and extra flavour
*1 ½ cups of warm water binds it all together. If you have a kitchen thermometer you can make sure your water is between 105 - 110 degrees F or roughly the temperature of bath water. If your water is too hot it could kill the yeast but having it warm enough will encourage the yeast to activate.
Using Instant Yeast
You should certainly be able to use instant yeast for this recipe. The process will just be a little different.
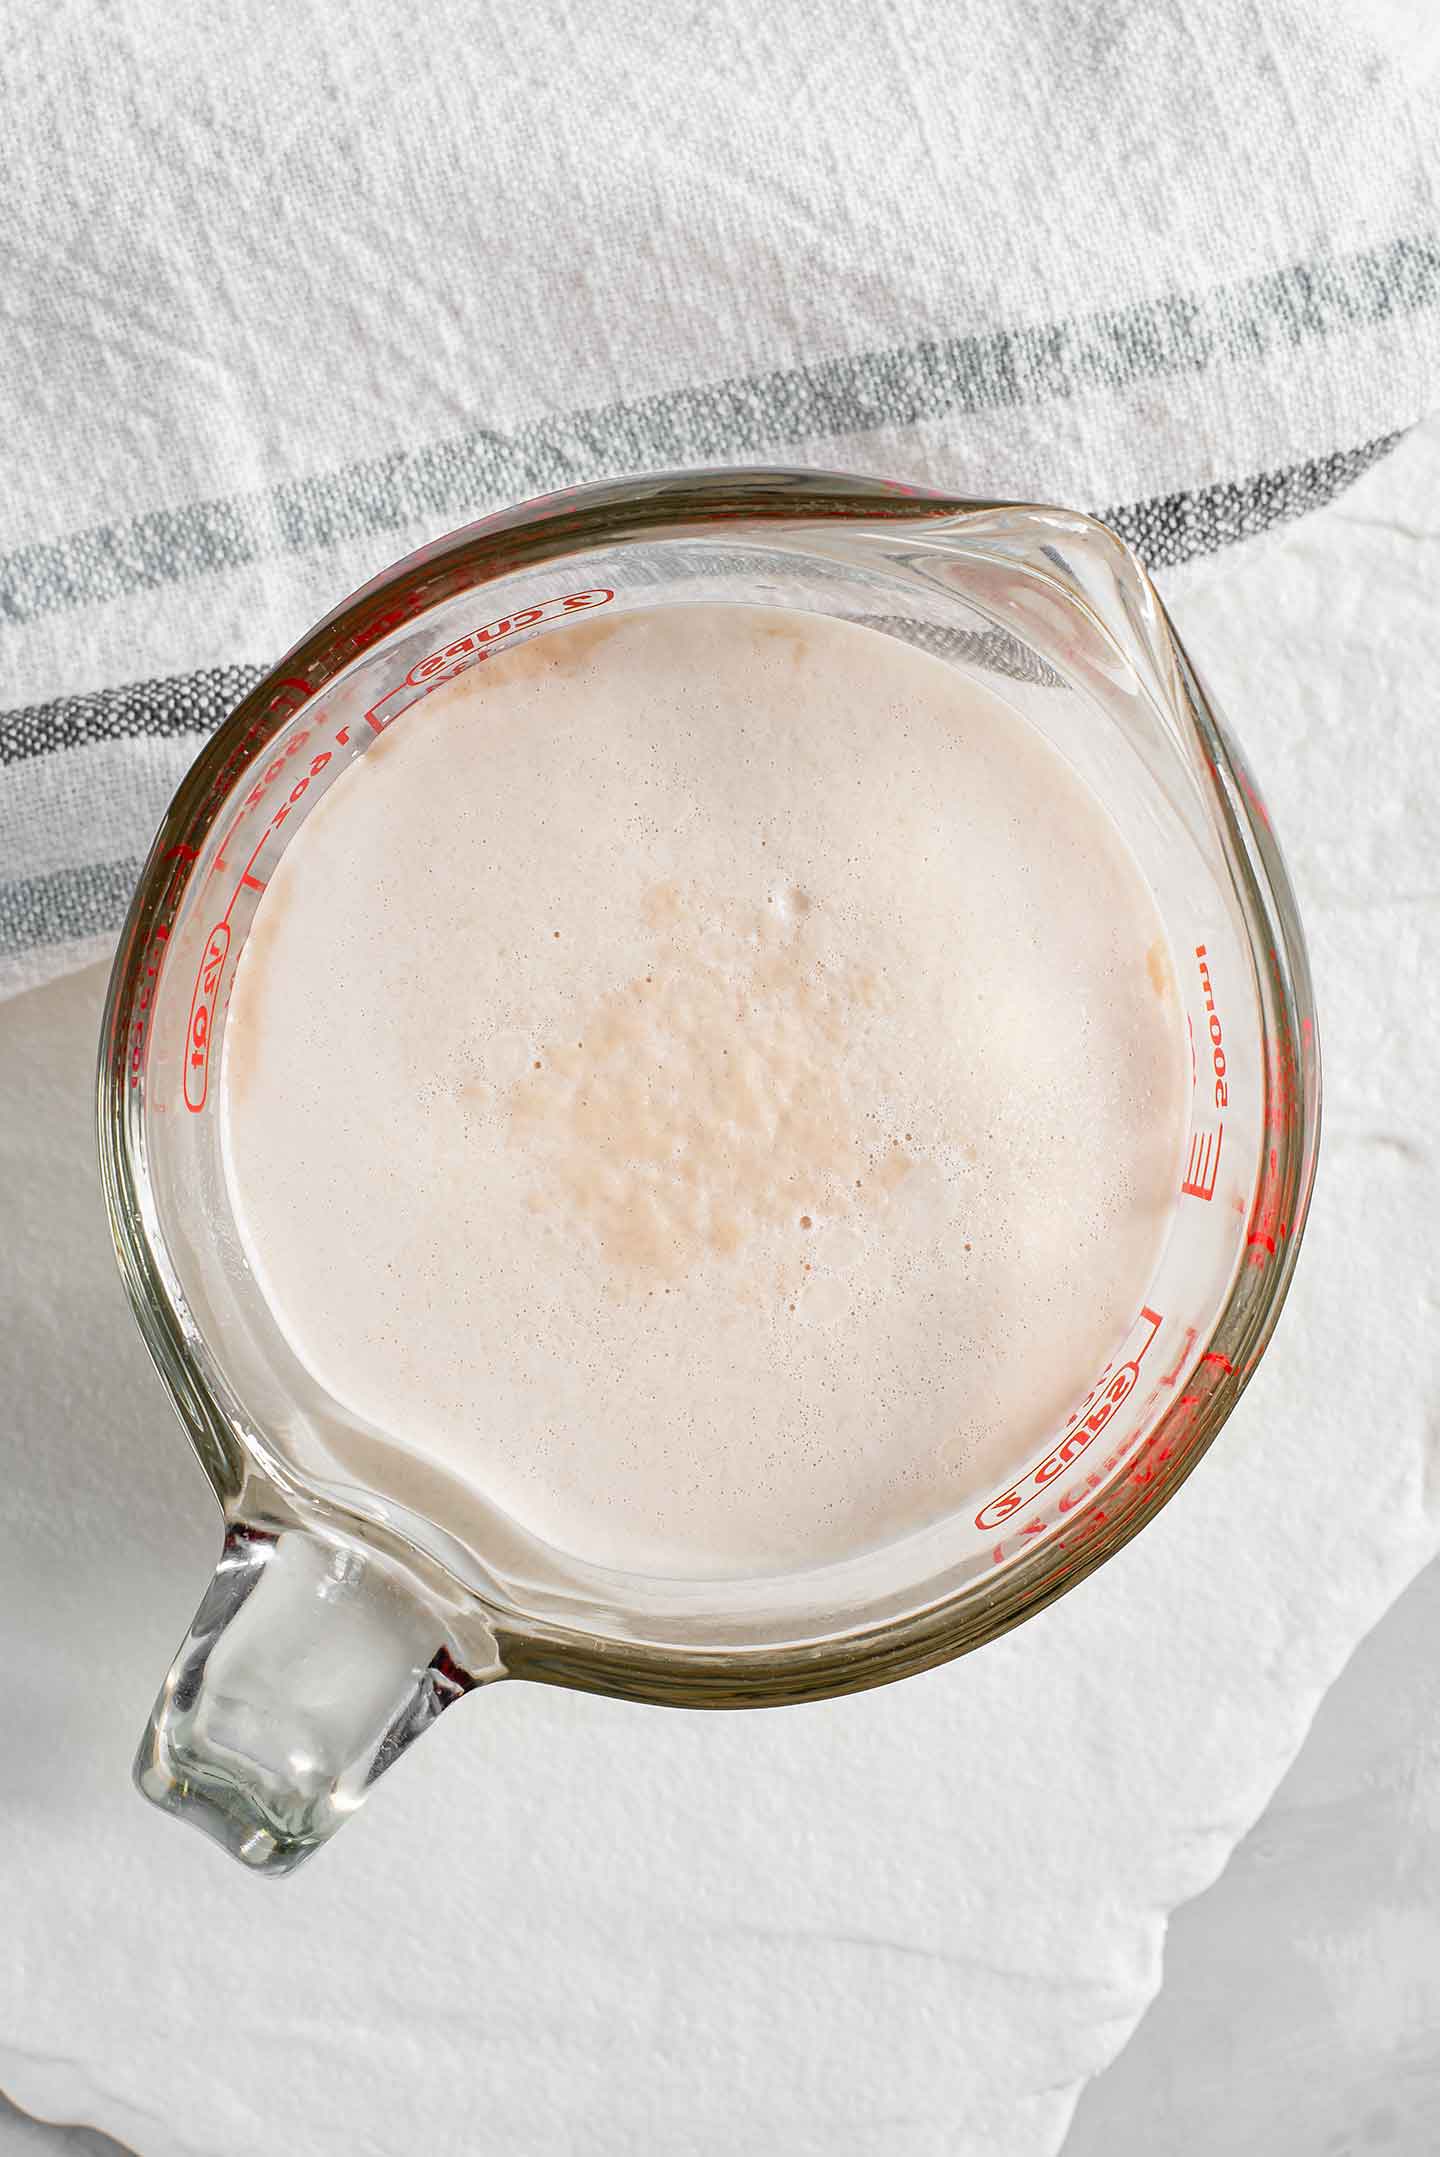
With active dry yeast:
- Add the yeast to warm water (105-110 degrees F or the temperature of bath water)
- Stir in ½ teaspoon of sugar
- And wait at least 5 minutes until the yeast bubbles and froths.
With Instant Yeast:
- Add the yeast straight to your mixing bowl with the flour and salt
- Slowly pour your warm water (mixed with the oil if using) into the dry ingredients
- And mix as per the recipe instructions
- Your rise time may be cut down to as little as 10 minutes. Once the dough doubles in size it's ready to use.
*I have not tried this recipe with instant yeast but let me know in the comments below if you give it a try and how it works!
Making Thin Crust Pizza Dough
- Prepare your active dry yeast as detailed above.
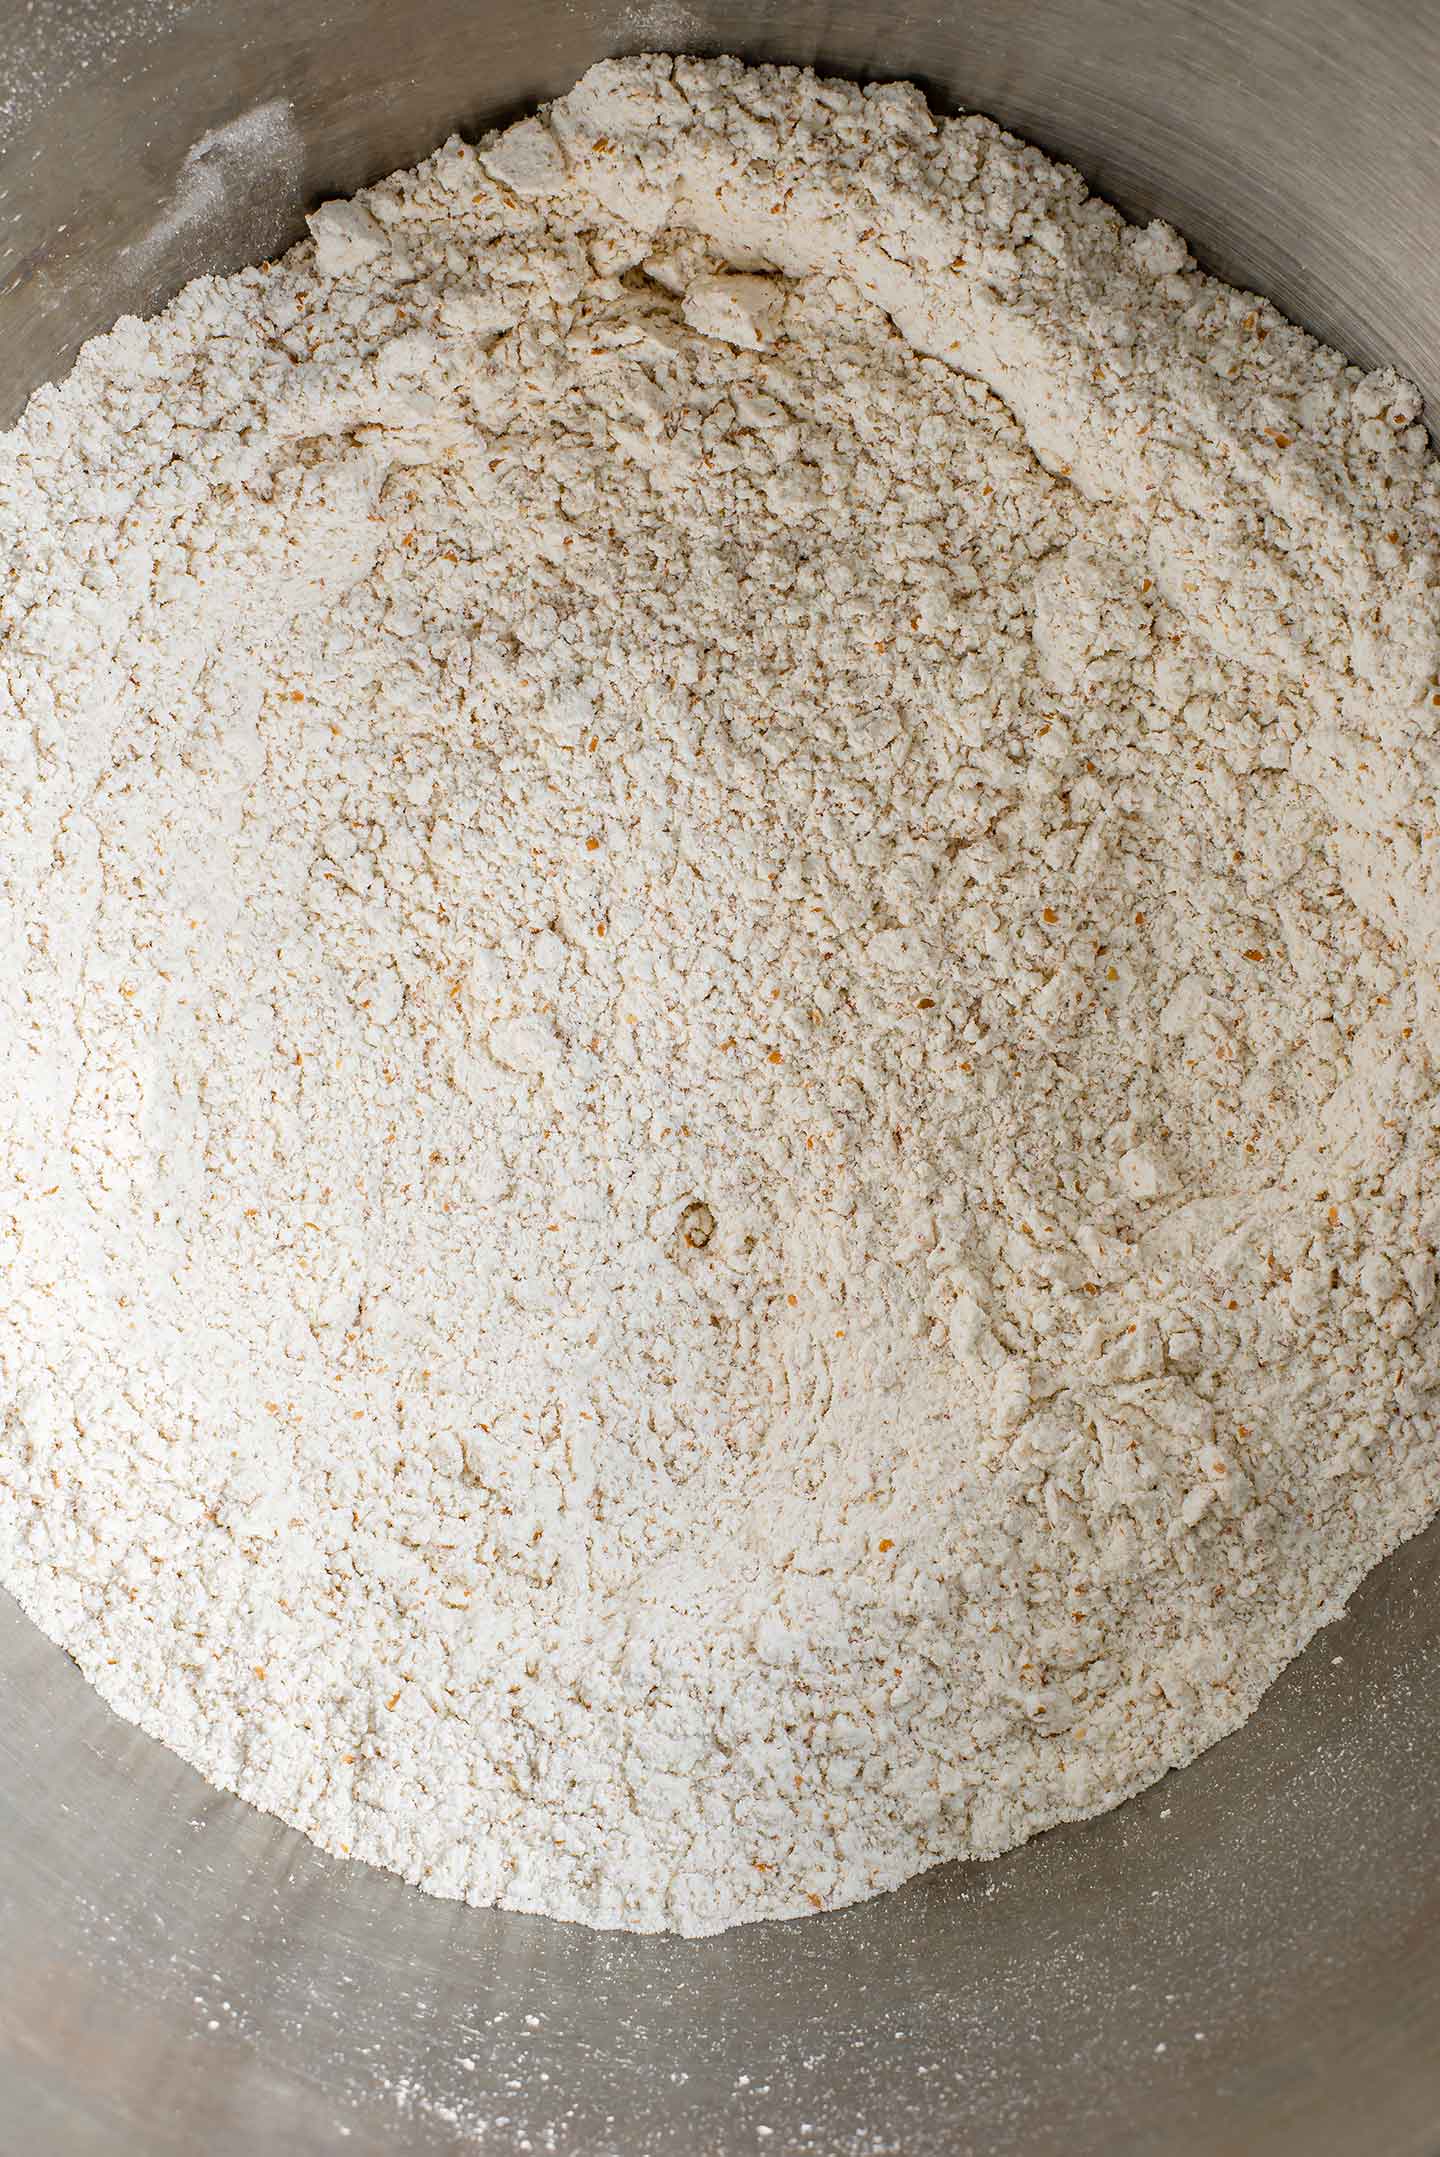
- Mix your dry ingredients in your mixing bowl.
- Add the oil if using to the activated yeast and slowly pour the mixture into your wet ingredients.
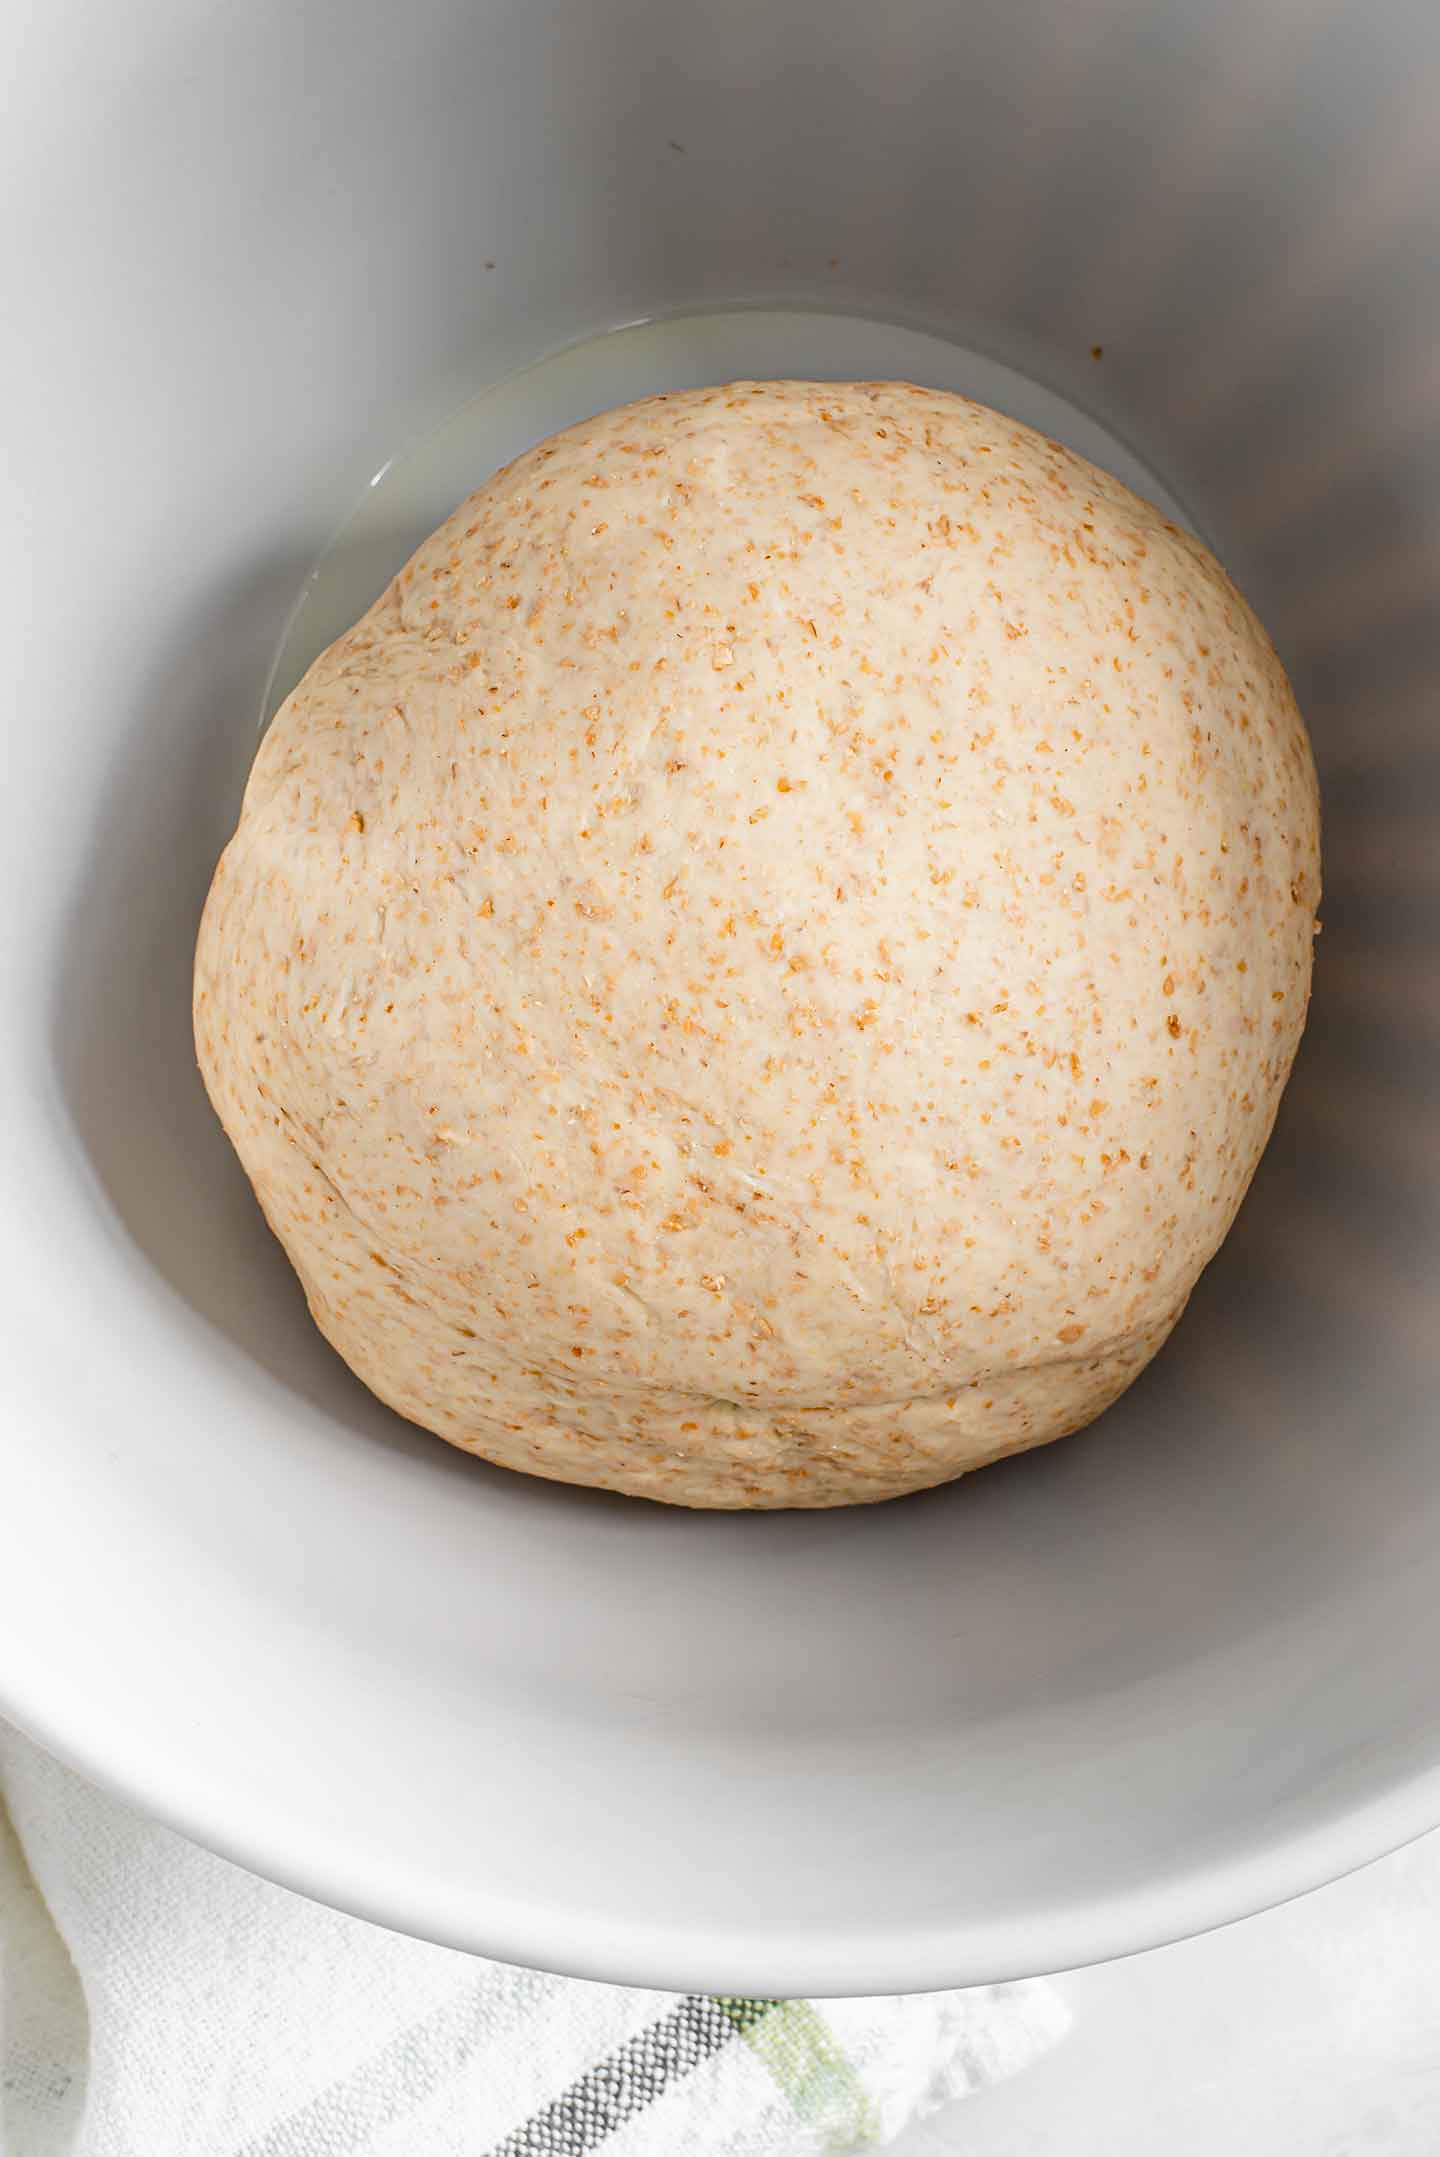
- Using a stand mixer with a dough hook, knead in your machine for about 5 minutes until the dough forms a smooth ball.
- If kneading by hand, stir your flours and water mixture with your hands until they come together and form a ball. Tip the ball of dough onto a lightly floured surface or silicone mat and knead by hand for about 5 minutes until nice and smooth.
- Transfer to a lightly oiled bowl so your dough doesn't stick to the bowl as it rises (I have tried skipping the oil and the dough will stick).
- Allow to rise in a warm spot for about 1 hour or until doubled in size.
When Has It Doubled
It will look something like this!
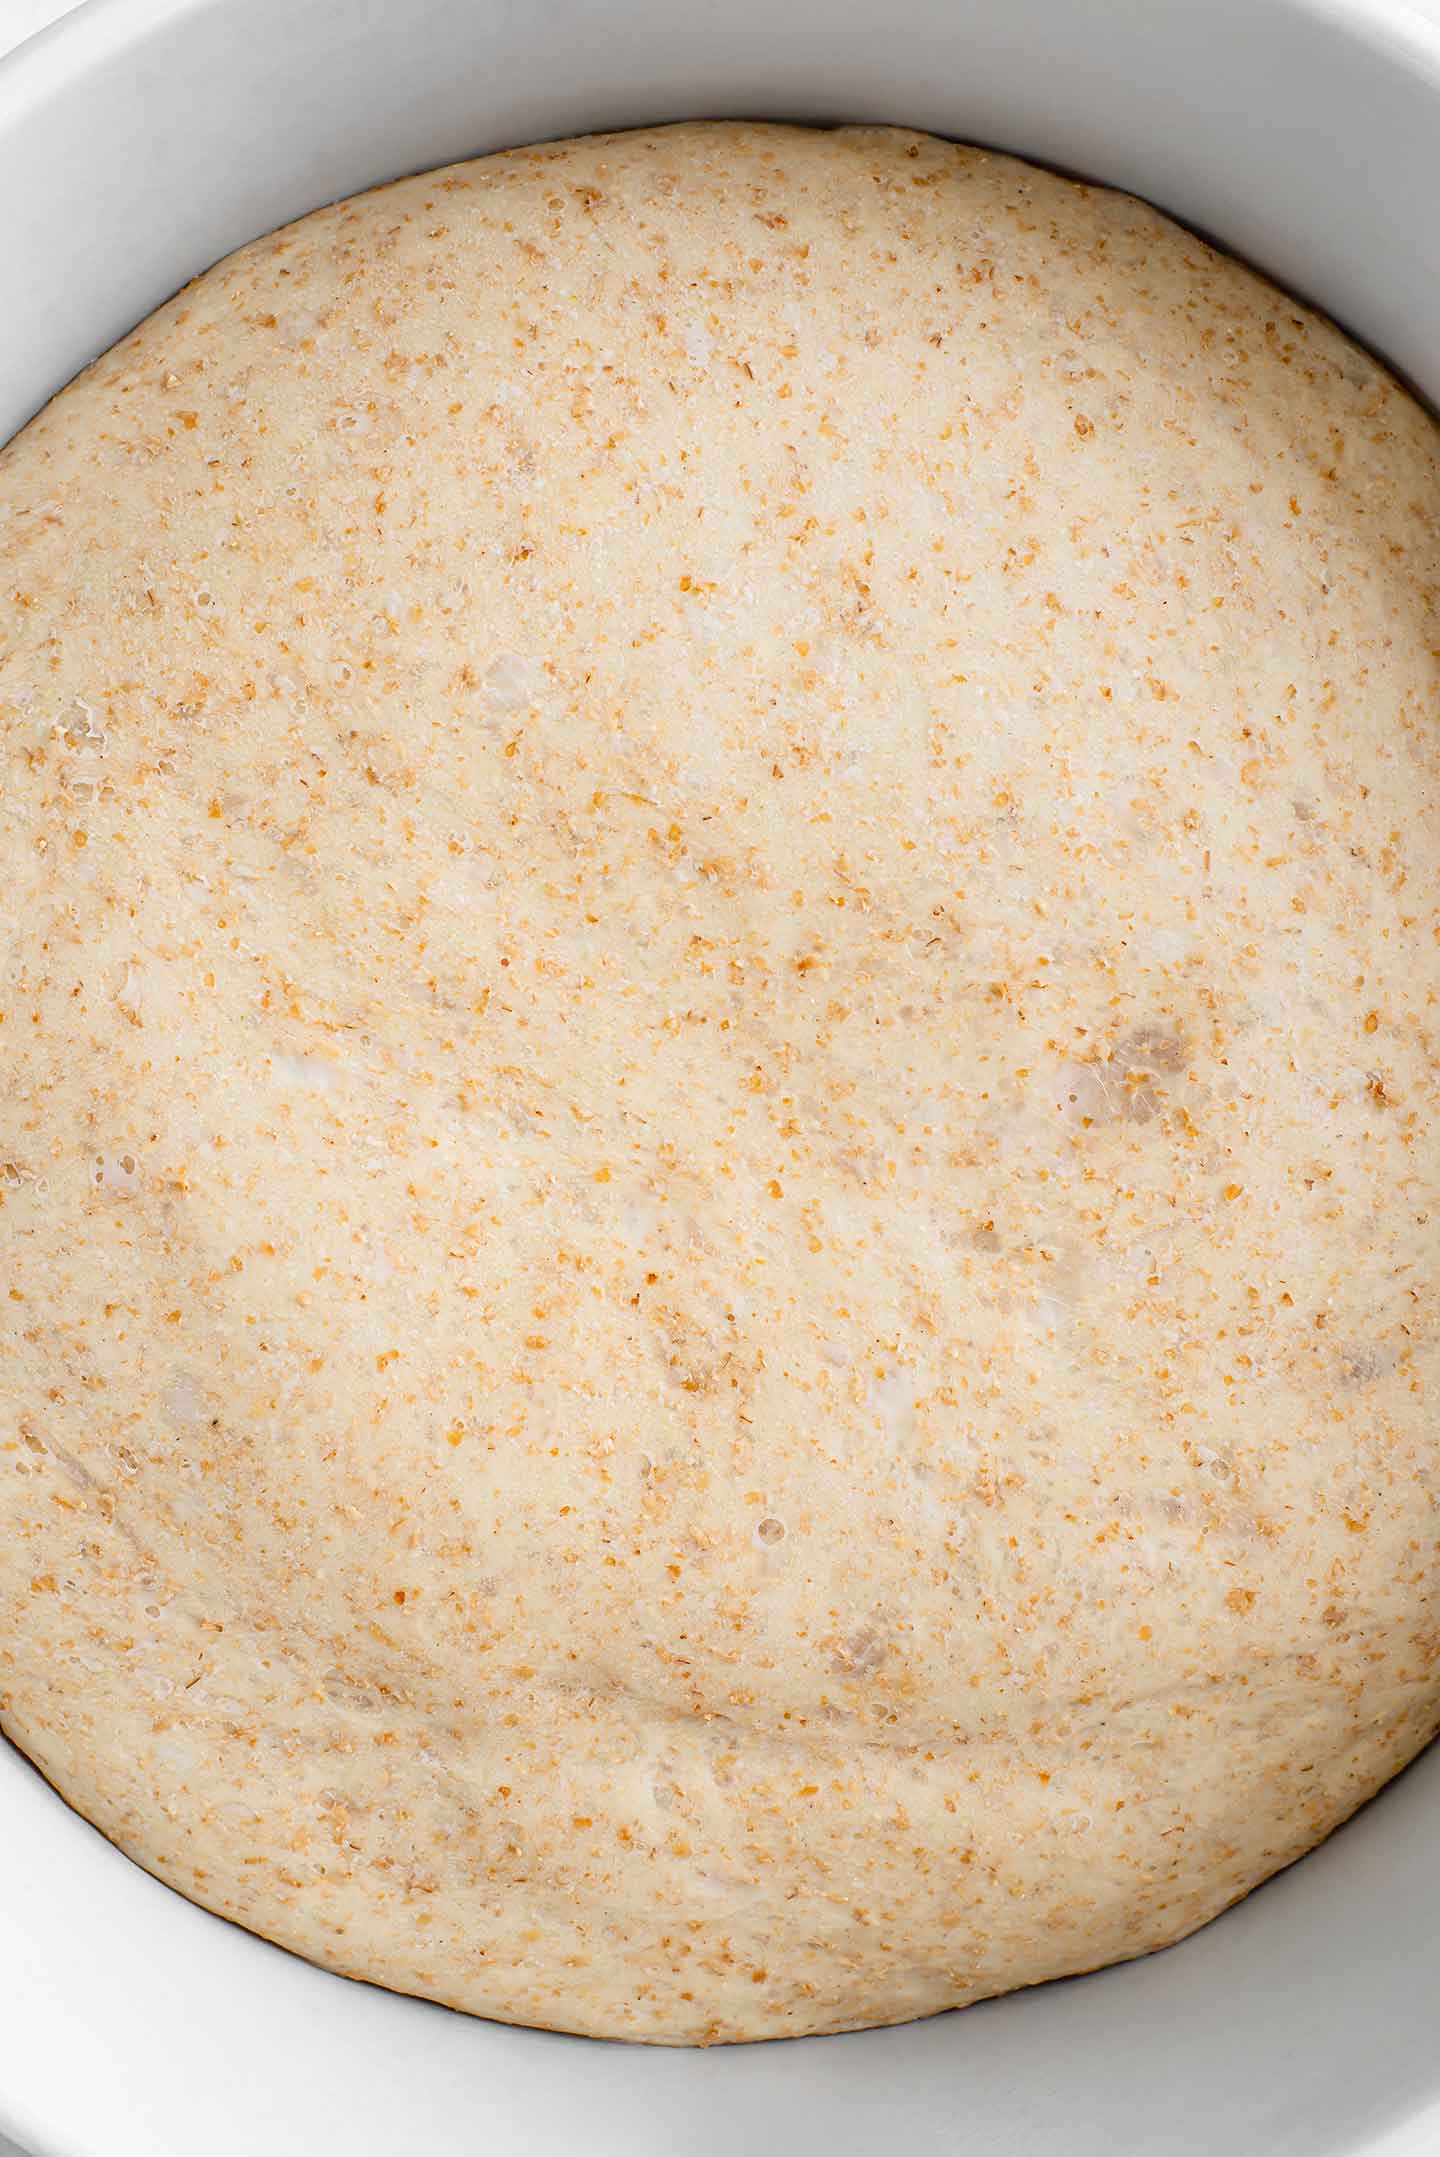
*My dough actually got ever so slightly dry on top because I got distracted and let it rise for a little over an hour. If you suspect you might do the same you can lightly dampen the cloth you use to cover the bowl. Doing so should prevent the dough from drying out on top.
Likewise, if you are transferring your dough to the fridge I've found it is best to seal it in a plastic freezer bag or cover it in plastic wrap to prevent it drying out. When I stopped buying plastic wrap I experimented with a few different ways of keeping the dough in the fridge and definitely had a few lacklustre dry doughs!
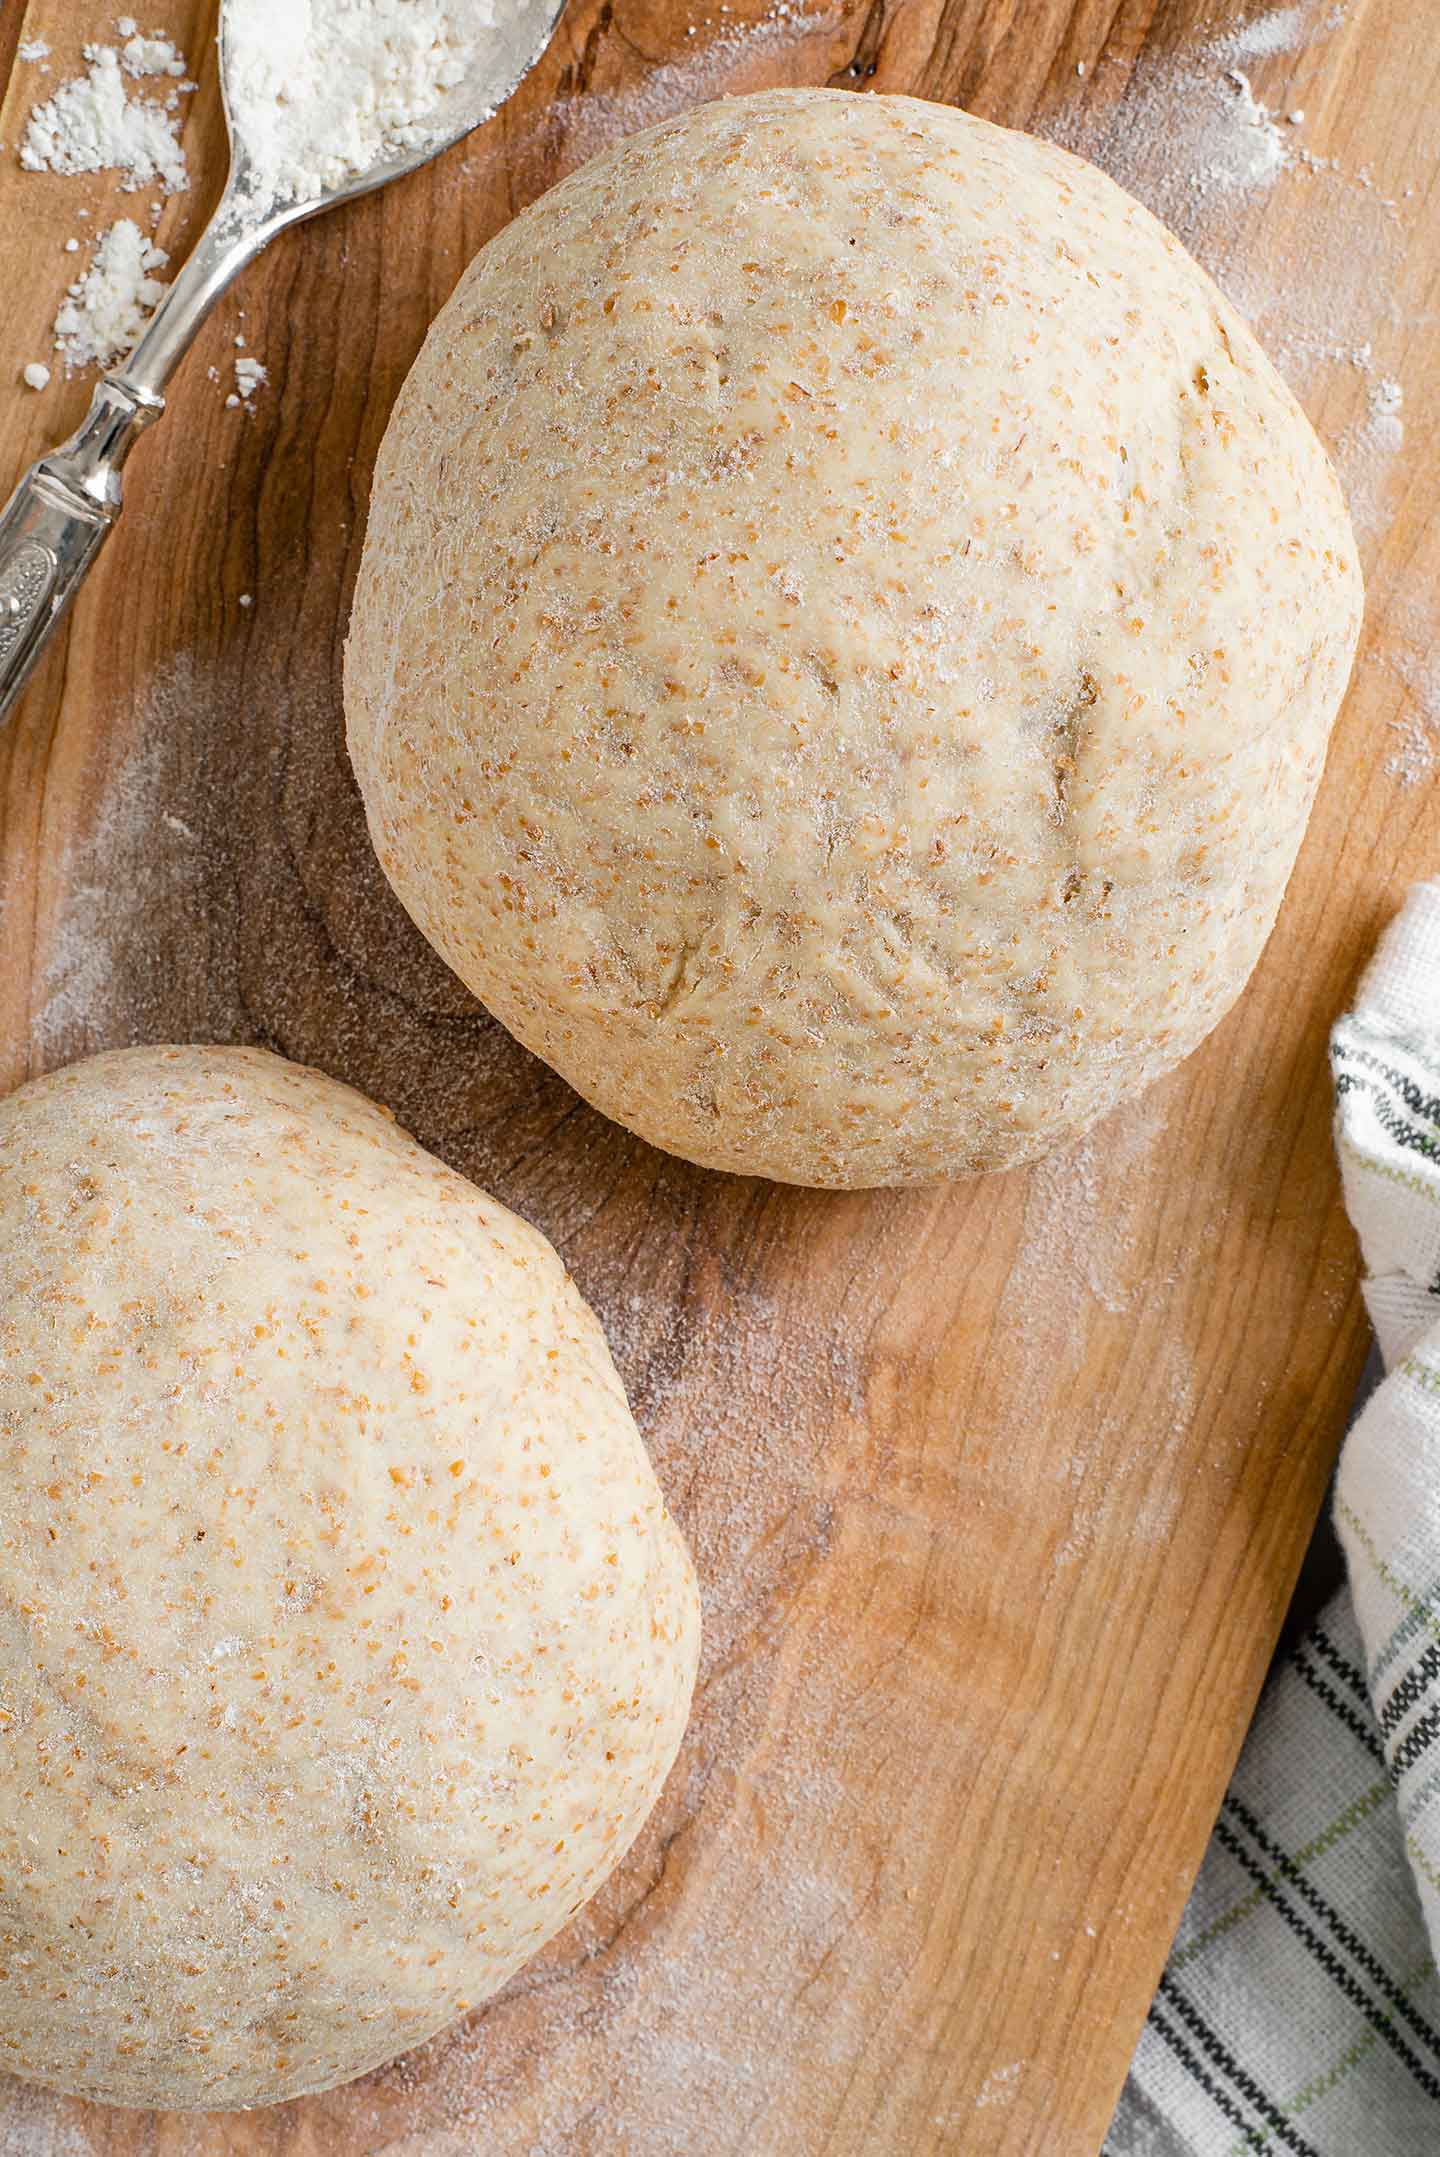
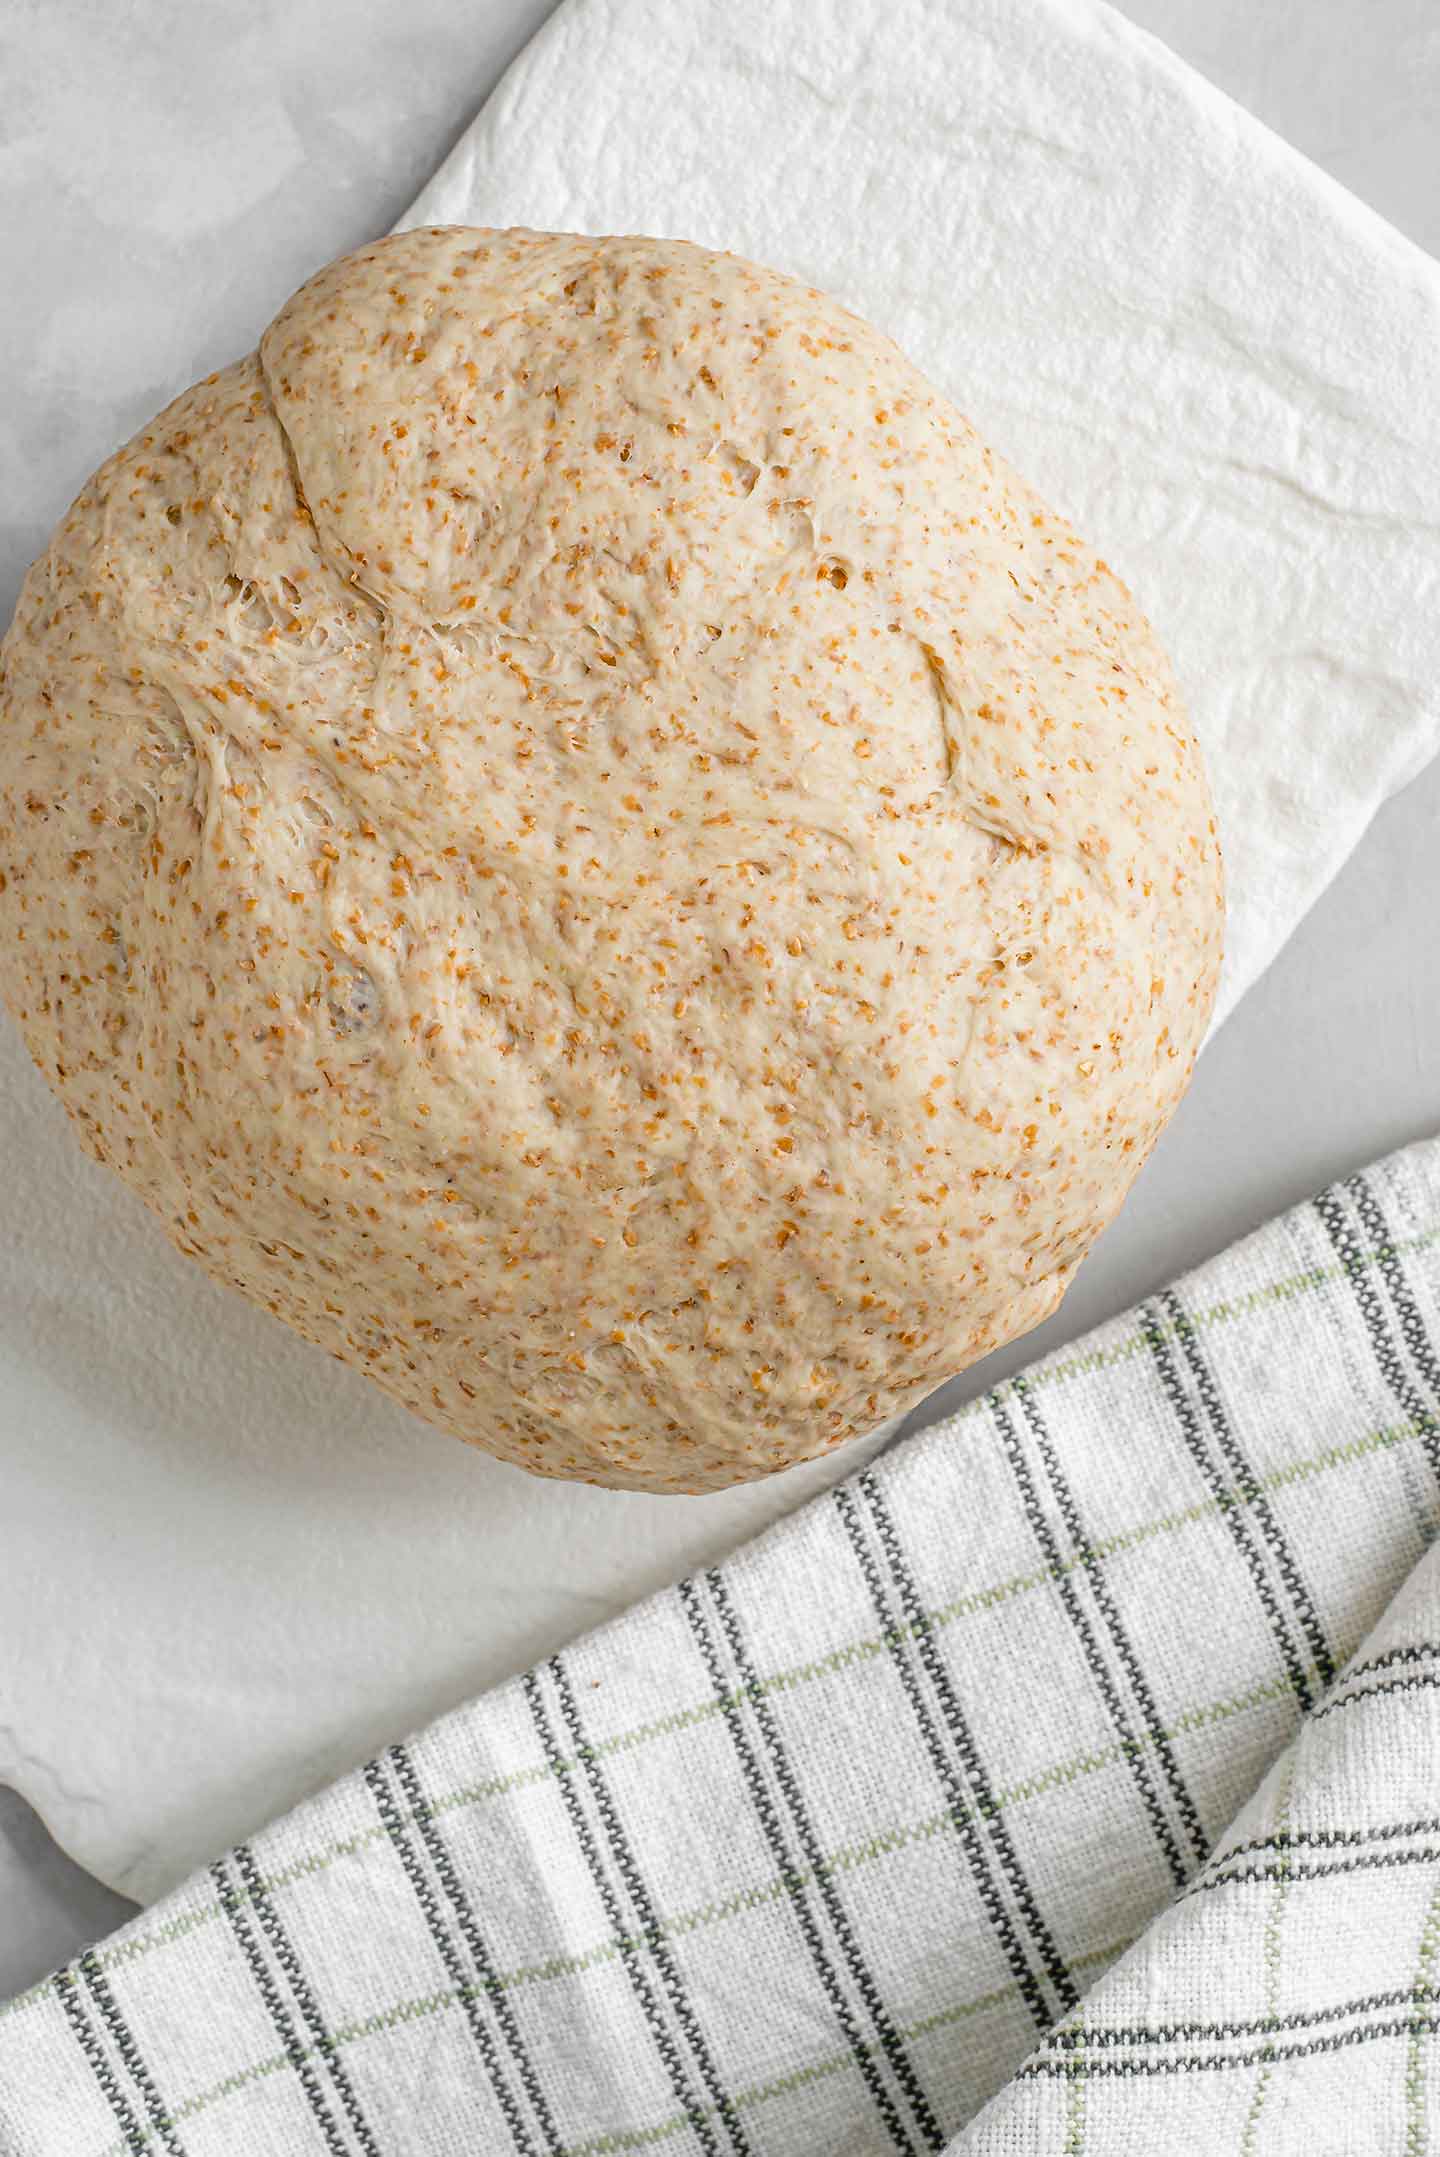
- When your dough has doubled, use your fist to knock it back and then gently pull it out of the bowl.
- Transfer the dough to a lightly floured surface, or a silicone mat and knead for about 1-2 minutes until it is nice and smooth.
- Cut the dough evenly down the middle to make two 12" thin crust pizzas OR make one large, thick crust.
- And you're ready to make your pizza!
Recipe Cost
This easy thin crust pizza dough recipe costs us: CAD $1.76 and makes two 12" thin crust pizzas or 1 large thick crust.
*If we were to buy pizza dough from our local grocery store the cost would be:
- CAD $2.49 for one fresh dough
- And CAD $3.59 for 1 frozen dough
That makes our easy pizza dough recipe a thrifty alternative to purchasing your dough!
Let us know in the comments below if you give this easy thin crust pizza dough recipe a try, how you like it, and how you top your pizza! Serve it up with our Classic Caesar Salad and try our Pesto Pizza with Crumbled "Feta".
Print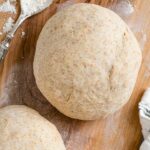
Easy Thin Crust Pizza Dough With Whole Wheat Flour
- Total Time: 1 hour, 45 minutes
- Yield: 2 12" Thin Crust Pizzas 1x
- Diet: Vegan
Description
This easy thin crust pizza dough uses half whole wheat flour and half white flour for two 12" rustic thin crust pizzas!
Ingredients
- 1 ½ cups warm water (105-110 degrees F - temp of bath water)
- 2 ¼ tsp active dry yeast (see notes if using instant yeast)
- ½ tsp sugar
- 1 ½ tbsp olive oil (optional)
- 2 cups white all purpose flour
- 2 cups whole wheat flour
- 1 tsp sea salt
*All the ingredients for this recipe are from our pantry and freezer tips!
Instructions
- Combine water, yeast, and sugar in a measuring cup and let stand for at least 5 minutes until the yeast gets frothy.
- Combine the flours and salt in your stand mixer or large mixing bowl.
- Stir oil into yeast mixture and slowly stream into flour using the dough hook on your mixer or mixing by hand.
- Knead for about 5 minutes in your mixer or once the dough forms a ball, tip onto a lightly floured surface and knead by hand. *I find using a silicone mat to knead dough prevents me having to add lots of extra flour and weighing down the dough.
- Transfer to a lightly oiled bowl and cover with a clean towel to rise for 1 hour in a warm spot (you can preheat your oven and let the dough rise on top of it). I have tried not oiling the bowl and the dough will stick.
- Preheat your oven to 450 degrees F.
- After the dough has doubled in size, punch it down and tip it onto a lightly floured surface (or silicone mat) and knead for another 1-2 minutes. Slice the dough in half with a pizza cutter if making two 12” thin crust pizzas. *See notes if freezing or refrigerating the dough.
- I like to oil and flour my pizza pans to ensure the crusts don’t stick. I use a pastry brush to spread the oil around the pan first and then sprinkle the flour and tap the edges of the pan to move the flour around and make sure it coats the pan evenly.
- Stretch the dough to your desired size, working your hands around the edges of the dough, gently stretching out the centre, and allowing gravity to do most of the work.
- Bake the dough for 5 minutes on its own. Add your toppings. Bake for another 8-12 minutes until the edges are lightly browned.
Notes
*Cost Comparison: CAD $1.76 for two 12” pizza dough vs. $2.49 for one dough fresh and $3.59 for 1 dough frozen from our local grocery store.
*Makes two 12” thin crust rustic pizzas. If you prefer a thicker crust with a nice edge, try using all the dough for one larger pizza (you may need to bake it a few minutes longer). If you have leftover dough make some breadsticks!
*You can use all white flour or all whole wheat. You may just need to adjust the amount of water. If the dough seems too dry add a bit more warm water; if too wet add a bit more flour.
*If using instant yeast you should be able to add it straight to your flour without needing to let it activate in water for 5 minutes. The rise time may also be shorter. Once your dough has doubled in size it's ready to shape into your pizza crusts.
*If you suspect you might get distracted and let the dough rise for longer than an hour, try dampening the cloth you use to cover the rising dough in the bowl. If left too long, the top of the dough will start to dry out and you won’t be able to make as nice of a pizza crust.
*Once the dough has risen and been separated in two; refrigerate or freeze the dough by sealing it in a plastic bag and making sure all the air is squeezed out. In the fridge, I’ve kept it for 2 days but it could last for up to 2 weeks. In the freezer it can last up to 3 months but I’ve only tested it for about a week. Defrost on the counter for 2 hours before using, in the fridge overnight, or defrost on the counter and place back in the fridge until ready to use.
- Prep Time: 1 hour, 30 minutes
- Cook Time: 15 minutes
- Category: Thrifty How-Tos
- Method: Baked
- Cuisine: Italian


Leave A Review