
Do you cook dried chickpeas from scratch?
When the COVID-19 pandemic came upon us we felt like we had this little secret skill in our back pocket. The store shelves were empty of all the canned beans but, just a little to the side, full shelves of dried beans! With lockdowns looming, we certainly had the time to spend 3 hours cooking up some beans.
Although this method certainly takes longer than cracking open a can, it's still:
Super simple
There's no need to stand at the stove
You can control the taste and texture
AND you guessed it... it saves your dollars!
Watch my video below for another step by step guide!
A 540ml can of chickpeas yields 2 cups and costs: approx. CAD $1.49
2 cups of chickpeas cooked from scratch costs: approx. CAD $0.46
Dried chickpeas will usually triple in size when cooked so for our family of two...
I cook 2 cups dried and end up with 5 ½ to 6 cups cooked!
I usually make a big batch of hummus right away, maybe keep some for a soup or curry I'll make in the next couple of days, and then roast or freeze the rest.
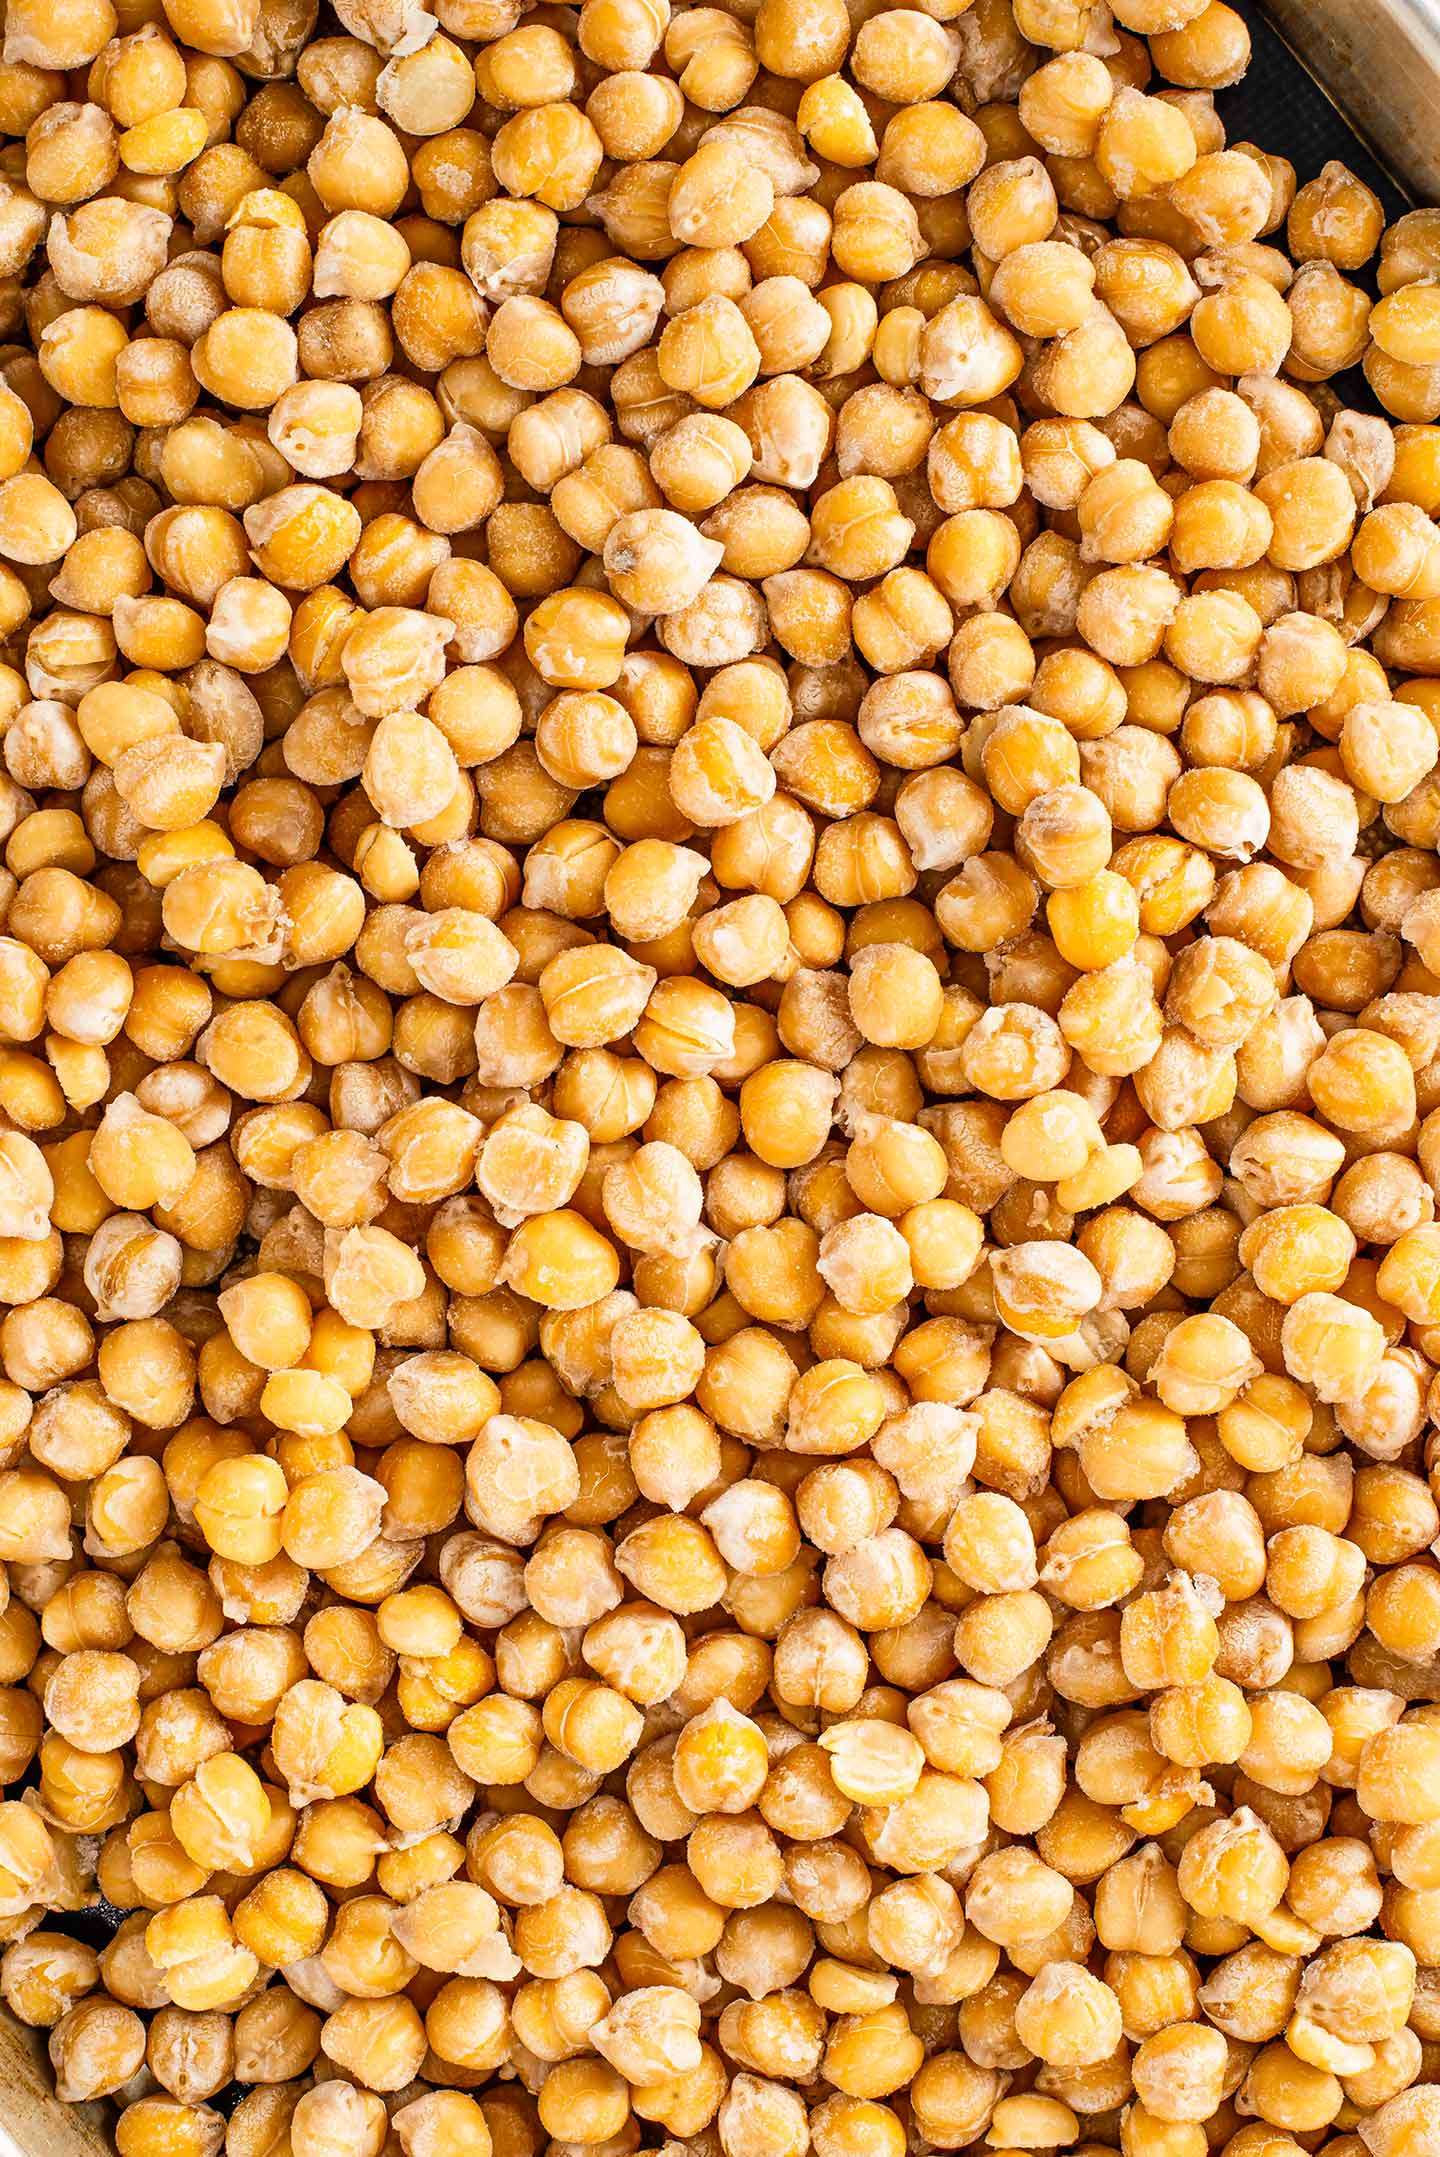
How To Cook Dried Chickpeas From Scratch
How do you make those little dried beans into tasty tender chickpeas? There's two steps:
- You Soak Them
- And You Cook Them
For the soaking bit, there's two methods. A quick one and a long one... can you guess which one I use?
Using the Quick Soak Method, the whole soaking and cooking process will take 2 ½ to 3 hours but most of that is very hands off, leaving you free to do everything else you have to!
Quick Soak Method
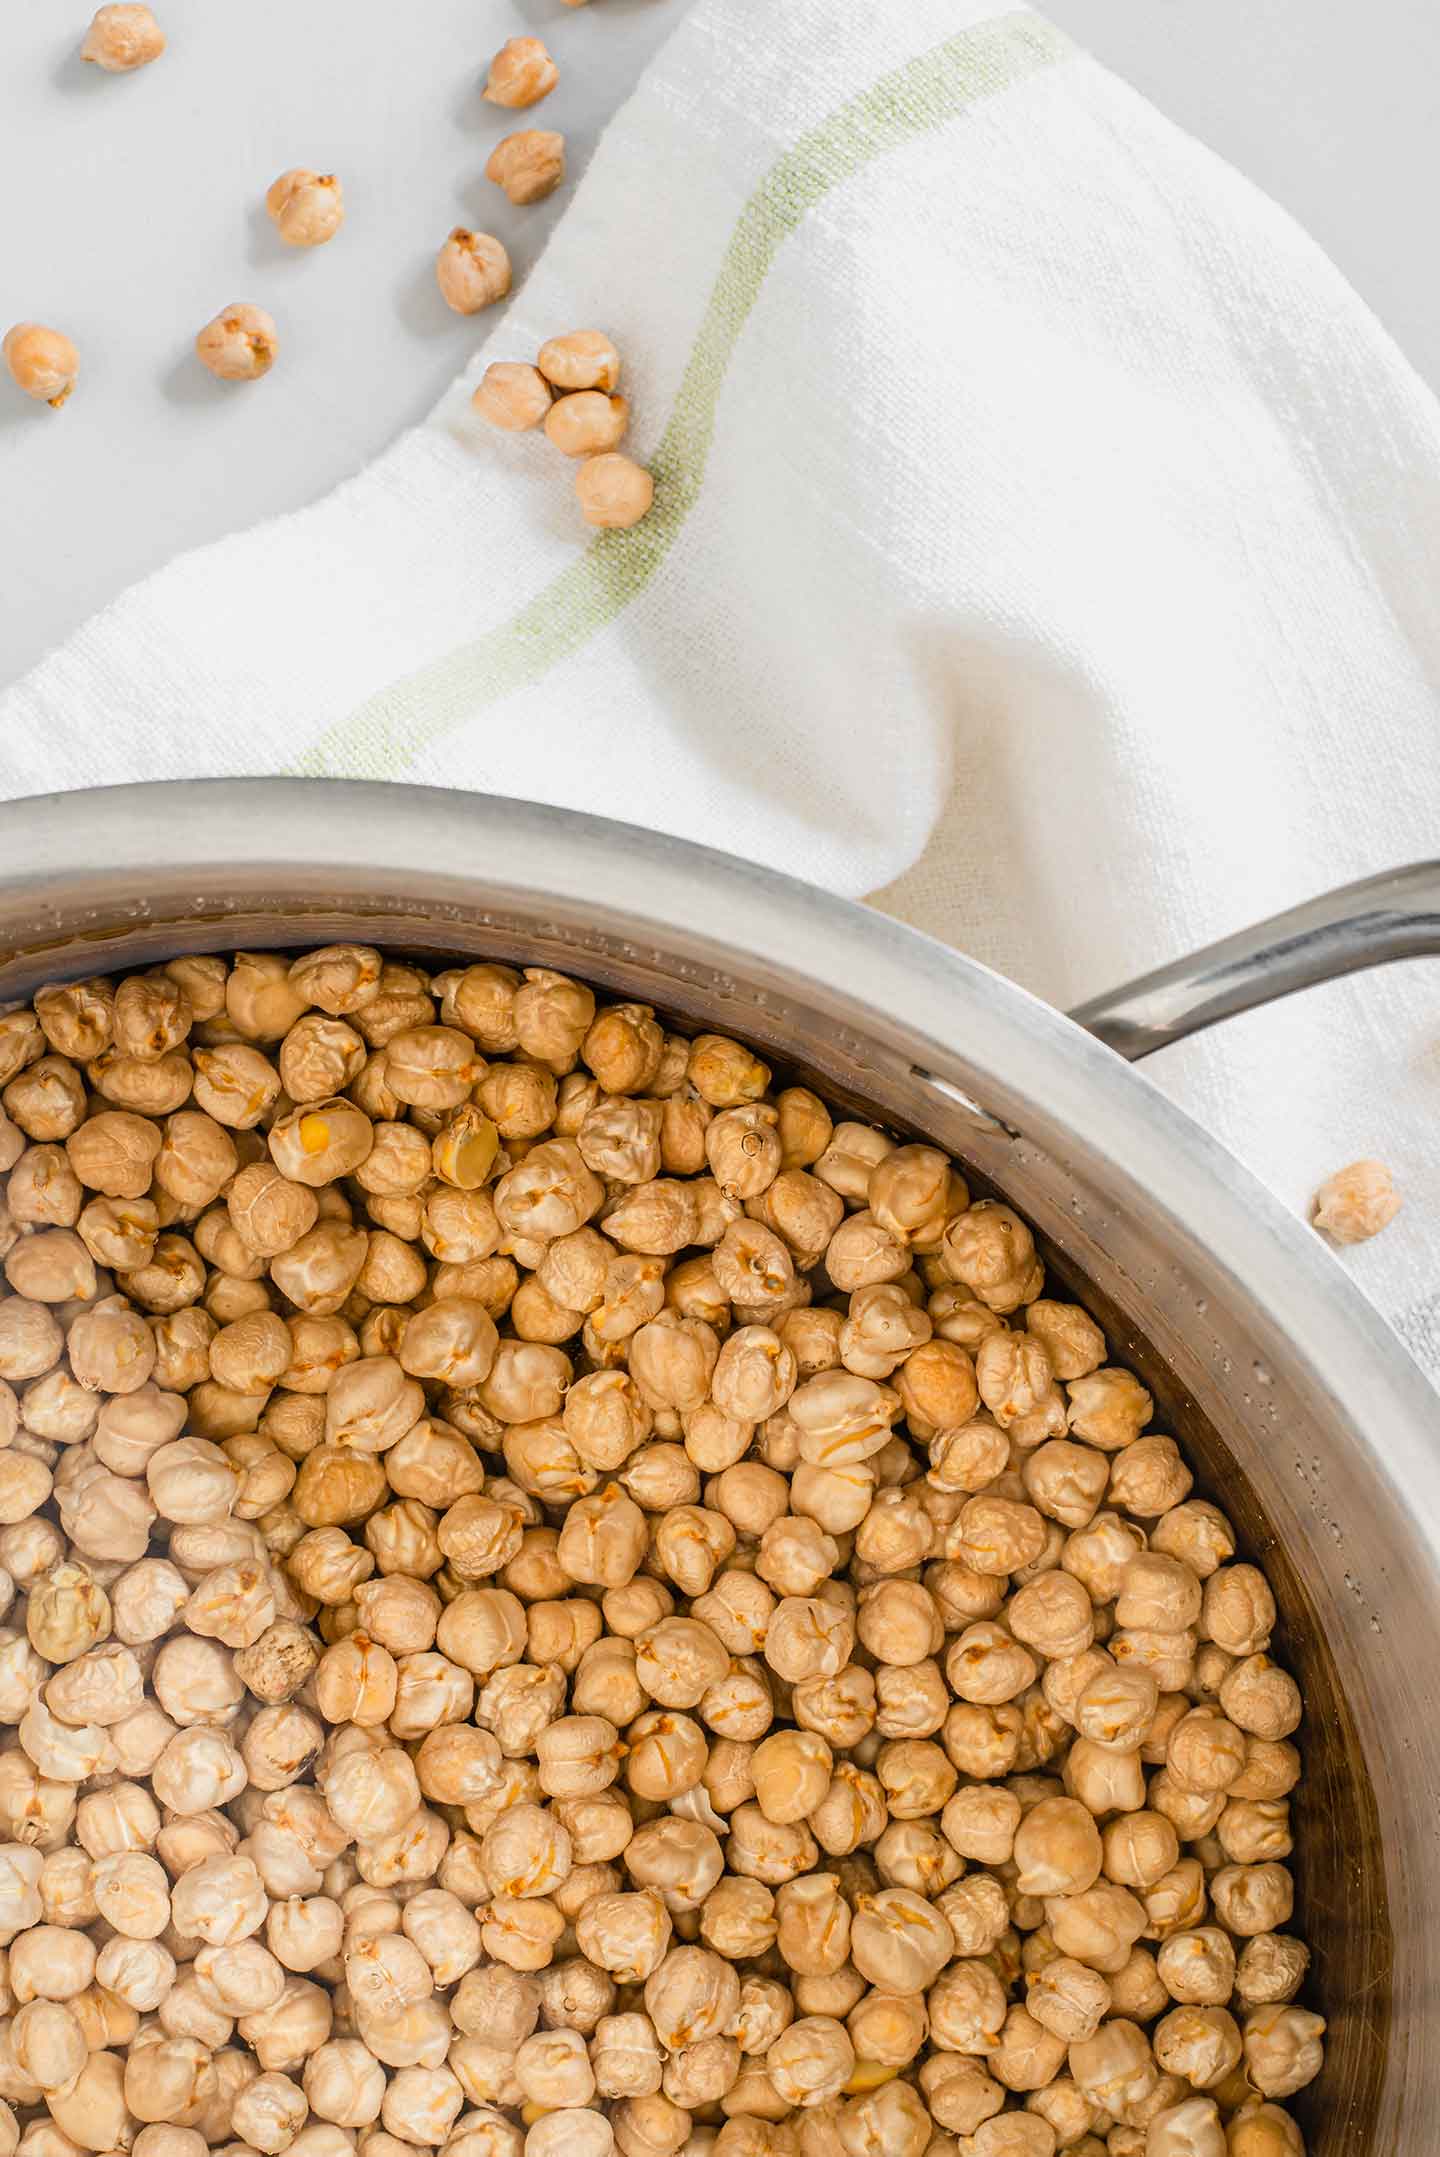
- Place 2 cups dried chickpeas in a large pot and cover with cold water. The water line should be at least 2-3 inches above the chickpeas.
- Bring to a boil and allow to boil for 5 minutes.
- Turn off the heat and let the chickpeas sit in the hot water for 1 hour.
Long Soak Method
- Add two cups of dried chickpeas to a bowl and cover them with several inches of cold water. Cover the bowl and place it in the fridge for 8 hours or overnight.
- When you're ready to cook them proceed to the steps below!
Cooking Chickpeas
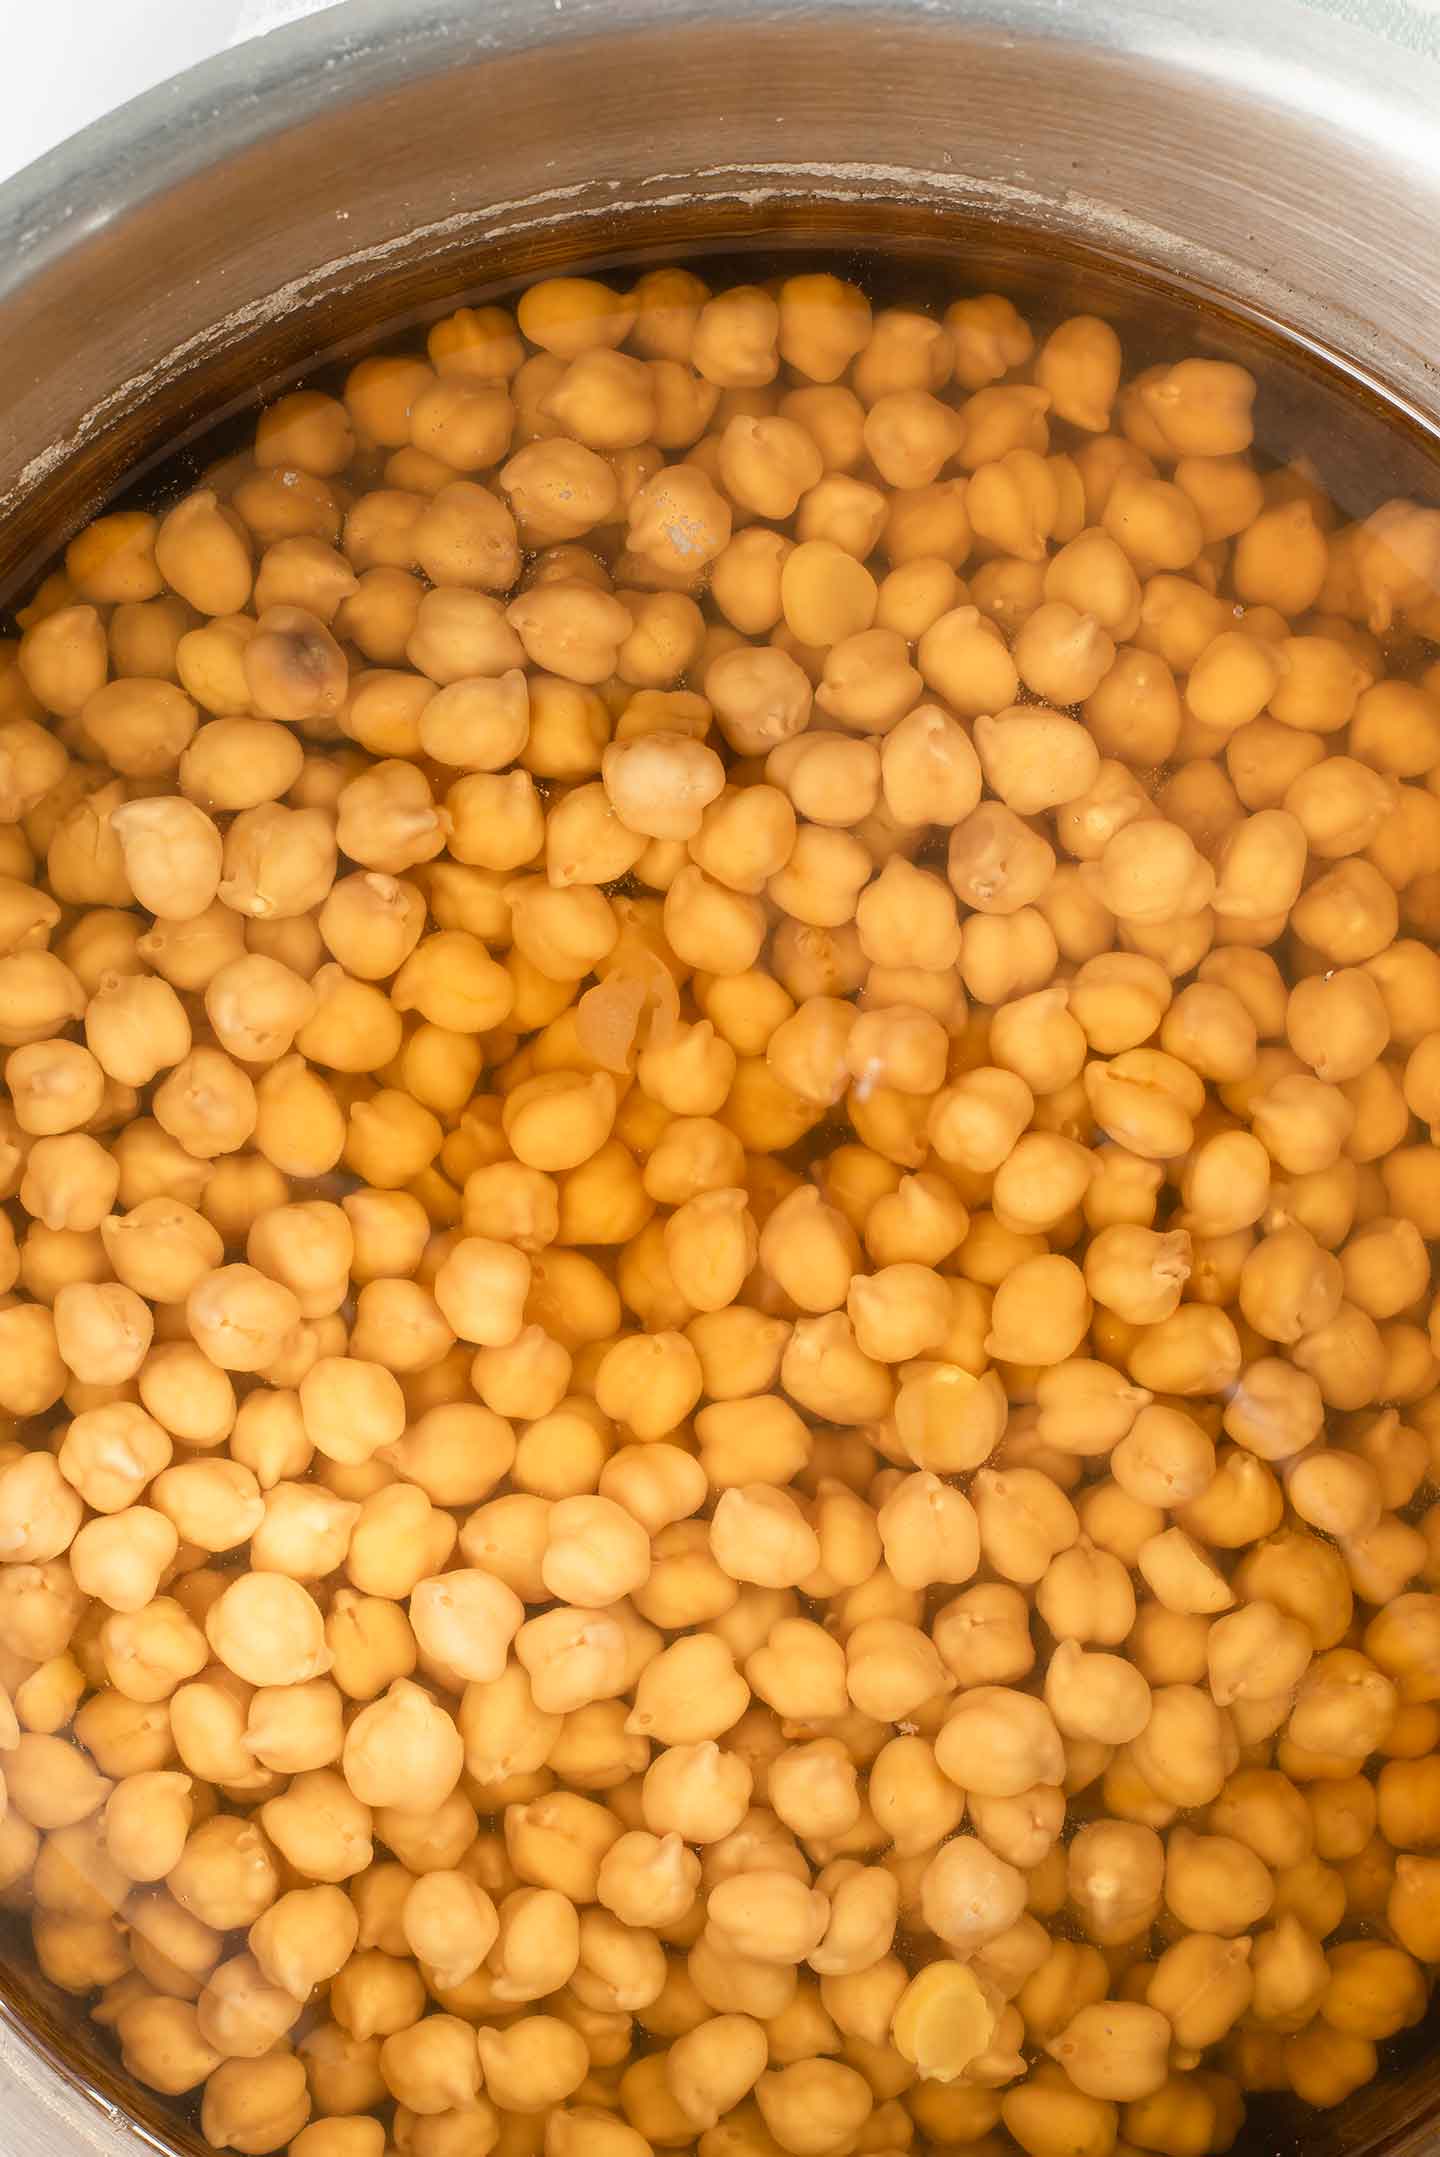
- Drain the water the chickpeas soaked in.
- Rinse the chickpeas and refill the pot with fresh cold water. The water line should, again, be several inches above the chickpeas.
- Place the pot back on the stove and bring to a boil.
- Reduce the heat to a gentle boil and cook for 40 min - 1 hour.
- Any foam that accumulates on the surface can be skimmed off with a spoon.
- If you notice the water level getting low simply add in some fresh water.
- Firmer beans are great for salads and curries. Softer beans are great for hummus or any recipe you want the beans to break down in. You can adjust the cooking time for the texture you desire.
- About 15 minutes before your beans are finished cooking, add a sprinkle of salt. Adding salt earlier can affect how the beans cook but adding it now will just flavour them nicely.
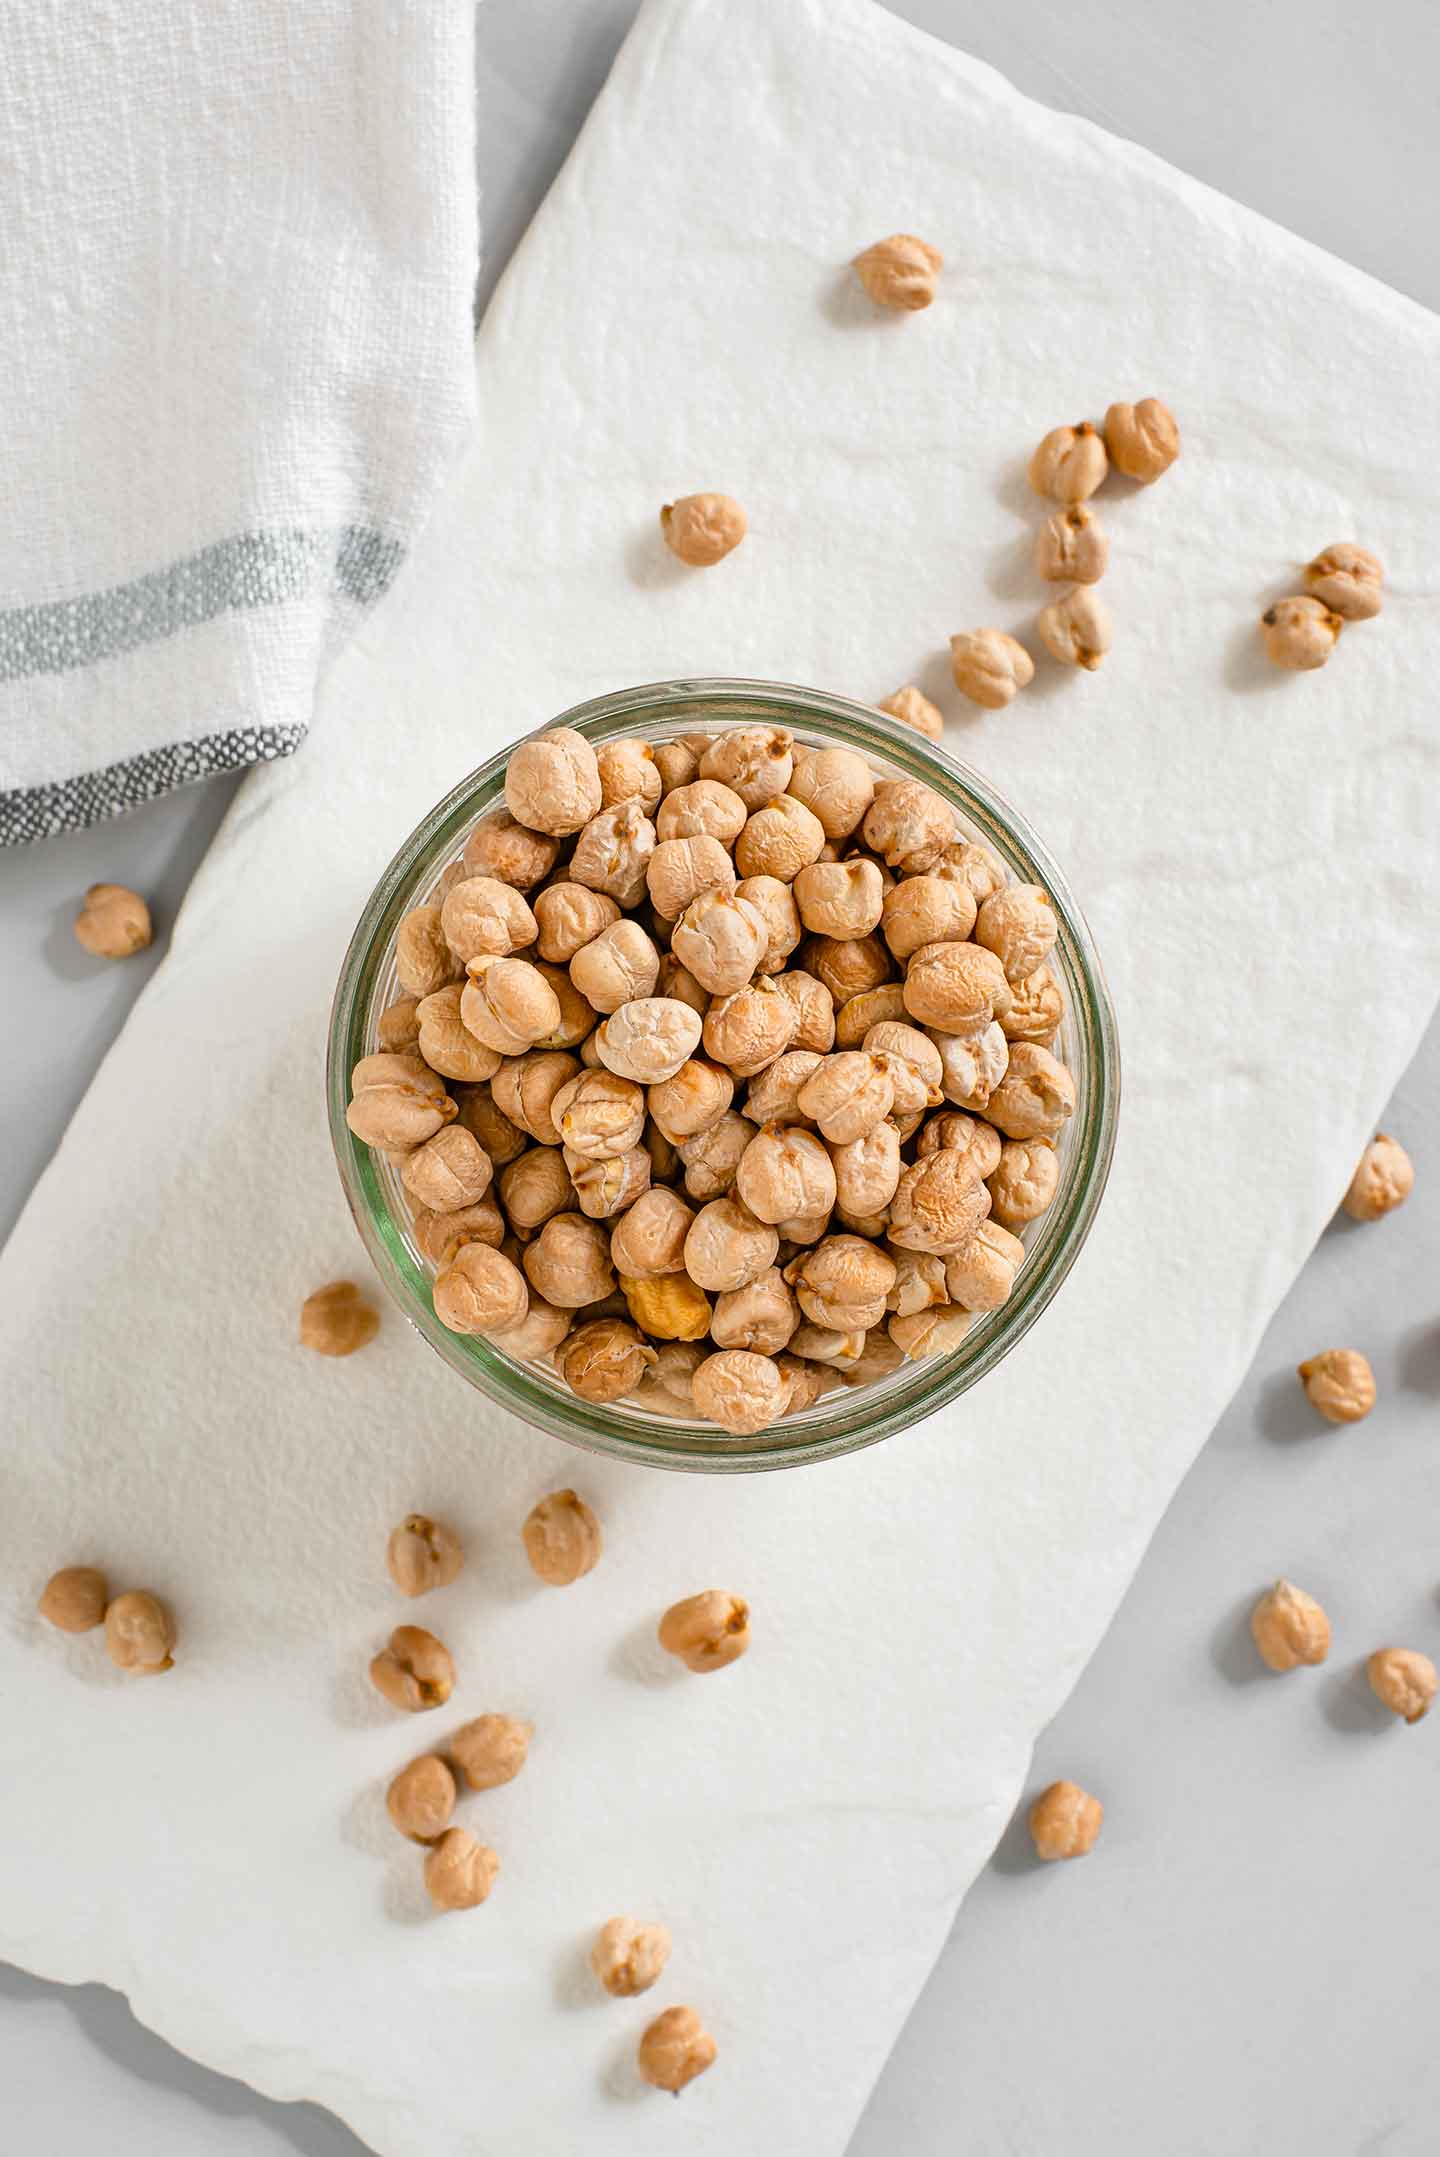
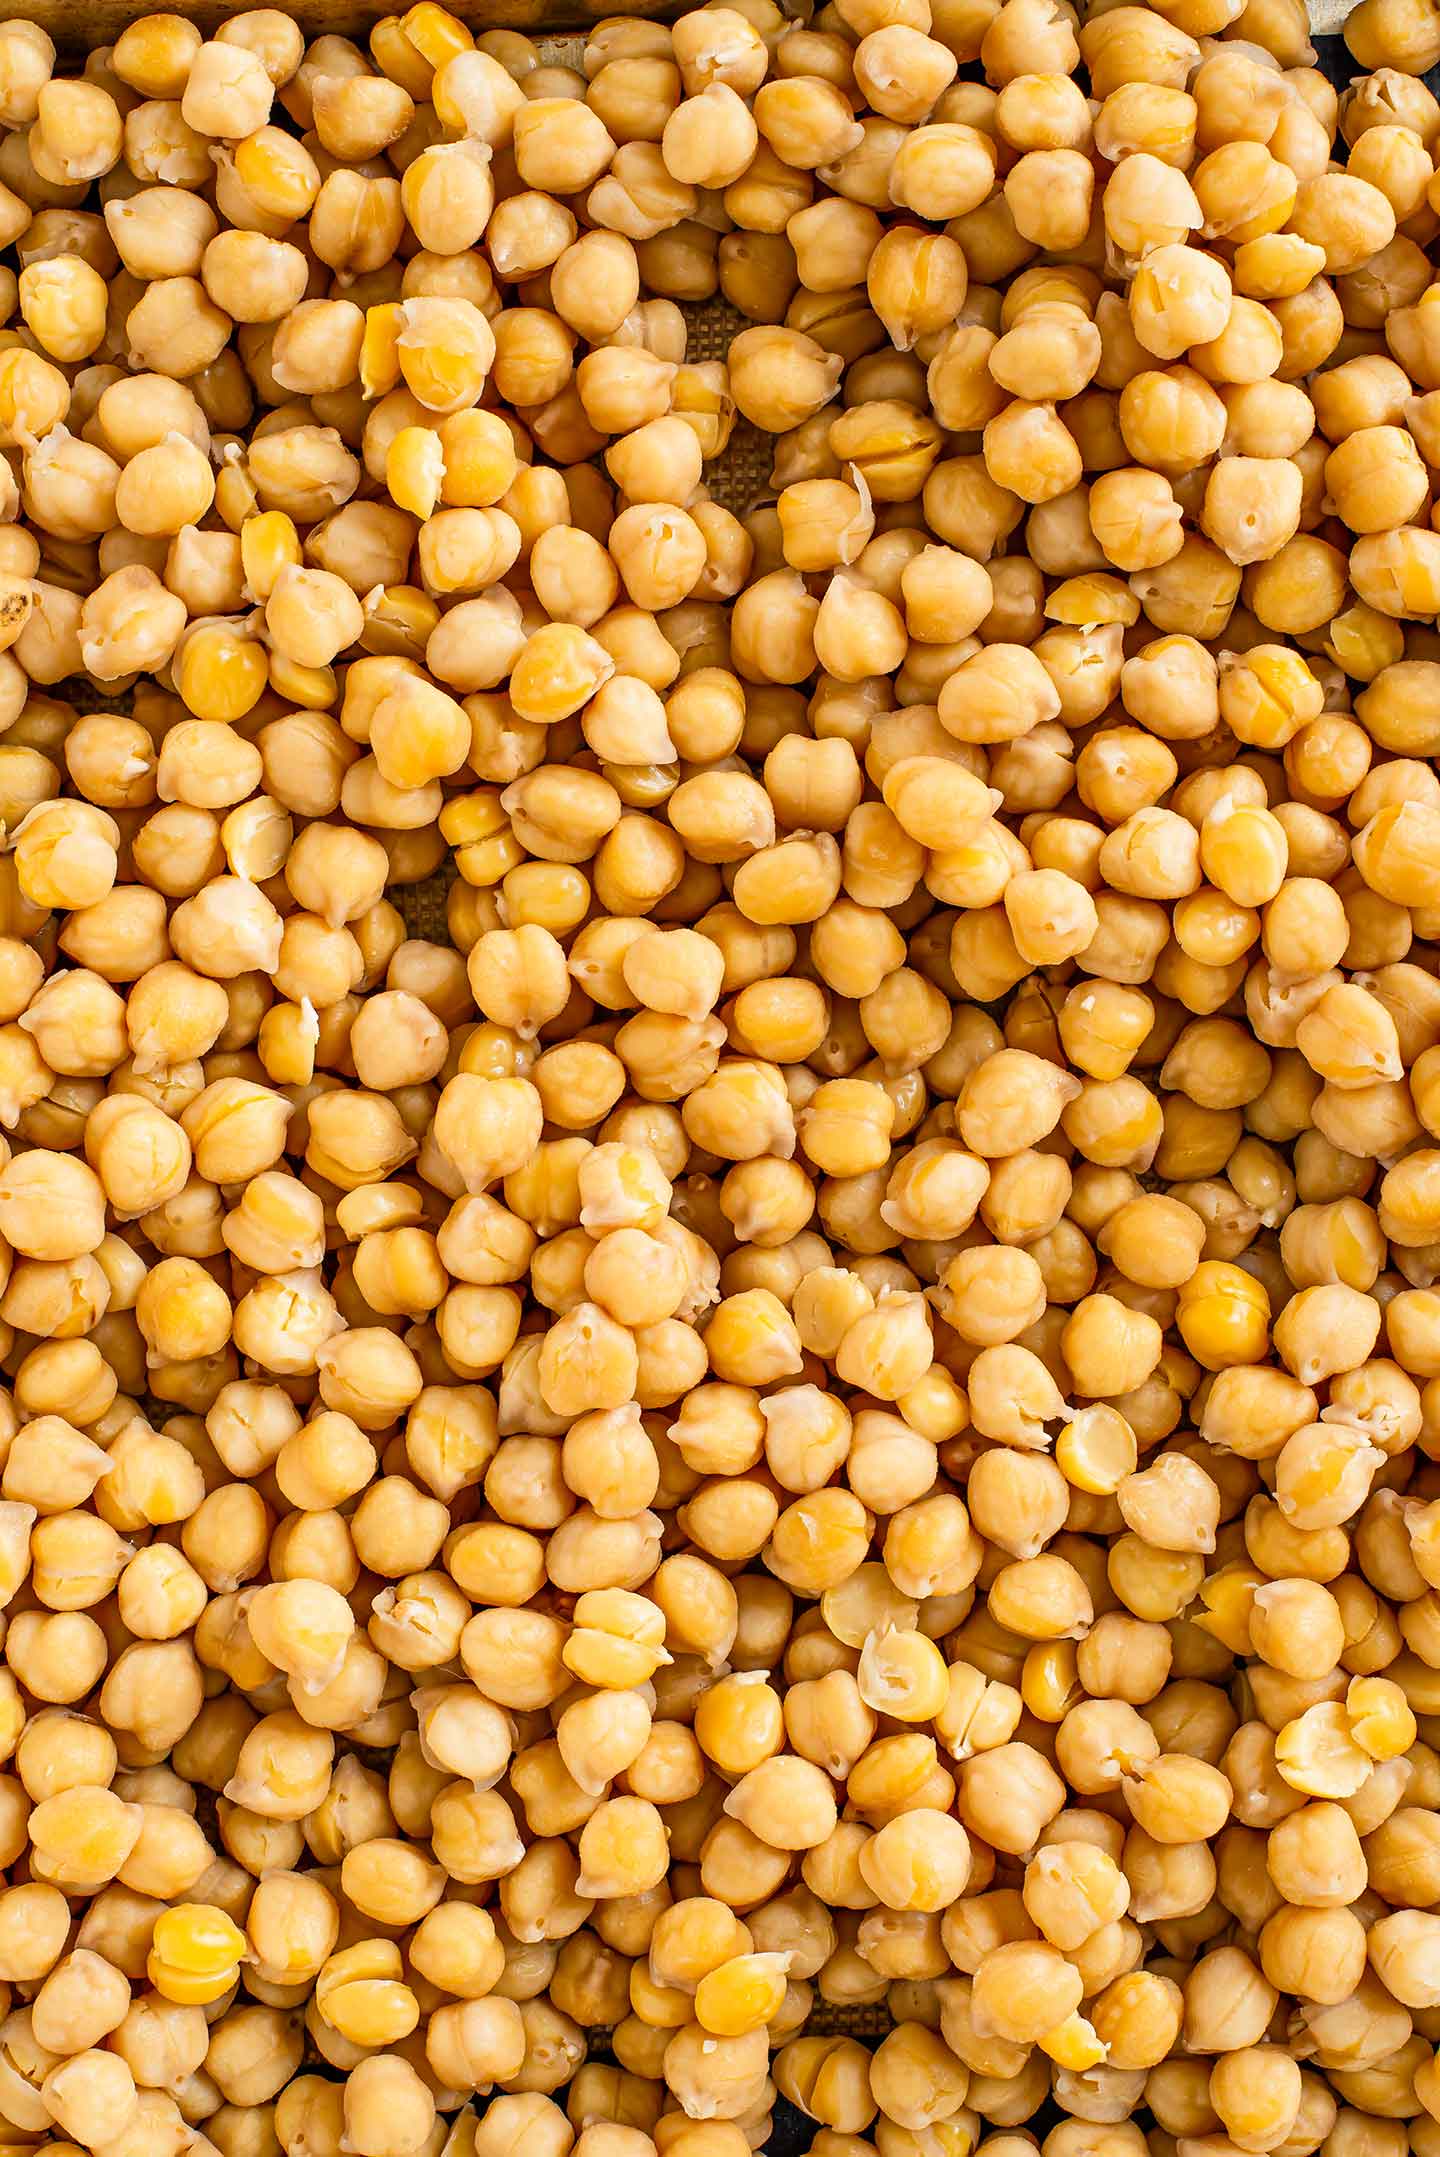
- When your beans reach the tenderness you desire, you're done! Simply drain, cool, and use immediately or follow the steps below to store them!
Storing Cooked Chickpeas
Discarding the skins:
- First, you can discard any skins that have come loose during cooking (I actually pop them in my frozen veggie scrap bag for my homemade veggie scrap broth).
- Many recipes, especially for hummus, will encourage you to get as many of the skins off as possible in order to achieve a creamier texture.
- To remove more of the skins, you can rinse the chickpeas and gently rub them in your hands, allowing the skins to easily fall off. Alternatively, spread the chickpeas in a single layer on a sheet pan and gently rub your hands over them.
- (Honestly... I spend a bit of time doing this but don't stress about getting every last one).
Storing:
- To store in the refrigerator, allow the beans to cool, then transfer to an airtight container and store in the fridge for up to 3 days.
- Unless I know I'm going to make a recipe with them in the next couple of days, I've learned to freeze my cooked chickpeas right away. This ensures they will stay as fresh as possible and I won't forget about them and have them spoil in the fridge!
Freezing:
Pro Tip: to avoid clumped up frozen beans...
- Lay the cooked beans in a single layer on a sheet pan.
- Place the pan in your freezer.
- Freeze for at least 2 hours or until the beans are frozen through.
- Transfer your frozen beans to a freezer bag or container and they won't clump up on you!
Freezing any beans, fruit, veggies this way makes it so much easier to scoop out the amount you need when you go to cook with them! No more smashing a freezer bag on the ground to try and break up the beans...
Yes, I've been there... You?
*And if you're freezing a small enough amount that the beans will lay flat in a freezer bag, you can skip the baking sheet step. Simply scoop the beans into the bag, press them gently into a single layer, and lay the bag flat in your freezer until the beans are frozen through.
Cooking Other Dried Beans This Way
Well yes, now that you've asked, you can! Cooking times will vary depending on the size of the bean but you will follow the same methods for soaking, cooking, and storing.
- Small Beans - Black Beans, Pinto Beans etc.
- Cook in 45 - 90 minutes
- Medium Beans - Chickpeas, Kidney Beans etc.
- Cook in 60 - 90 minutes
- Large Beans - Cannellini Beans, Large Lima Beans etc.
- Cook in 90 - 120 minutes
- Soaking your beans overnight can decrease the cooking time. I have cooked chickpeas and kidney beans in 40 minutes when I want them a little firmer for use in chilli, soups, curries etc. I usually set a timer for 30 minutes, check the beans, and if they are close to being done I will add some salt and check them every 10 minutes until done.
If you're looking for some more info on how to cook beans in a pressure cooker Inspired Taste will walk you through it. If you're wanting to learn how to add extra flavour to your cooked beans Simply Recipes has a great how to!
And that's that folks! Cook dried chickpeas from scratch and turn them into our 5 Minute Creamy Hummus, The Most Comforting Easy Noodle Soup, Chipotle Two Bean Chilli, or snack on some crunchy Miso Chilli Roasted Chickpeas!
Let us know in the comments below if this becomes a habit that sticks for you too!

Leave A Review